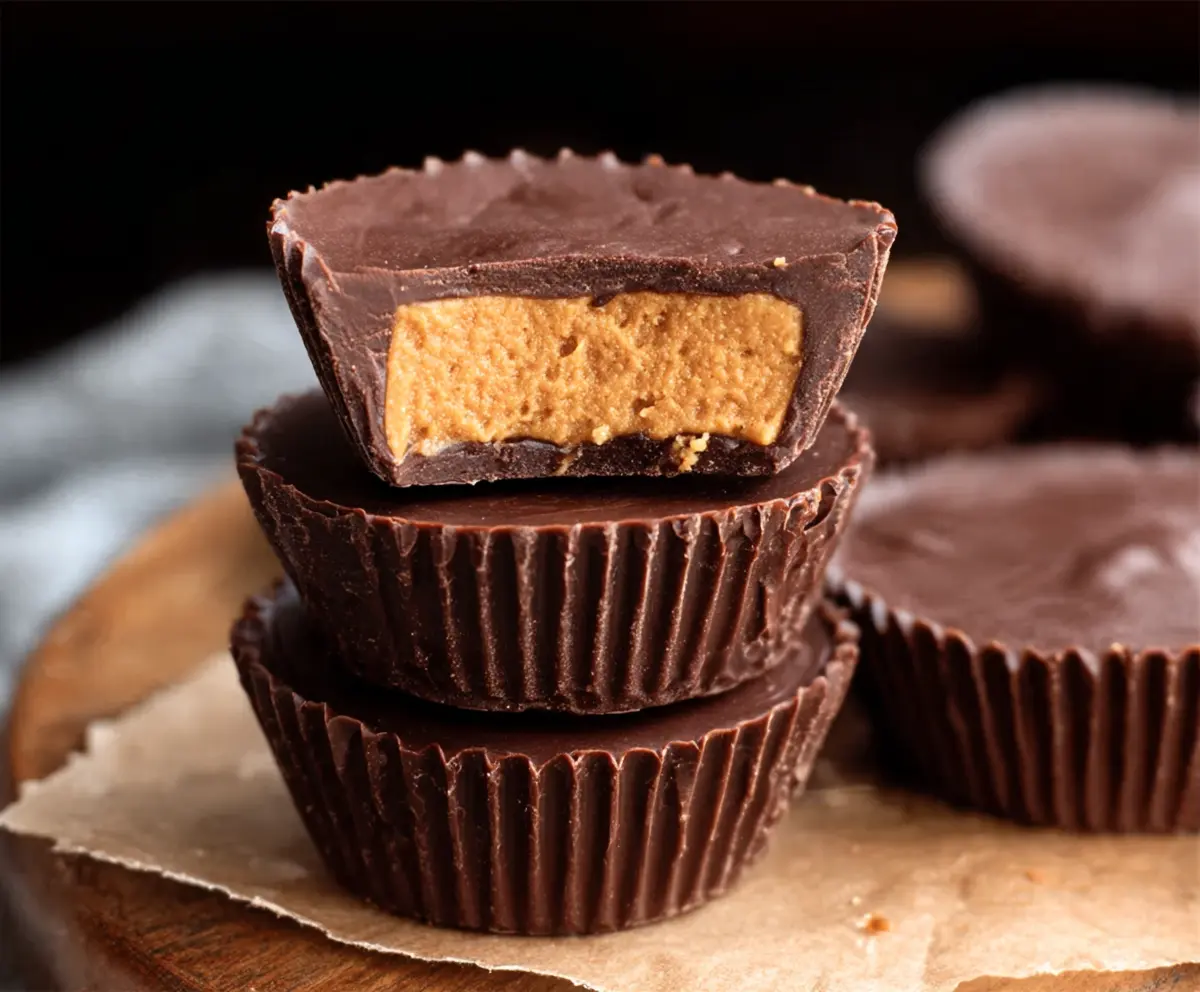
Classic Homemade Reese’s Peanut Butter Cups are a fun and tasty twist on the candy we all know and love. They’re made with smooth milk chocolate and a creamy peanut butter filling that’s just the right balance of sweet and salty. The combination is simple but perfect, and making them yourself means you can enjoy them fresh and customize how peanut-buttery you want them to be!
I love making these at home because you can feel good knowing exactly what’s going into them, plus they’re a great project that doesn’t take much time. I usually melt the chocolate carefully and mix the peanut butter with a little sugar and vanilla to get that classic flavor. A little tip I’ve found helpful is to chill the cups in the fridge between the chocolate layers so they set up nicely and don’t mix together.
These homemade peanut butter cups are perfect for sharing with family and friends, especially around holidays or fun get-togethers. I always find that everyone’s impressed when I bring a batch, and they disappear fast! They’re also a nice little treat to keep stashed in the fridge for whenever you need a quick pick-me-up.
Key Ingredients & Substitutions
Peanut Butter: I like using creamy natural peanut butter without added sugar for a cleaner taste. If you’re allergic, try almond or cashew butter for a different but delicious twist.
Butter and Sugars: The mix of unsalted butter with powdered and brown sugar adds sweetness and creaminess. You can swap brown sugar for coconut sugar if you want a richer flavor.
Chocolate: Semi-sweet or milk chocolate chips work well here. Dark chocolate also tastes great if you prefer less sweetness. Adding shortening or coconut oil helps chocolate melt smoothly and sets with a nice shine.
How Do I Get Perfectly Smooth and Shiny Chocolate for Peanut Butter Cups?
Melting chocolate can be tricky—too hot and it burns, too cool and it won’t mix right. Here’s a simple way I use:
- Microwave chocolate chips with a bit of shortening or coconut oil in 30-second bursts.
- After each burst, take it out and stir well to distribute heat evenly.
- Stop microwaving when small chunks remain and keep stirring off heat to melt them fully.
- This keeps the chocolate smooth, shiny, and easy to spread into molds.
Chilling the base chocolate layer before adding peanut butter prevents mixing and helps the cups keep their shape. Also, chill them again after topping for a clean, firm finish.
Equipment You’ll Need
- Mini muffin tin – I use this to shape each cup evenly and keep the layers separate.
- Paper cupcake liners – keeps everything neat and makes removing the cups so easy.
- Small mixing bowls – perfect for melting chocolate and mixing the peanut butter filling.
- Microwave or double boiler – I prefer the microwave for quick melting, but a double boiler works too if you want more control.
- Spatula or spoon – handy for spreading and mixing ingredients smoothly.
Flavor Variations & Add-Ins
- Try almond or cashew butter instead of peanut butter for a different nutty flavor.
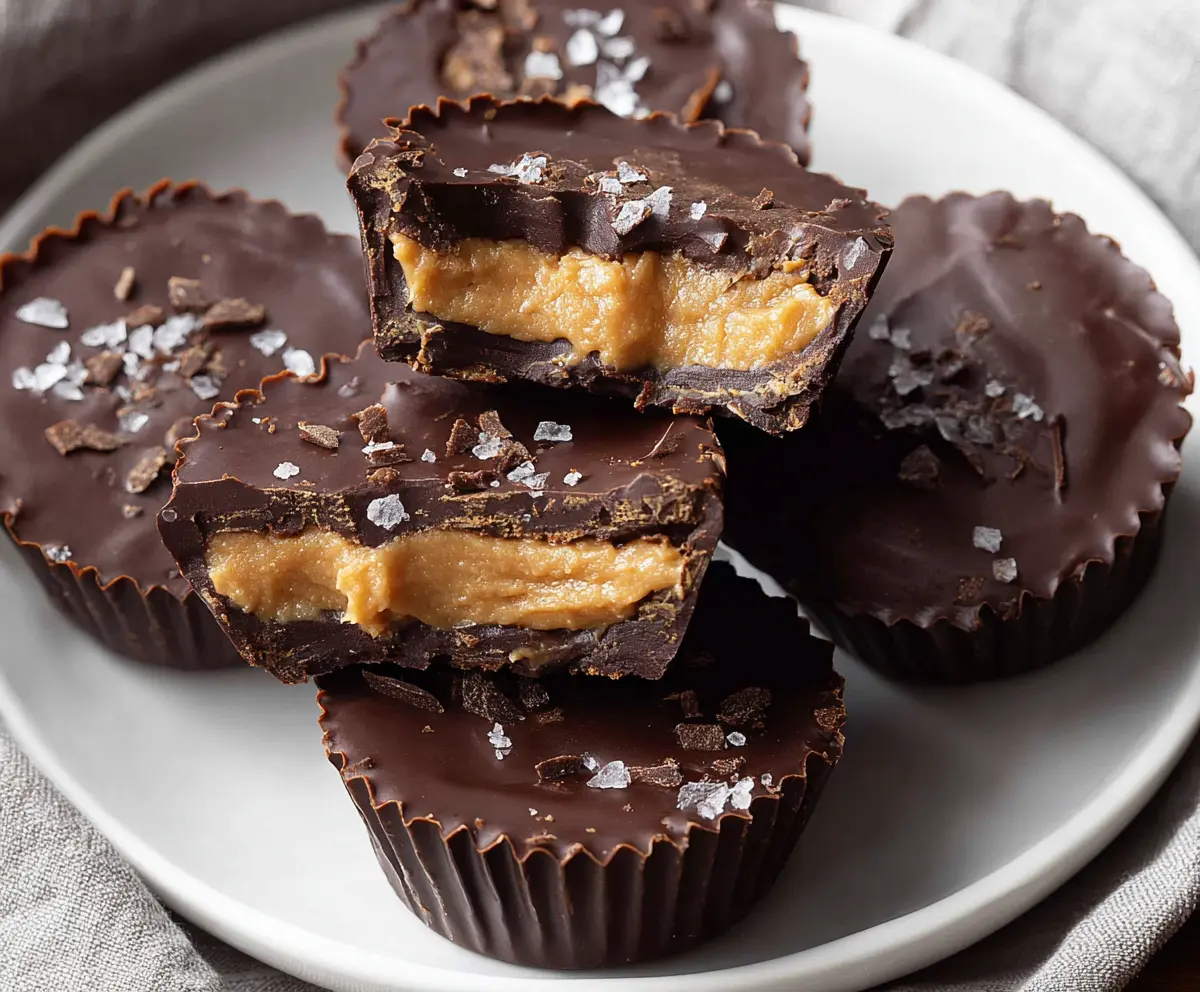
- Add a pinch of sea salt or vanilla extract to the peanut butter mixture to enhance flavor.
- Mix in crushed pretzels or granola into the peanut butter for added crunch.
- Use dark or white chocolate instead of milk or semi-sweet for a different look and taste.
Classic Homemade Reese’s Peanut Butter Cups
Ingredients You’ll Need:
- 1 1/2 cups creamy peanut butter (preferably natural, no sugar added)
- 1/4 cup unsalted butter, softened
- 1/4 cup powdered sugar
- 1/4 cup brown sugar, packed
- 2 cups semi-sweet or milk chocolate chips
- 2 tablespoons shortening or coconut oil (optional, for smoother melting and shinier chocolate)
How Much Time Will You Need?
This recipe takes about 15 minutes of hands-on prep time, plus around 40 minutes to chill and set the peanut butter cups in the fridge. It’s a quick and fun recipe that you can enjoy making with little wait time!
Step-by-Step Instructions:
1. Prepare the Peanut Butter Filling:
In a medium bowl, mix together the peanut butter, softened butter, powdered sugar, and brown sugar. Stir until smooth and creamy, then set this mixture aside.
2. Melt the Chocolate:
Put the chocolate chips and shortening (if using) in a microwave-safe bowl. Microwave in 30-second bursts, stirring well each time until the chocolate is melted and silky smooth.
3. Line Your Muffin Tin:
Place paper cupcake liners into a standard muffin tin. These will help shape your peanut butter cups and make them easy to remove later.
4. Make the Chocolate Base:
Spoon about 1 tablespoon of the melted chocolate into the bottom of each liner. Use the back of a spoon to spread the chocolate evenly. Pop the tin in the fridge for 10 minutes to let the chocolate firm up.
5. Add the Peanut Butter Filling:
Once the chocolate base is set, spoon about 1 tablespoon of the peanut butter mixture onto each cup. Gently press down to flatten and smooth the peanut butter layer.
6. Top with Chocolate:
Pour another tablespoon of melted chocolate over the peanut butter filling in each cup. Smooth the tops so that the peanut butter is completely covered.
7. Chill to Set:
Return the muffin tin to the fridge and chill for at least 30 minutes, or until the peanut butter cups are fully firm.
8. Serve and Store:
Carefully peel off the paper liners and enjoy your homemade peanut butter cups! Store leftovers in an airtight container in the fridge for up to a week.
Can I Use Natural Peanut Butter Even If It’s Oil-Separated?
Yes! Just give it a good stir before measuring. This helps the filling stay creamy and smooth for easier mixing and shaping.
Can I Make These Peanut Butter Cups Ahead of Time?
Absolutely! You can prepare and assemble them, then refrigerate for up to one week. Just keep them in an airtight container to maintain freshness.
How Should I Store Leftover Peanut Butter Cups?
Store leftovers in a sealed container in the fridge. They’ll keep fresh for about 7 days and taste great chilled or at room temperature.
Can I Substitute Dark Chocolate or White Chocolate?
Definitely! Dark chocolate adds a richer taste while white chocolate gives a sweeter twist. Just melt and use as directed in the recipe.