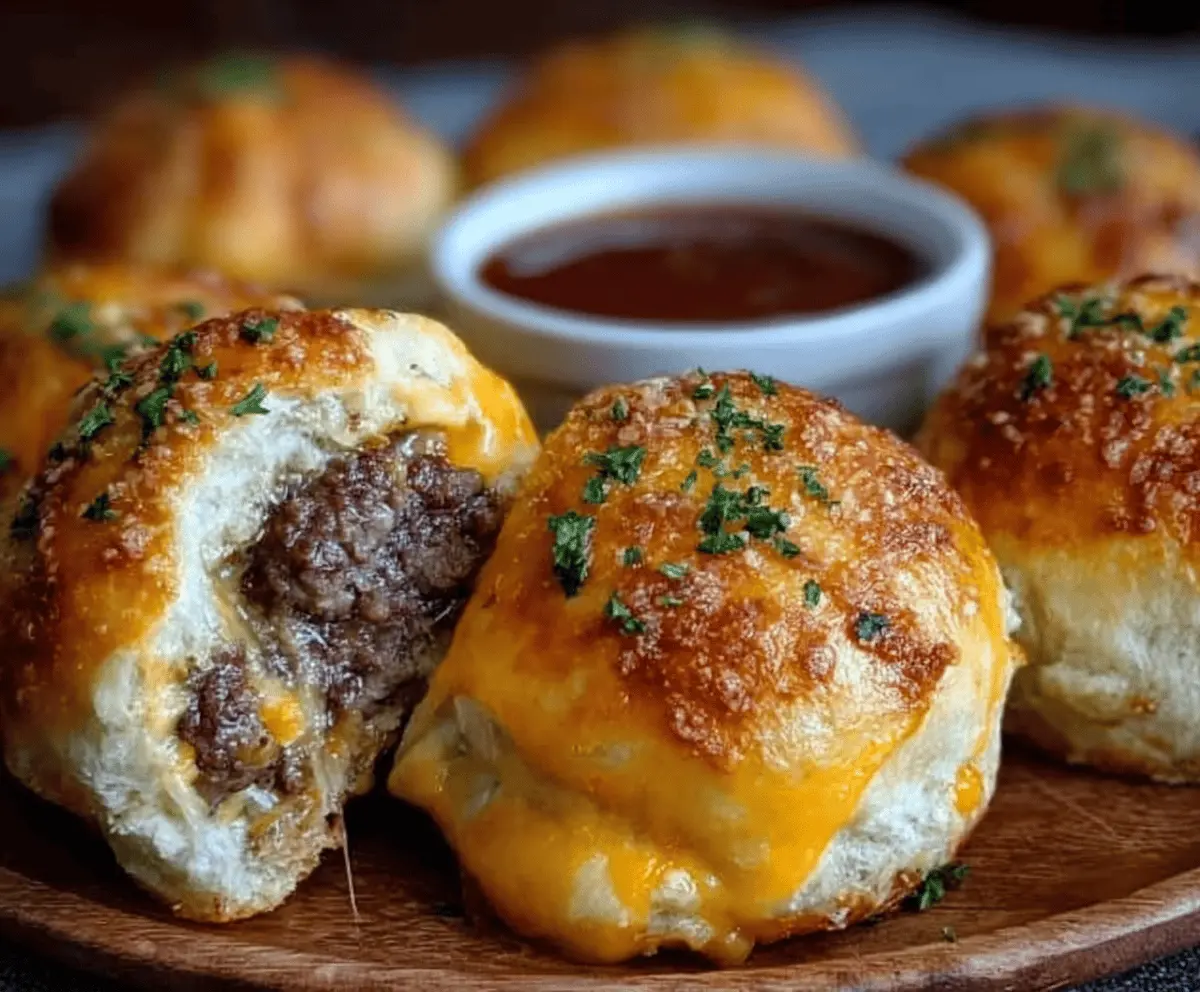
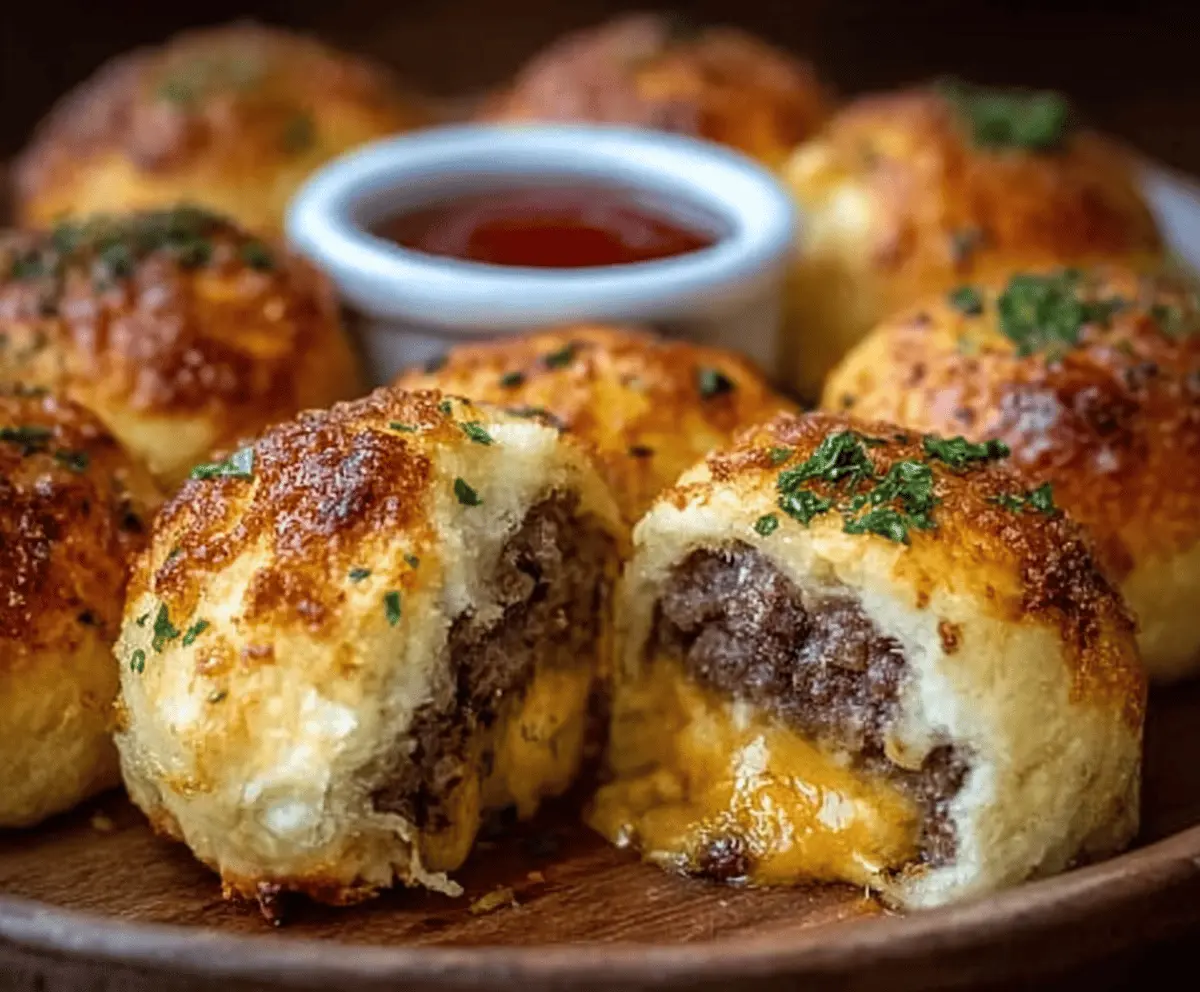
Garlic Parmesan Cheeseburger Bombs are little pockets of juicy cheeseburger goodness wrapped in soft dough, sprinkled with plenty of garlic and parmesan cheese. They’re like the perfect mix of your favorite cheeseburger flavors rolled up into a bite-sized treat that’s fun to eat and super satisfying.
I love making these because they’re a great twist on a classic cheeseburger and a big hit whenever I bring them to a party or game night. There’s something about that garlicky, cheesy topping that really makes these bombs stand out, and I always find myself reaching for just one more. A tip I’ve learned is to make sure you don’t overfill them so they bake up perfectly without leaking any cheeseburger juices.
My favorite way to serve these is with a side of ketchup or a little extra garlic mayo for dipping. They’re perfect as an appetizer or even a fun dinner, especially when I’m in the mood for something a little different but still classic at heart. These bombs definitely bring out the kid in everyone, no matter how old you are!
Key Ingredients & Substitutions
Ground beef: I recommend 80/20 for good fat content and juiciness. If you want something leaner, try 90/10, but the bombs might be less juicy. Turkey or plant-based beef substitutes work too for a twist.
Biscuit dough: Refrigerated biscuit dough makes these easy. You can also use pizza dough for a chewier texture if you prefer. Just roll it out to fit around the beef balls comfortably.
Cheddar cheese: Sharp cheddar adds great flavor and melts well. Feel free to mix in mozzarella for stretchiness or swap for pepper jack if you want a little spice.
Garlic and Parmesan butter: This combo creates the delicious golden crust on top. Use fresh garlic for the best flavor, and if you don’t have Parmesan, Pecorino Romano or Asiago are tasty alternatives.
How Do I Keep the Cheeseburger Bombs from Leaking During Baking?
Preventing leaks is all about sealing and not overfilling. Here’s how I handle it:
- Flatten each beef portion evenly and press the cheese into the center well, then fold meat completely around it so no cheese is exposed.
- Roll the biscuit dough a little larger than the beef ball, then pinch the dough edges tightly when wrapping to seal the filling inside.
- Place the bombs seam-side down on the baking sheet. This helps keep them sealed during baking.
- If you find leaks happen often, try chilling the filled balls for 20 minutes before baking to help the dough hold better.
These tips helped me keep the filling inside and get that perfect gooey center without mess!

Equipment You’ll Need
- Mixing bowls – I use a large one to combine ingredients easily and mix everything thoroughly.
- Baking sheet – a rimmed sheet keeps the bombs from rolling away and is perfect for baking.
- Parchment paper or silicone mat – prevents sticking and makes cleanup easier.
- Small spoon or cookie scoop – helps portion out the beef mixture evenly and fill the biscuit dough neatly.
- Pastry brush – I use this to evenly coat the tops with garlic butter, giving them a golden, flavorful crust.
Flavor Variations & Add-Ins
- Use cooked bacon bits or chopped ham inside the beef for extra smoky flavor and crunch.
- Swap cheddar for pepper jack or mozzarella to change up the meltiness and spice levels.
- Add sautéed mushrooms, caramelized onions, or jalapeños inside the beef mixture for extra flavor and texture.
- Sprinkle with Italian herbs or red pepper flakes before baking for some added aroma and heat.

Garlic Parmesan Cheeseburger Bombs
Ingredients You’ll Need:
- 1 lb ground beef (80/20 for juiciness)
- ½ cup onion, finely diced
- 1 tsp garlic powder
- 1 tsp Worcestershire sauce
- Salt and pepper, to taste
- 1 cup shredded cheddar cheese
- 1 tube (13.8 oz) refrigerated biscuit dough (or pizza dough for a sturdier option)
- ¼ cup unsalted butter, melted
- 2 cloves garlic, minced
- ⅓ cup grated Parmesan cheese
- 1 tbsp fresh parsley, chopped (optional, for garnish)
- Ketchup or burger sauce, for serving
How Much Time Will You Need?
This recipe takes about 15 minutes for preparation and around 20 minutes for baking. Altogether, you can have these delicious cheeseburger bombs ready to enjoy in about 35 minutes!
Step-by-Step Instructions:
1. Prepare Your Oven and Baking Sheet:
Preheat your oven to 375°F (190°C). Line a baking sheet with parchment paper or a silicone baking mat to prevent sticking and make clean-up easy.
2. Mix the Beef Filling:
In a large bowl, combine ground beef, diced onion, garlic powder, Worcestershire sauce, salt, and pepper. Mix gently until just combined — avoid overmixing to keep the burgers juicy.
3. Shape the Cheeseburger Balls:
Divide the beef mixture into 8 equal portions. Flatten each into a small patty and place a generous handful of shredded cheddar cheese in the center. Fold the beef around the cheese and seal it tightly to form a ball.
4. Wrap with Dough:
Separate the biscuit dough and flatten each biscuit into a disc large enough to wrap completely around your cheeseburger ball. Place the beef ball in the center, then wrap the dough around it, pinching seams to seal fully.
5. Season the Tops:
Place wrapped balls seam-side down on your prepared baking sheet, spacing them about 2 inches apart. Mix melted butter and minced garlic, then brush this mixture over each dough ball. Sprinkle generously with grated Parmesan cheese.
6. Bake to Golden Perfection:
Bake in the oven for 18–22 minutes until the dough is golden brown and cooked through. For safety, ensure the internal temperature of the beef reaches 160°F (71°C).
7. Serve and Enjoy:
Let your cheeseburger bombs cool for a few minutes. Garnish with fresh parsley if you like, and serve warm with ketchup, mustard, or your favorite dipping sauce. Enjoy every cheesy, garlicky bite!

Can I Use Frozen Ground Beef for This Recipe?
Yes, you can! Just be sure to fully thaw the ground beef in the refrigerator overnight before preparing the recipe to ensure even cooking and food safety.
Can I Make Garlic Parmesan Cheeseburger Bombs Ahead of Time?
Absolutely! Assemble the bombs, then refrigerate them covered for up to 24 hours before baking. When ready, bake as directed, adding a couple of extra minutes if baking straight from the fridge.
How Should I Store Leftovers?
Store any leftovers in an airtight container in the refrigerator for up to 3 days. Reheat them gently in the oven or microwave until warmed through.
Can I Use a Different Cheese Instead of Cheddar?
Definitely! Mozzarella, pepper jack, or a blend of cheeses work great depending on your flavor preference—just make sure the cheese melts well to keep the filling deliciously gooey.