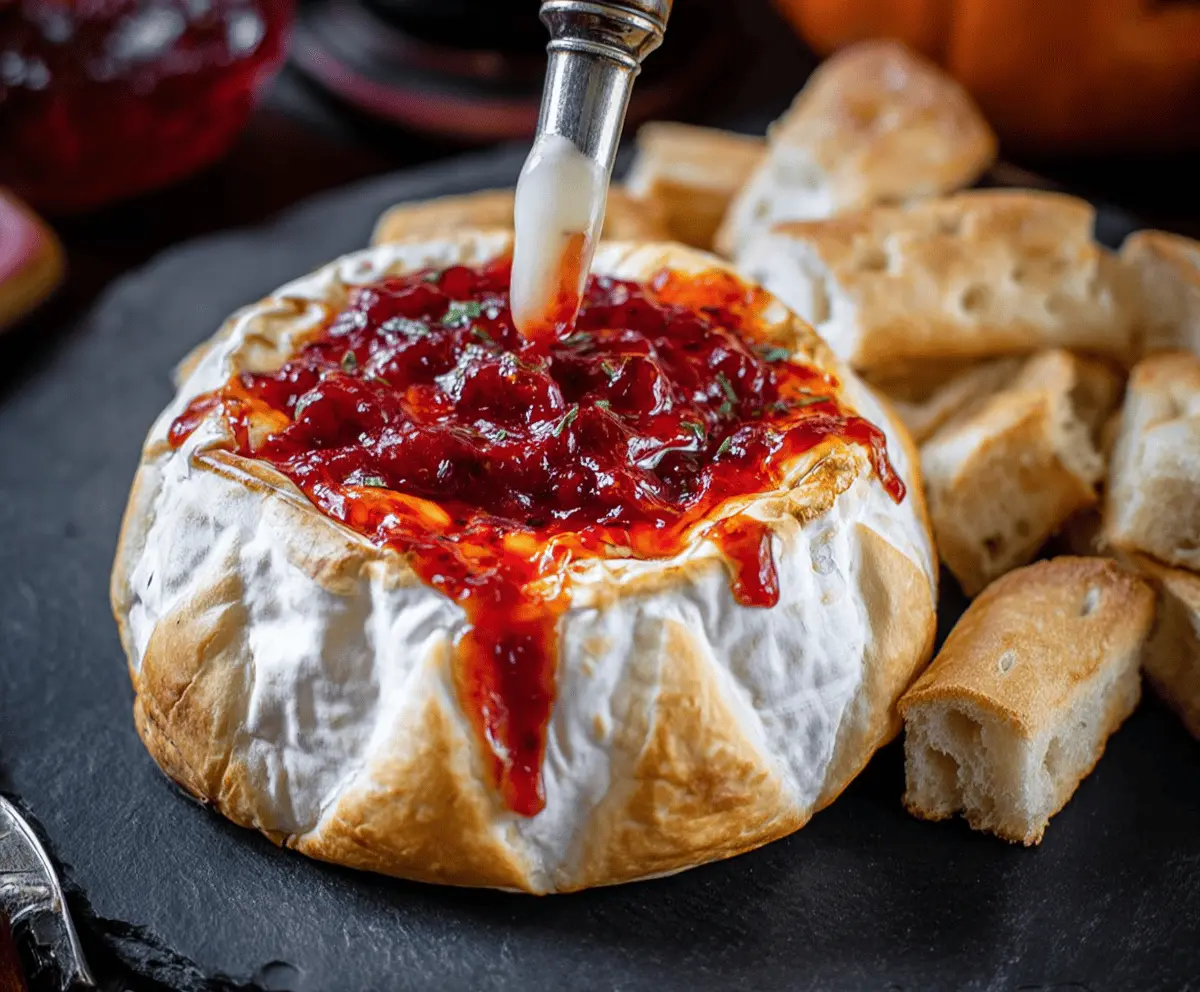
Halloween Red Baked Brie is a festive and delicious twist on a classic cheese treat that’s perfect for spooky season! This melted Brie is topped with a rich red fruit spread, giving it a vibrant color that looks just like Halloween blood. The creamy, gooey cheese pairs wonderfully with the sweet and tangy red topping, making it a fun and tasty appetizer that everyone will love at your Halloween gathering.
I love making this because it’s so easy yet feels extra special. I usually wrap the Brie in puff pastry to add a nice crispy layer, then bake it until golden and melty. The red fruit topping—whether it’s cranberry, raspberry, or strawberry jam—adds that perfect pop of color and flavor. Plus, it’s fun to get creative by sprinkling some festive herbs or nuts on top for a little extra crunch and character.
When I serve this, I like to surround it with crackers, apple slices, or even some roasted nuts for dipping and spreading. It’s great for sharing and always gets people talking because it’s both a tasty snack and a cute Halloween decoration all in one. This baked Brie has become one of my go-to treats for any fall party, and I’m sure you’ll enjoy it just as much as I do!
Key Ingredients & Substitutions
Brie Cheese: This is the star of the dish! Brie melts beautifully, becoming creamy and soft. If you can’t find Brie, Camembert is a great substitute with a similar texture and mild flavor.
Red Berry Jam: Raspberry or cranberry jam works well to give that vibrant red, “bloody” look. If unavailable, strawberry or cherry preserves also create a nice color and balance of sweetness with a little tartness.
Fresh Thyme: A few sprigs add aroma and a subtle herbal kick. If fresh thyme isn’t at hand, you can skip it or use dried thyme lightly, but fresh is best for that bright tasting finish.
Chopped Nuts (Optional): Pecans or walnuts bring a lovely crunch and deep flavor. If nuts aren’t your thing, sunflower seeds or pumpkin seeds work as alternatives.
Bread or Crackers: Choose crusty baguette slices or your favorite crackers. I like ones with a little crunch but nothing too overpowering so the Brie shines.
How Do You Get Perfectly Gooey Baked Brie Without Overbaking?
Melting Brie just right can be tricky. You want it soft and runny inside but not totally melted away.
- Use a gentle oven temperature around 350°F (175°C) so the cheese warms evenly.
- Place Brie in an oven-safe dish to catch any melted cheese juice.
- Baking for 10-15 minutes is usually enough—watch closely after 10 minutes to avoid overheating.
- Optional: Trim off the top rind before baking if you want the jam to sink in more. If you keep the rind, it helps hold the cheese shape but softens as it cooks.
- Serve immediately while warm and melty for the best texture and flavor experience.
Equipment You’ll Need
- Oven-safe baking dish or small skillet – I recommend this to keep everything contained and cook evenly.
- Chef’s knife – helps you trim the Brie rind easily and prepare toppings.
- Cheese spreader or small spatula – perfect for serving the melty cheese onto crackers or bread.
- Baking sheet or tray – for easy handling of the Brie and keeping your oven clean.
- Optional: Parchment paper – to prevent sticking and make cleanup simpler.
Flavor Variations & Add-Ins
- Try using fig jam instead of berry for a sweeter twist and a rich flavor pairing.
- Add caramelized onions or roasted garlic on top before baking for extra depth.
- Sprinkle chopped pecans, almonds, or walnuts for crunch and a nutty flavor.
- Use fresh rosemary or basil instead of thyme for a different herbal note.
Halloween Red Baked Brie
Ingredients You’ll Need:
Main Ingredients:
- 1 wheel (8 oz) Brie cheese
- ½ cup red berry jam (such as raspberry or cranberry)
- 1 tablespoon fresh thyme sprigs (for garnish)
For Serving:
- Crusty bread or crackers
- Optional: ¼ cup chopped nuts (pecans or walnuts) for added texture
How Much Time Will You Need?
This Halloween Red Baked Brie takes about 5 minutes to prepare and 10-15 minutes to bake, making the total time around 20 minutes. It’s quick and easy, perfect for a last-minute spooky snack!
Step-by-Step Instructions:
1. Prepare the Oven and Cheese:
Preheat your oven to 350°F (175°C). If you like, use a sharp knife to carefully trim off the top rind of the Brie wheel — this helps the red berry jam soak in and creates a gooier texture. Placing the Brie on an oven-safe plate or small baking dish makes baking easier.
2. Add the Spooky “Blood” Topping:
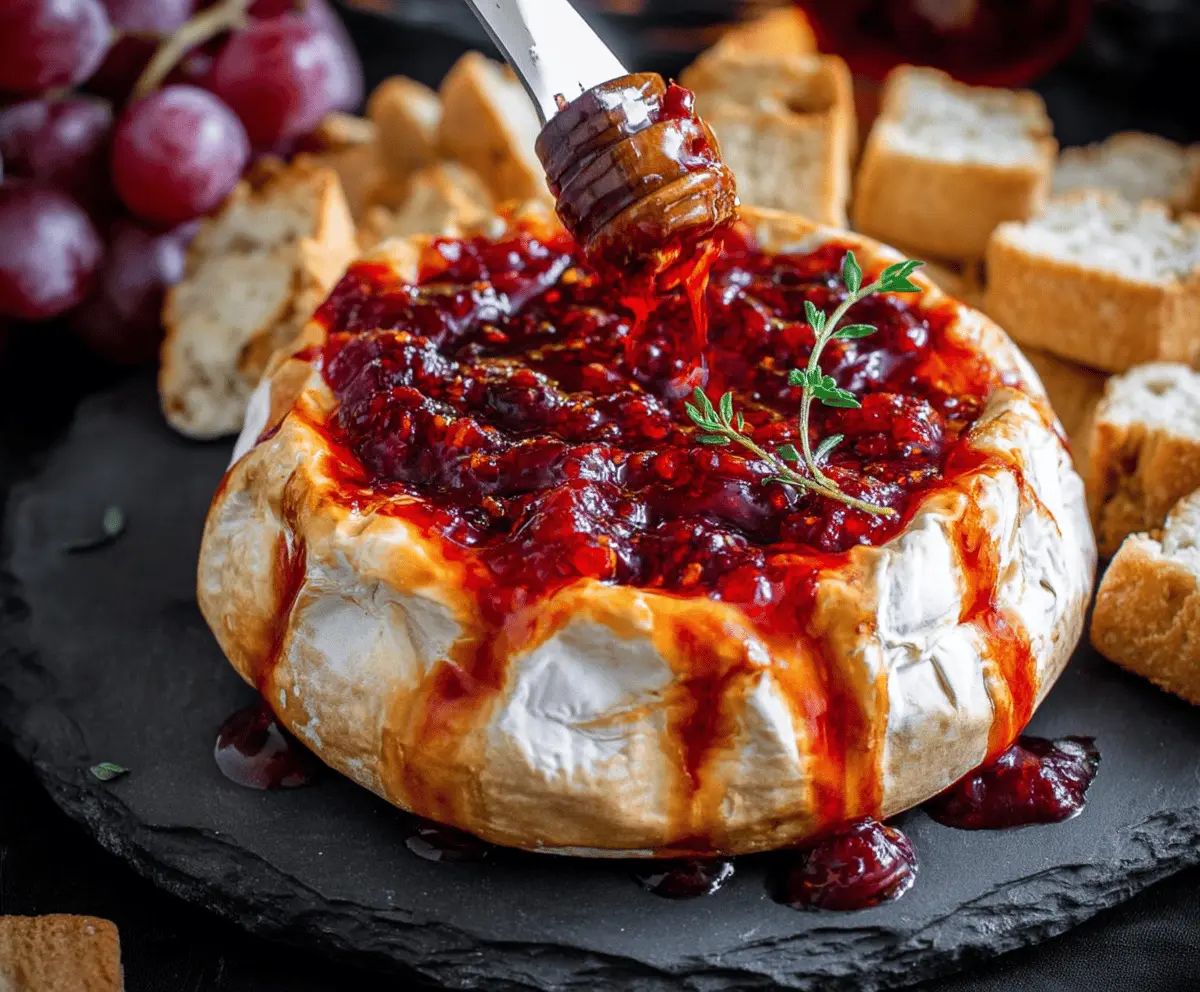
Spoon the red berry jam generously over the top of the Brie. Let it drip a little down the sides to give that fun “bloody” Halloween look. If you want, sprinkle chopped nuts over the jam for some added crunch.
3. Bake and Serve:
Bake the Brie in the oven for 10-15 minutes until the cheese is soft, melty, and warm. Once done, take it out and garnish with fresh thyme sprigs to add a lovely herbal aroma and contrast. Serve immediately with crusty bread or your favorite crackers — perfect for spreading the warm, delicious Brie topped with the vibrant red jam.
Can I Use Frozen Brie for This Recipe?
It’s best to use fresh Brie for melting, but if you only have frozen, thaw it completely in the refrigerator overnight before baking. This helps ensure even melting and maintains the creamy texture.
Can I Make Halloween Red Baked Brie Ahead of Time?
You can prep the Brie and add the jam ahead, then cover and refrigerate for a few hours. Bake it fresh just before serving to keep it warm and gooey.
How Should I Store Leftovers?
Store any leftovers in an airtight container in the refrigerator for up to 2 days. Reheat gently in the oven at a low temperature until warmed through to keep the cheese melty.
What Are Good Dippers for Baked Brie?
Crusty bread, crackers, sliced apples, or pears work wonderfully. They add texture and mild flavors that complement the rich cheese and sweet berry topping perfectly.