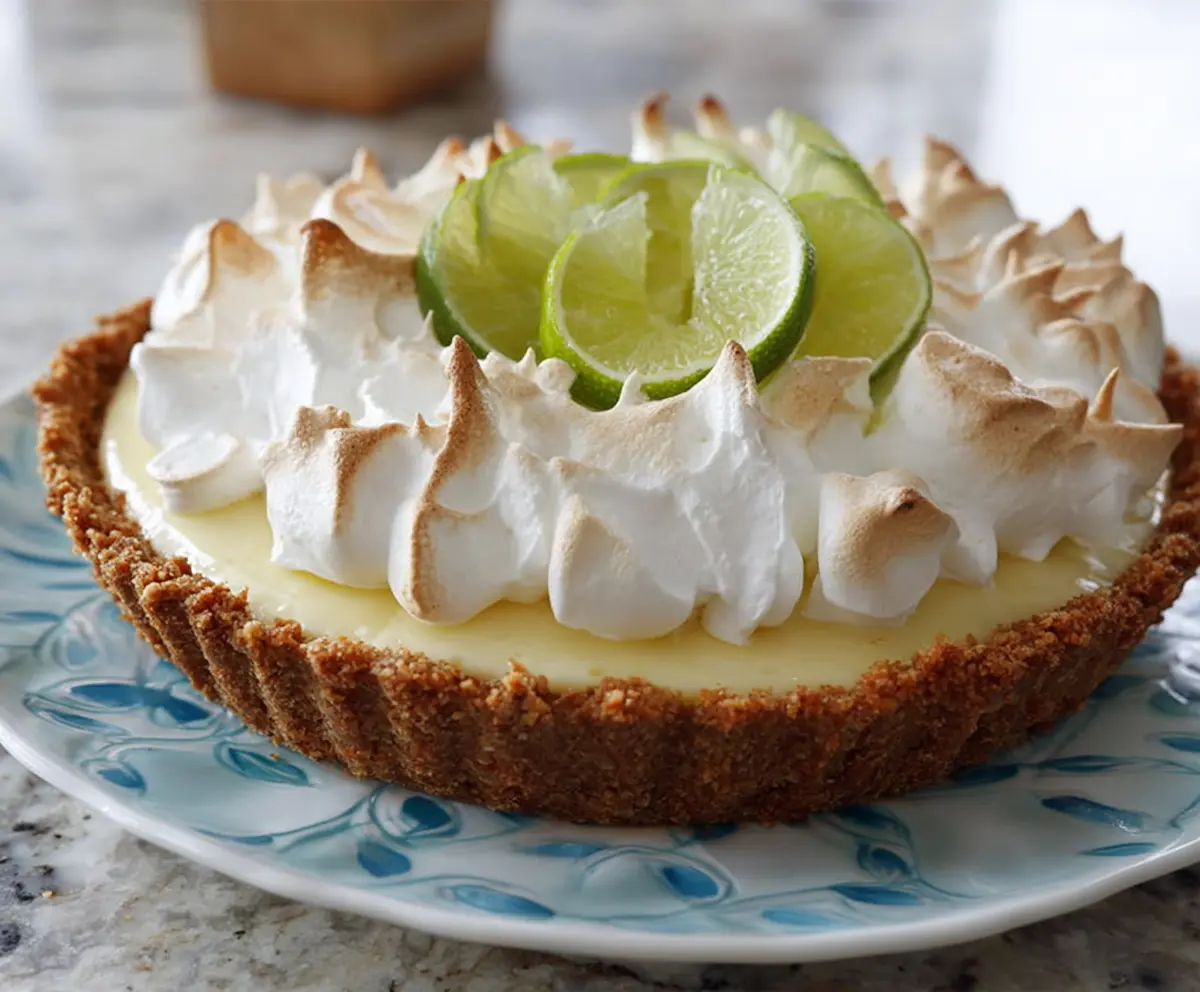
Key Lime Pie is a bright and tangy treat that perfectly balances sweet and tart flavors. It features a creamy, zesty lime filling made with fresh key lime juice, all nestled inside a buttery graham cracker crust. The texture is smooth and velvety, with just a hint of citrus that makes each bite refreshing and satisfying.
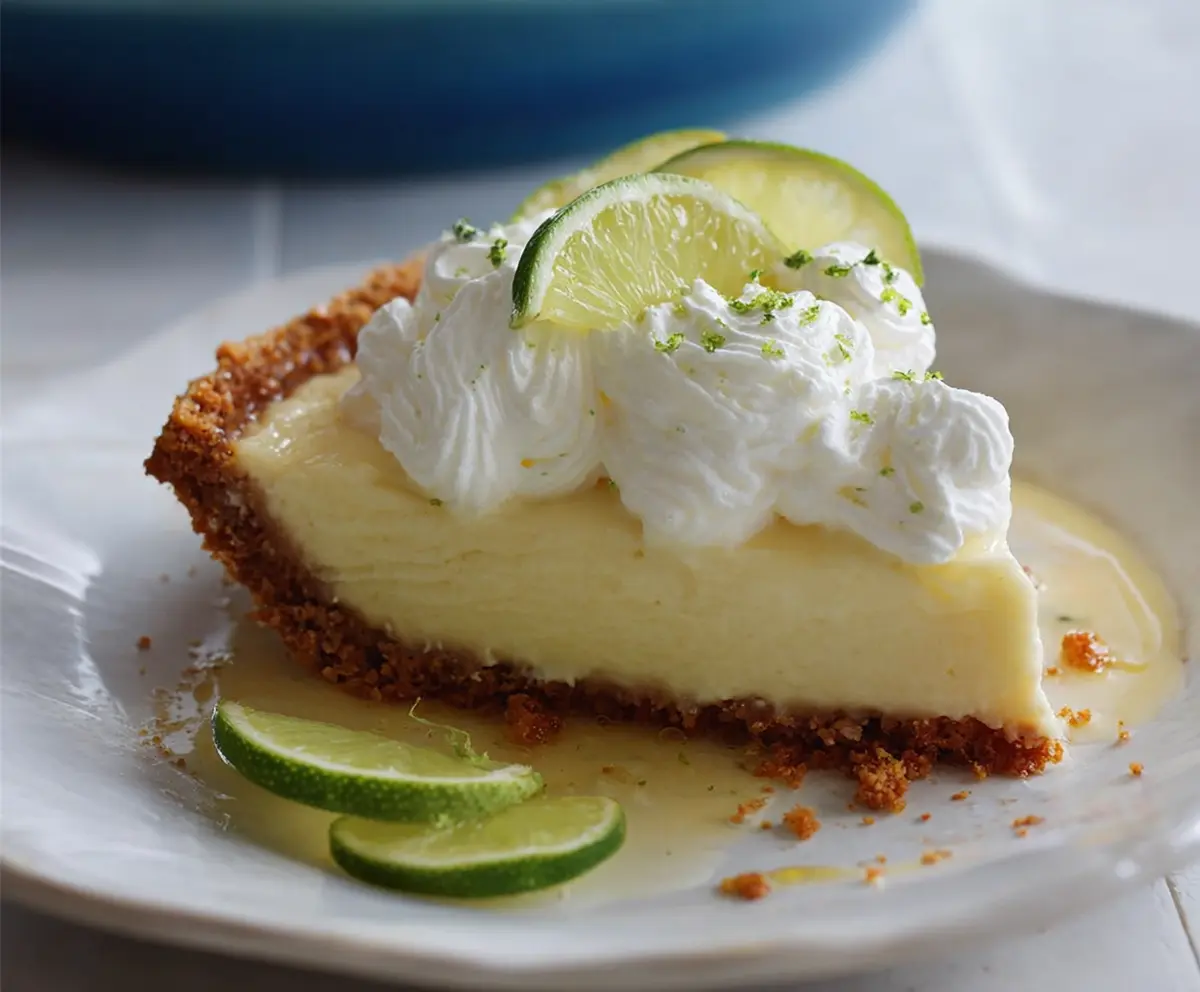
I love making Key Lime Pie on sunny days when I want a dessert that’s cool and light but still full of flavor. One of my favorite things about this pie is how the sharpness of the limes wakes up your taste buds, making it a perfect ending to a meal. I like to whip up some lightly sweetened whipped cream to add a soft, fluffy contrast to the tangy filling.
Serving Key Lime Pie chilled is key—it helps the flavors meld together and keeps the pie firm but creamy. I often bring this pie to summer get-togethers, and it never fails to get a thumbs up from everyone. It’s easy to slice, easy to enjoy, and always leaves me craving just one more bite of that sweet, citrusy goodness!
Key Ingredients & Substitutions
Graham cracker crumbs: These give the crust its classic flavor and crunch. If you don’t have graham crackers, try crushed digestive biscuits or vanilla wafers instead.
Key lime juice: Fresh is best for its bright, tangy flavor. If key limes aren’t available, regular limes work well, but key lime juice is less tart and more aromatic.
Sweetened condensed milk: This thick, sweet milk forms the creamy filling. For a lighter version, you can substitute with coconut condensed milk for a subtle tropical twist.
Egg yolks and whites: The yolks create richness in the filling while the whites whip into a fluffy meringue topping. Make sure your eggs are fresh for best volume and texture.
Cream of tartar: Optional but helps stabilize and strengthen the meringue, making it easier to whip stiff peaks and hold shape when browning.
How Can I Get a Perfectly Set Filling Without Overbaking?
Overbaking can make the filling rubbery, so timing is key. Bake just until the center is slightly jiggly — it will firm up as it cools.
- Preheat oven well and bake at 350°F (175°C) for about 12-15 minutes.
- Check the pie around 12 minutes. The edges should be set and the center should jiggle slightly if you gently shake the pan.
- Remove from oven promptly to avoid overcooking.
Cooling at room temperature, then refrigerating, allows the filling to fully set with a smooth and creamy texture.
What’s the Best Way to Make a Stiff and Glossy Meringue?
Meringue needs careful whipping to reach those perfect, glossy peaks.
- Use a very clean, dry bowl—any grease stops whites from whipping properly.
- Start beating egg whites on medium speed until they look foamy.
- Add cream of tartar if you have it, to stabilize the whites.
- Gradually add sugar while continuing to beat on high speed.
- Stop when stiff, glossy peaks form—you should be able to hold the peaks without them falling.
Spread or pipe quickly over warm filling so the meringue sticks well before browning.
Equipment You’ll Need
- 9-inch tart or pie pan – I find it perfect for shaping the crust and holding all the filling. A removable bottom makes serving easier.
- Mixing bowls – one for the crust, one for the filling, and one for the meringue. Choose sturdy, large bowls for easy mixing and whipping.
- Measuring cups and spoons – accurate measurements help get the right balance of tart flavor and sweetness.
- Electric mixer or whisk – to beat egg whites into fluffy peaks and mix the filling smoothly. An electric mixer makes the job quicker and easier.
- Kitchen torch or broiler – for browning the meringue tips if you want that golden finish. A torch gives more control and even browning.
Flavor Variations & Add-Ins
- Add a splash of coconut milk or shredded coconut to the filling for a tropical twist. It adds flavor without changing the basic process.
- Mix in some chopped fresh herbs like basil or mint with the lime zest to add a fresh, herbal note.
- Replace lime juice with lemon or yuzu juice for a different citrus flavor. Great for variety and different regions’ tastes.
- Top the pie with toasted coconut or crushed cookies instead of lime slices for a crunchy, sweet garnish.
How to Make Key Lime Pie?
Ingredients You’ll Need:
For the Crust:
- 1 1/2 cups graham cracker crumbs
- 1/4 cup granulated sugar
- 6 tablespoons unsalted butter, melted
For the Filling:
- 4 large egg yolks
- 1 can (14 oz) sweetened condensed milk
- 1/2 cup key lime juice (freshly squeezed preferred)
- 1 teaspoon grated lime zest
For the Meringue Topping:
- 4 large egg whites
- 1/2 cup granulated sugar
- 1/4 teaspoon cream of tartar (optional)
For Garnish:
- Thin slices of fresh key lime or lime
How Much Time Will You Need?
This recipe takes about 15 minutes to prepare, 20-25 minutes for baking, plus at least 2 hours chilling time in the fridge. The chilling helps the filling to set and the flavors to meld nicely.
Step-by-Step Instructions:
1. Prepare the Crust:
Preheat your oven to 350°F (175°C). In a medium bowl, mix together the graham cracker crumbs, sugar, and melted butter until the crumbs are evenly moistened. Press this mixture firmly into the bottom and up the sides of a 9-inch tart or pie pan. Bake for about 8 to 10 minutes, until the crust is set and golden. Remove from the oven and let it cool while you prepare the filling.
2. Make the Filling:
In a large bowl, whisk the egg yolks until smooth and pale. Slowly add the sweetened condensed milk while stirring continuously to blend everything well. Stir in the key lime juice and lime zest until the filling is smooth and fully combined. Pour this filling into the cooled crust.
3. Bake the Pie:
Put the pie back into the oven and bake for 12 to 15 minutes, or until the filling is just set but still jiggles slightly in the center when gently shaken. Remove the pie from the oven and set it aside to cool.
4. Prepare the Meringue Topping:
Using a clean, dry mixing bowl, beat the egg whites on medium speed until they become foamy. Add the cream of tartar if you have it (this helps make the meringue stable). Gradually add the sugar while continuing to beat, increasing the speed to high until the mixture forms stiff, glossy peaks.
5. Top and Finish:
Spread or pipe the meringue evenly over the warm pie filling, creating pretty peaks for texture. Use a kitchen torch to carefully brown the tips of the meringue, or place the pie under a hot broiler for a minute or two—watch closely to prevent burning.
6. Cool and Garnish:
Allow the pie to cool to room temperature, then refrigerate for at least 2 hours so the filling fully sets. Before serving, garnish the pie with thin slices of fresh key lime or lime arranged nicely on top of the meringue.
7. Serve and Enjoy:
Spoon the pie into slices and serve chilled for the best flavor and creamy texture. Enjoy your homemade Key Lime Pie!
Can I Use Regular Limes Instead of Key Limes?
Yes! Regular limes work well if you can’t find key limes. The flavor will be slightly less sweet and more tart, but still delicious.
How Should I Store Leftover Key Lime Pie?
Store leftovers covered in the refrigerator for up to 3 days. Keep it chilled to maintain the creamy texture and freshness.
Can I Make the Pie Ahead of Time?
Absolutely! You can prepare the crust, filling, and meringue topping a day in advance. Just keep the pie refrigerated until ready to serve.
What If I Don’t Have a Kitchen Torch for Browning Meringue?
No worries! You can brown the meringue under the broiler for 1-2 minutes. Watch it carefully to avoid burning the tips.