
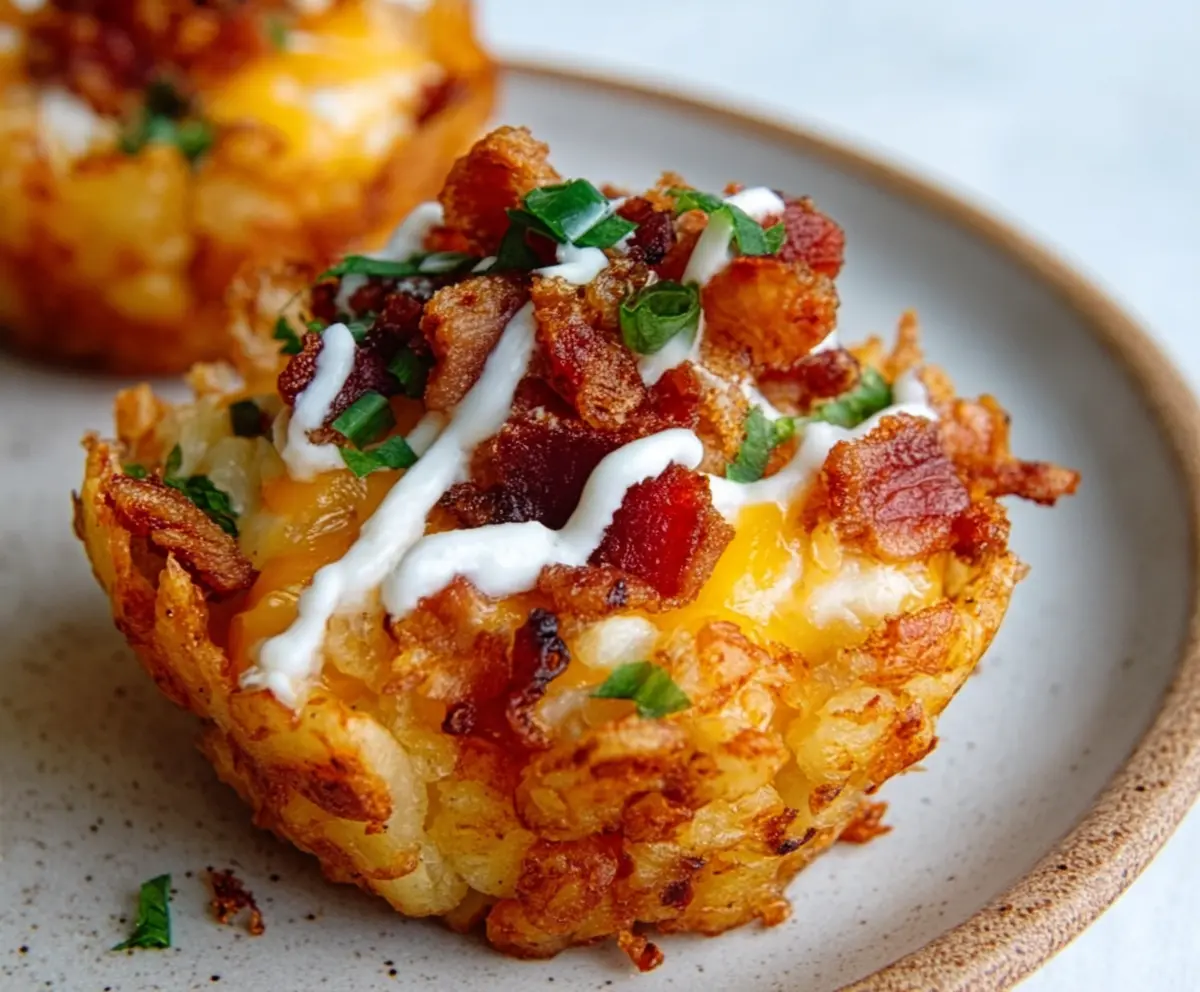
Loaded Tater Tot Cups are crispy, golden tater tots all baked up into little cups filled with melty cheese, bacon bits, and a dollop of sour cream on top. Each bite is a perfect mix of crunchy, creamy, and salty that makes these little cups so irresistible. They’re basically tater tot nachos in a fun and easy-to-eat form!
I love making these when I have friends over because they’re such a crowd-pleaser and pretty simple to put together. My favorite part is customizing the toppings—sometimes I add green onions or jalapeños to spice things up, or swap out the bacon for sausage. It’s fun to play around with what goes into each cup, and everyone loves picking their favorites.
These cups are great as a snack, appetizer, or even a side dish when I’m serving burgers or barbecue. I usually serve them warm right out of the oven, so the cheese is all melty and gooey. I always find myself sneaking a few before anyone else even realizes they’re ready! They’re the kind of food that brings people together and makes any gathering feel cozy and casual.
Key Ingredients & Substitutions
Tater Tots: These are the star of the recipe, giving you that crispy and comforting potato base. If you can’t find tater tots, small hash browns or even mini potato pancakes can work too.
Bacon: Bacon adds a salty crunch that pairs perfectly with the tots. For a vegetarian option, try using cooked tempeh bacon or smoked mushrooms.
Cheddar Cheese: Sharp cheddar melts well and adds great flavor. If you prefer, you can swap it for Monterey Jack, mozzarella, or even a dairy-free cheese alternative.
Sour Cream & Green Onions: These toppings add creaminess and freshness. Greek yogurt is a nice stand-in for sour cream, especially if you want a lighter option.
How Do You Make the Perfect Tater Tot Cup Shape?
Getting those tots to stick together in a neat cup shape is key. Here’s how to make it easy and keep your cups crispy:
- Press firmly: Arrange the frozen tots in the muffin tin, then press them down and up the sides gently but firmly to form a cup shape.
- Don’t thaw: Keep the tots frozen before baking—this helps them hold their shape better and get crispy.
- Bake long enough: Bake for 20-25 minutes so the tots crisp up well and hold together when you add the toppings.
I find that using a non-stick muffin tin or spraying it well helps prevent the cups from sticking when you remove them. Let the cups cool a few minutes before removing so they firm up nicely.
Equipment You’ll Need
- Standard muffin tin – I prefer a non-stick one to help the cups come out easily and stay crispy.
- Baking sheet – useful if you want to bake the bacon separately and crumble it later for easier cleanup.
- Silicone spatula or spoon – helpful for pressing the tots into shape and distributing toppings evenly.
- Oven mitts – essential for handling the hot muffin tin safely.
Flavor Variations & Add-Ins
- Swap bacon for cooked sausage crumbles or pepperoni for a different savory flavor.
- Mix in cooked vegetables like bell peppers, jalapeños, or sautéed mushrooms for extra texture and taste.
- Use different cheeses such as Monterey Jack, pepper jack, or a blend to match your mood.
- Top with chopped fresh herbs like cilantro or parsley for a burst of freshness with each bite.
How to Make Loaded Tater Tot Cups
Ingredients You’ll Need:
Main Ingredients:
- 1 (32-ounce) bag frozen tater tots
- 6 slices bacon, cooked and crumbled
- 1 ½ cups shredded cheddar cheese, divided
- 1/3 cup sour cream, plus more for topping
- 1/4 cup chopped green onions
- Salt and pepper to taste
How Much Time Will You Need?
This recipe takes about 10 minutes to prepare and around 30 minutes to bake, so in total, you’ll need about 40 minutes from start to finish. It’s a quick and easy treat that comes together fast!
Step-by-Step Instructions:
1. Prepare the Oven and Muffin Tin:
Preheat your oven to 400°F (200°C). Lightly grease a standard muffin tin or spray it with non-stick cooking spray, so your tater tot cups won’t stick.
2. Shape the Tater Tot Cups:
Place frozen tater tots in each muffin slot in a single layer. Press them firmly against the bottom and up the sides to form little cups that will hold your fillings.
3. Bake the Tater Tot Cups:
Put the muffin tin in the oven and bake for 20-25 minutes until the tots are crispy, golden brown, and holding their shape well.
4. Add the Fillings:
Take the muffin tin out of the oven and evenly sprinkle crumbled bacon and about 1 cup of shredded cheddar cheese inside each tot cup.
5. Melt the Cheese:
Return the muffin tin to the oven for another 5-7 minutes or until the cheese has melted and is deliciously bubbly.
6. Add Final Toppings and Serve:
Let the cups cool for a few minutes. Then add a dollop of sour cream, a sprinkle of chopped green onions, and a little more shredded cheddar cheese on top of each cup. Serve warm and enjoy!
Can I Use Fresh Potatoes Instead of Frozen Tater Tots?
While you can use fresh potatoes, frozen tater tots work best because they hold their shape and crisp up easily in the muffin tin. If using fresh, parboil and partially cook them before shaping to get a similar texture.
Can I Make Loaded Tater Tot Cups Ahead of Time?
Yes! You can assemble the cups and refrigerate them for a few hours before baking. Just add extra baking time if baking from chilled. They’re best enjoyed warm, so reheat in the oven for crispiness.
How Do I Store Leftovers?
Store any leftover cups in an airtight container in the fridge for up to 3 days. Reheat in the oven at 350°F (175°C) until warmed through and crispy again.
What Are Some Tasty Variations to Try?
Try swapping bacon for cooked sausage or adding diced jalapeños for heat. You can also mix in sautéed veggies like mushrooms or bell peppers to add flavor and nutrition.