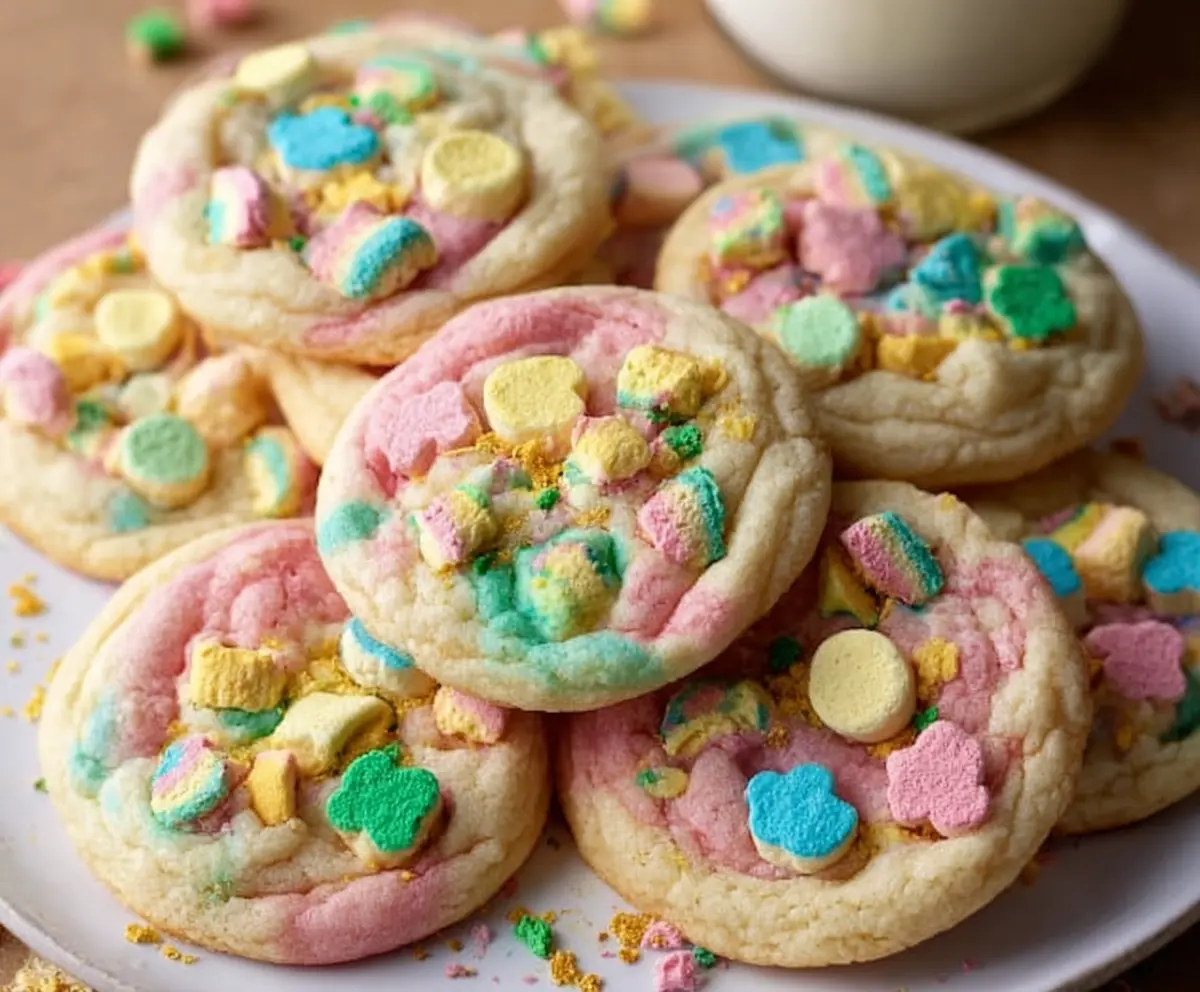
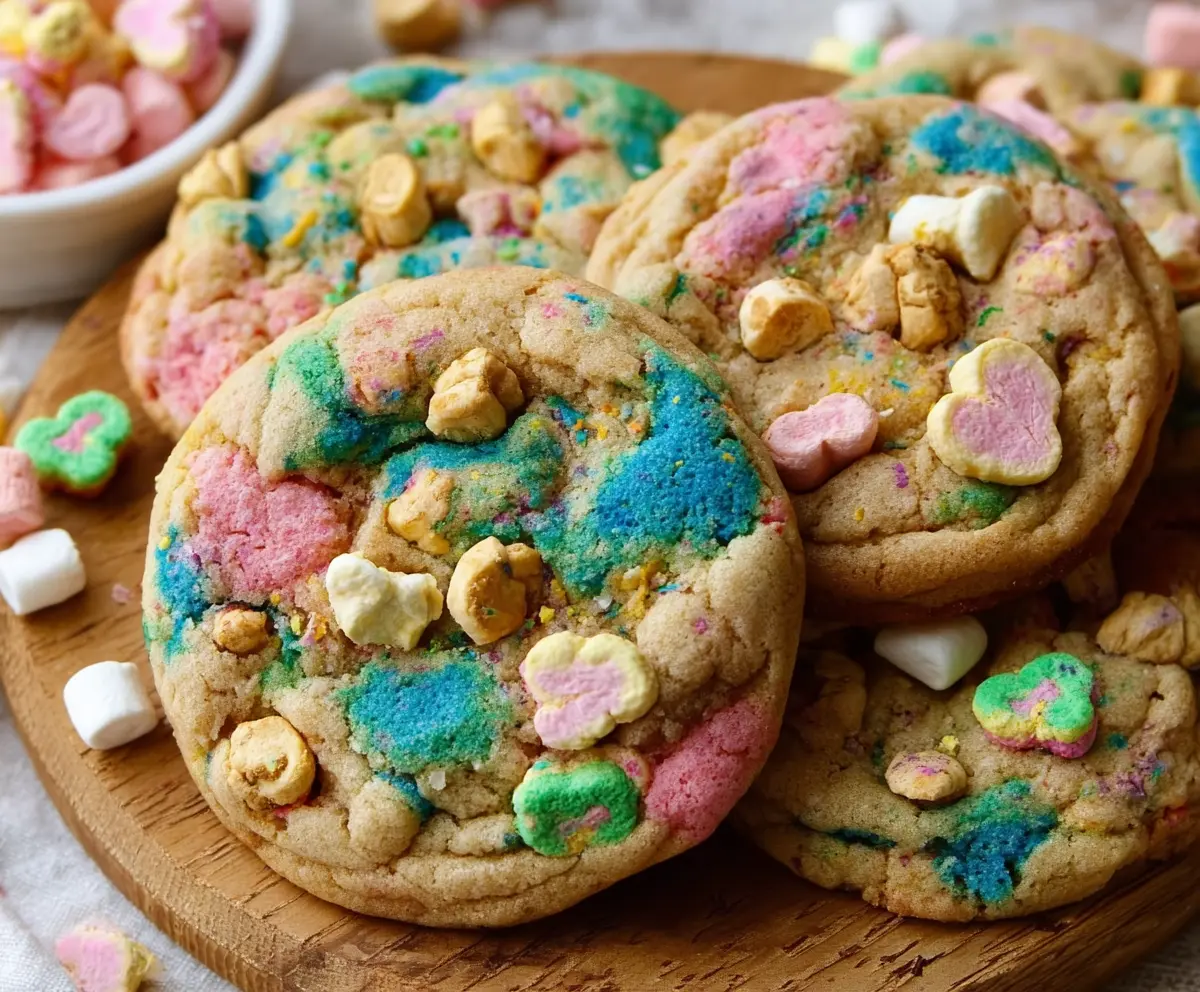
These Lucky Charms Cookies are a fun and colorful twist on your classic cookie. They’re packed with those bright, crunchy marshmallows you love from the cereal, mixed right into soft, chewy cookie dough. The combination is playful and sweet, perfect for anyone who likes a little surprise in every bite.
I love making these cookies when I want to bring a little joy to the kitchen. The marshmallows melt just enough to keep the cookies soft, but they still have that fun crunch that makes these cookies special. It’s like a treat you remember from childhood, but in cookie form, which is a win in my book!
These cookies are great for sharing, especially with kids or anyone who’s a fan of colorful, happy snacks. I often bake a batch for parties or just to brighten up an ordinary day. Pair them with a cold glass of milk or a cup of tea, and you have a simple, cheerful treat that’s hard not to smile at.
Key Ingredients & Substitutions
Butter: Unsalted butter gives the best flavor and control over salt. You can use salted butter but skip adding extra salt in the recipe.
Lucky Charms Marshmallows: These give the cookie its fun colors and sweet crunch. If you can’t find them, you can use regular mini marshmallows, but you’ll lose the rainbow charm.
Flour: All-purpose flour is best for chewy cookies. If you want a gluten-free option, try a 1-to-1 gluten-free baking flour blend.
Food Coloring (optional): It’s an easy way to make the dough bright and pretty. Use gel coloring for vibrant hues without adding extra liquid to the dough.
How Can I Keep Lucky Charms Marshmallows From Melting Too Much?
The marshmallows can melt quickly in the oven, so here are tips to keep them looking colorful and fun:
- Fold gently: Mix marshmallows into the dough at the end, folding slowly to avoid breaking them.
- Top cookies: Press a few extra marshmallows on top of each cookie before baking so they stay visible.
- Bake at 350°F: This moderate heat helps melt the cookie edges without melting the marshmallows too much.
- Watch the bake time: Bake just until the edges are golden. Overbaking makes marshmallows melt away.
Equipment You’ll Need
- Mixing bowls – I like using both a large and a small bowl for separate prep; they keep things organized.
- Electric hand or stand mixer – makes creaming butter and sugars easy and quick.
- Silicone spatula – perfect for folding in marshmallows gently without breaking them.
- Measuring cups and spoons – ensures everything is accurate for consistent results.
- Baking sheets – a sturdy, flat surface for even baking and easy handling of cookies.
- Parchment paper – prevents sticking and helps clean up easier.
- Cooling rack – lets cookies cool evenly without becoming soggy.
Flavor Variations & Add-Ins
- Swap cereal marshmallows for chocolate chips or colorful sprinkles for a different look and taste.
- Add chopped nuts, like pecans or walnuts, for some crunch and extra flavor.
- Mix in a teaspoon of cinnamon or a splash of almond extract for a different aroma and taste.
- Use white chocolate chips instead of marshmallows for a creamy, sweet twist.
How to Make Lucky Charms Cookies?
Ingredients You’ll Need:
- 2 1/4 cups all-purpose flour
- 1/2 teaspoon baking soda
- 1/4 teaspoon salt
- 1/2 cup (1 stick) unsalted butter, softened
- 1/2 cup granulated sugar
- 1/2 cup packed light brown sugar
- 1 large egg
- 1 teaspoon vanilla extract
- 1 cup Lucky Charms marshmallows, plus extra for topping
- Food coloring gels (pink and blue or other colors), optional
How Much Time Will You Need?
Getting these cookies made and baked usually takes about 25 minutes. That’s around 10 minutes for mixing and preparing the dough, plus 10-12 minutes of baking. Add a few more minutes to cool the cookies before enjoying your colorful treats!
Step-by-Step Instructions:
1. Prepare Your Oven and Dry Ingredients:
Start by preheating your oven to 350°F (175°C). Line your baking sheets with parchment paper so the cookies don’t stick. In a medium bowl, whisk the flour, baking soda, and salt together and set that aside.
2. Mix Butter and Sugars:
In a large bowl, beat the softened butter along with the granulated sugar and brown sugar until the mixture is creamy and smooth. This makes the dough nice and fluffy.
3. Add Egg and Vanilla:
Beat in the egg and vanilla extract until everything is combined well.
4. Combine Wet and Dry Ingredients:
Gradually add the dry flour mixture into the wet mixture. Stir just until everything comes together — be careful not to overmix.
5. Fold in Lucky Charms Marshmallows:
Gently fold in 1 cup of the Lucky Charms marshmallows. Try not to crush them too much—they add a fun color and texture to your cookies!
6. (Optional) Add Some Color:
If you want to get creative, divide your dough into three parts. Leave one part plain, tint one with a few drops of pink food coloring, and tint the other with blue. Swirl the colors together lightly to create a marbled effect, then combine the portions without fully mixing.
7. Shape and Top the Cookies:
Scoop tablespoons of dough onto your lined baking sheets. Press a few extra marshmallows on top of each cookie to give them that colorful look when they bake.
8. Bake and Cool:
Bake your cookies for 10-12 minutes. Look for lightly golden edges and a soft center. Once done, let them cool on the baking sheet for about 5 minutes, then move them to a wire rack to cool completely.
9. Enjoy!
Now sit back and enjoy your soft, chewy, colorful Lucky Charms cookies — a fun treat that’s sure to brighten your day!
Can I Use Frozen Butter for These Cookies?
It’s best to use softened butter for easy mixing and the right cookie texture. If your butter is frozen, let it thaw at room temperature until soft but not melted before starting.
Can I Substitute Lucky Charms Marshmallows?
Yes! You can use regular mini marshmallows, but your cookies won’t have the colorful shapes and crunch that Lucky Charms provide. Adding some rainbow sprinkles can help mimic the fun look.
How Should I Store Leftover Cookies?
Store cookies in an airtight container at room temperature for up to 3 days to keep them soft and chewy. For longer storage, freeze the cookies in an airtight container for up to a month and thaw at room temperature before serving.
Can I Make the Dough Ahead of Time?
Absolutely! You can prepare the dough and refrigerate it for up to 24 hours before baking. Just bring the dough to room temperature before scooping and baking for best results.