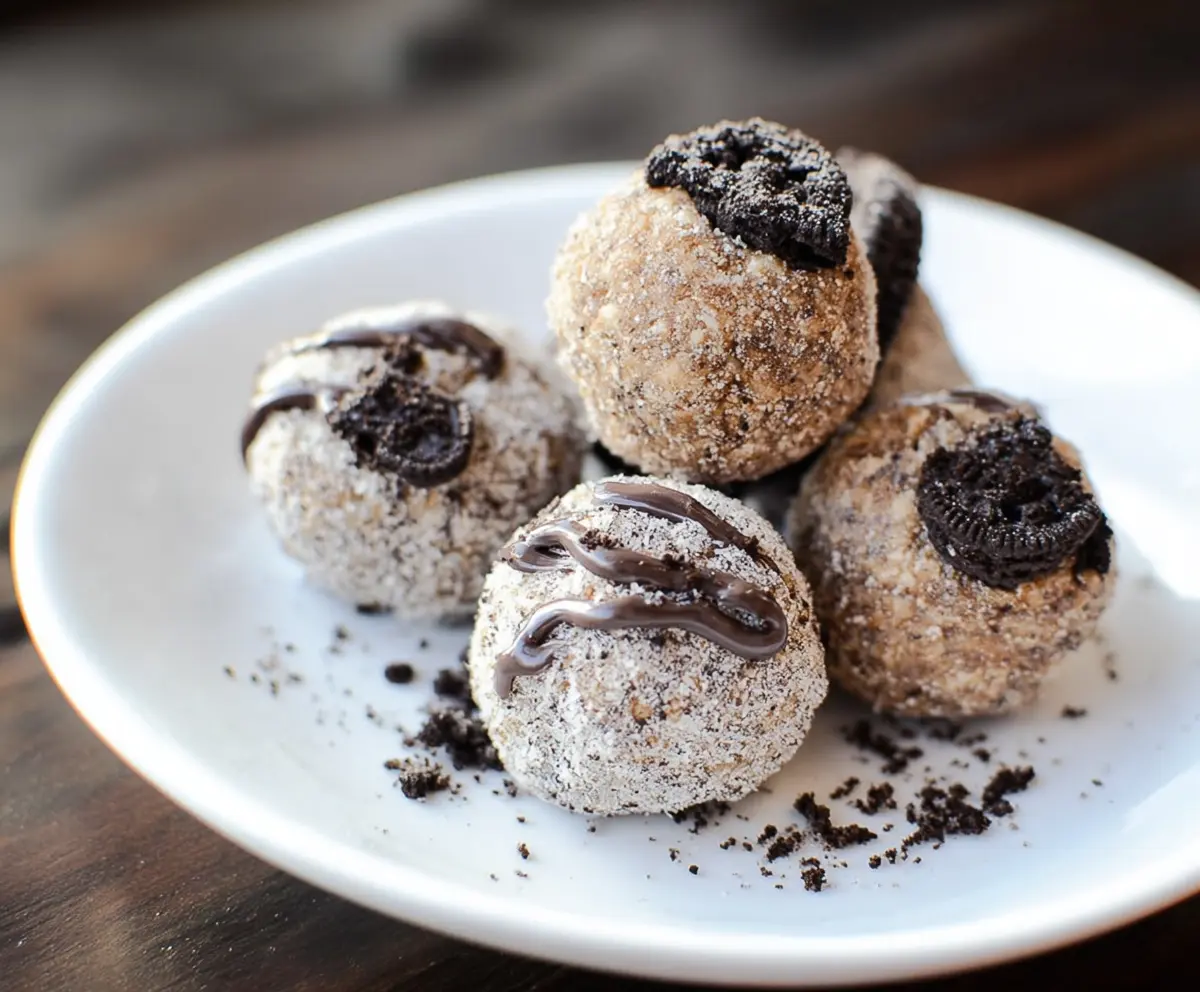
Nutritious Oreo Protein Balls are a fun and tasty way to get a little extra protein without missing out on that classic Oreo flavor. These bite-sized treats mix creamy, crunchy bits of Oreo with smooth, protein-packed ingredients, making them perfect for a quick snack or a little dessert that feels both naughty and nice.
I love making these because they’re super easy to put together, and they’re a hit with friends and family alike. I often keep a batch ready in the fridge for when I need a boost during a busy day or after a workout. Plus, they satisfy that sweet tooth without the usual guilt, which is always a win in my book!
My favorite way to enjoy these little protein balls is chilled, right out of the fridge, with a glass of cold milk or a cup of coffee. They’re perfect for sharing at gatherings, packing in lunchboxes, or just having on hand for whenever you want a quick pick-me-up that hits the spot.
Key Ingredients & Substitutions
Rolled oats: These add a nice chewy texture and fiber. If you prefer a smoother bite, you can pulse them in a food processor before mixing.
Protein powder: Choose vanilla or chocolate flavor to complement the Oreos. Plant-based protein powders work well too if you want dairy-free options.
Oreo cookies: The crushed Oreos give texture and sweetness. For a lighter choice, try reduced-fat Oreos or swap with similar chocolate sandwich cookies.
Nut butter: Peanut or almond butter both provide healthy fats and help bind the mixture. Sunflower seed butter is a good nut-free alternative.
Honey or maple syrup: These natural sweeteners add moisture and sweetness. Agave or brown rice syrup can replace them, especially if you avoid honey.
Greek yogurt: This brings creaminess and extra protein. Use dairy-free yogurt if needed, but check for thicker varieties so the balls hold shape.
How Can I Make These Protein Balls Hold Together Well?
Getting the right texture is key to shaping the balls easily. Follow these tips:
- Mix wet and dry ingredients thoroughly until sticky and consistent.
- If mixture feels too crumbly, add a little more Greek yogurt or a splash of milk to moisten it.
- Roll gently but firmly between your palms to form tight balls.
- Chilling the balls in the fridge for at least 30 minutes helps them firm up and hold their shape.
I like to keep my hands slightly damp when rolling to avoid sticking. Using chilled ingredients can also make mixing easier and less sticky. With these tricks, your protein balls will come out perfectly every time!
Equipment You’ll Need
- Mixing bowls – I recommend a large one for combining all the ingredients easily.
- Measuring cups and spoons – for precise measurements to get the right texture.
- Small scoop or spoon – helps you portion out the mixture evenly into balls.
- Plate or tray – to place the rolled balls on before chilling.
- Plastic wrap or airtight container – for storing the protein balls in the fridge.
Flavor Variations & Add-Ins
- Swap vanilla protein powder for chocolate flavor or add a little cocoa powder for a richer taste.
- Mix in chopped nuts or a few mini chocolate chips for extra crunch and flavor.
- Add a splash of coconut extract or shredded coconut for a tropical twist.
- Use different cookies like peanut butter sandwich cookies or double-stuffed Oreos for variety.
Nutritious Oreo Protein Balls
Ingredients You’ll Need:
For The Base:
- 1 cup rolled oats
- 1/2 cup vanilla or chocolate protein powder
- 10 Oreo cookies, crushed (reserve some crumbs for rolling and decoration)
- 2 tbsp unsweetened cocoa powder (optional, for extra chocolate flavor)
For The Binding:
- 1/4 cup natural peanut butter or almond butter
- 1/4 cup honey or maple syrup
- 1/4 cup Greek yogurt (plain or vanilla)
- 1 tsp vanilla extract
For The Topping (Optional):
- Dark chocolate, melted for drizzling
- Extra crushed Oreo cookie pieces
How Much Time Will You Need?
This recipe takes about 10 minutes of preparation. Then, you’ll need at least 30 minutes to chill the protein balls in the fridge so they firm up nicely. Overall, plan for around 40 minutes total before enjoying!
Step-by-Step Instructions:
1. Mixing the Dry Ingredients:
Start by putting the rolled oats, protein powder, crushed Oreos (except the crumbs saved for rolling), and cocoa powder (if you’re using it) into a large bowl. Give everything a good stir to mix well.
2. Preparing the Wet Ingredients:
In a separate smaller bowl, combine the peanut butter, honey or maple syrup, Greek yogurt, and vanilla extract. Stir these together until smooth and creamy.
3. Combining Wet and Dry:
Pour the wet mixture into the dry ingredients and stir until fully combined. The mixture should be sticky enough to roll. If it feels too dry, add a bit more Greek yogurt or a splash of milk to help it come together.
4. Forming the Balls:
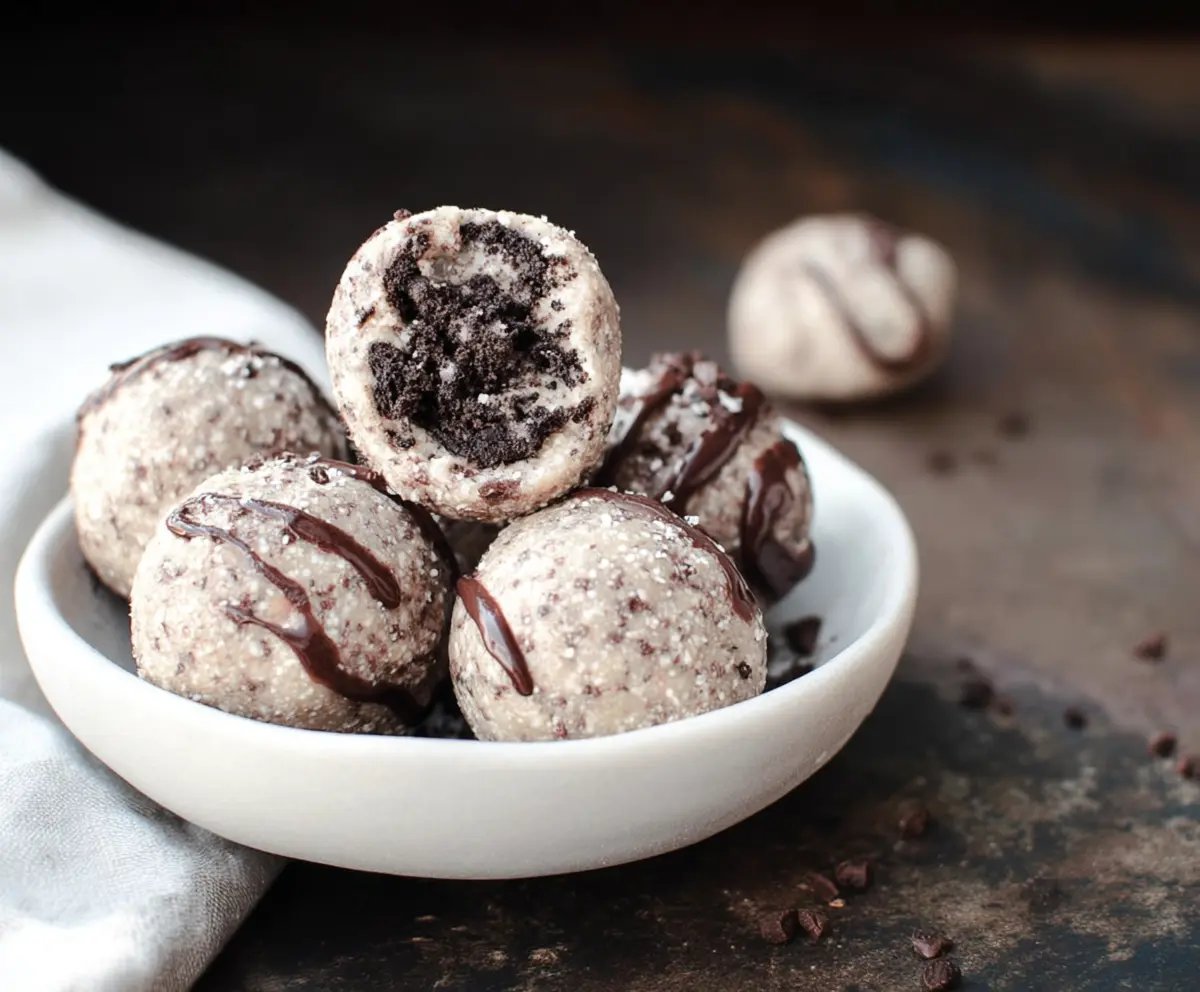
Take small amounts of the mixture and roll them between your palms into balls about 1 inch wide. This step is fun, so enjoy shaping each one! Roll the balls in the reserved Oreo crumbs to coat them completely.
5. Adding the Final Touches:
Place the protein balls on a plate or tray. If you like, drizzle melted dark chocolate on top and add small pieces of Oreo cookies as decoration.
6. Chilling:
Put the plate or tray in the refrigerator and chill the protein balls for at least 30 minutes. This lets them firm up so they hold their shape well.
7. Storing and Serving:
Enjoy your Oreo protein balls straight from the fridge! Keep any leftovers stored in an airtight container in the refrigerator for up to one week.
Can I Use Different Cookies Instead of Oreos?
Absolutely! Feel free to substitute Oreos with any chocolate sandwich cookies or even gluten-free options to suit your preference.
How Should I Store Leftover Protein Balls?
Store them in an airtight container in the fridge for up to one week. For longer storage, you can freeze them and thaw in the fridge before eating.
Can I Make These Protein Balls Vegan?
Yes! Use a plant-based protein powder, dairy-free yogurt, and replace honey with maple syrup or agave syrup to keep it vegan-friendly.
What Can I Do If the Mixture Is Too Dry or Crumbly?
Add a little extra Greek yogurt or a splash of milk to moisten the mixture. Mix well until it’s sticky enough to roll into balls.