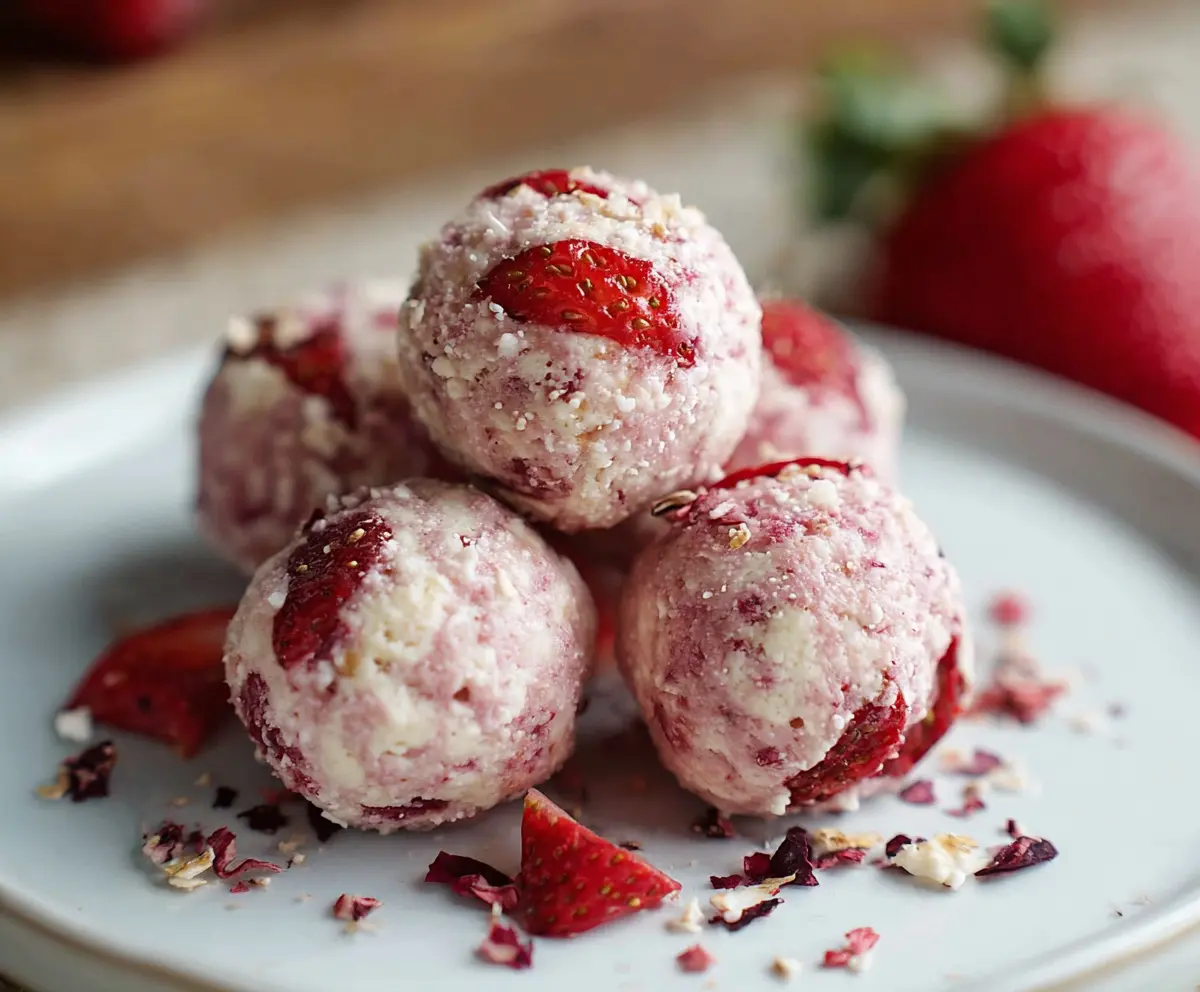
Strawberry Cheesecake Protein Balls are a tasty little treat that combine the sweetness of fresh strawberries with the creamy flavor of cheesecake, all packed into a convenient, no-bake snack. They have a soft, chewy texture with a hint of tangy cream cheese flavor that makes them feel like a mini dessert, but they’re powered up with protein to keep you going through the day.
I love making these protein balls when I want something sweet but don’t want to reach for candy or cookies. They’re super easy to whip up and keep well in the fridge, so I always have a quick snack ready. The balance of strawberries and cream cheese flavor feels fresh and satisfying without being too heavy or sugary.
My favorite way to enjoy them is just as they are, straight from the fridge for a cool, refreshing bite. They’re also perfect for packing in lunchboxes or taking along for a post-workout pick-me-up. These strawberry cheesecake protein balls turn snack time into a little moment of joy!
Key Ingredients & Substitutions
Freeze-Dried Strawberries: These give a strong strawberry flavor without extra moisture. If you don’t have freeze-dried, use chopped fresh strawberries but reduce the yogurt a bit to keep the balls firm.
Greek Yogurt or Cream Cheese: Cream cheese gives a richer “cheesecake” taste, while Greek yogurt is lighter and adds protein. Choose based on your preference or diet.
Vanilla Protein Powder: This boosts protein and adds sweetness. If you don’t have vanilla flavor, plain or unflavored protein powder works fine—just add a bit more vanilla extract.
Almond Flour or Ground Oats: Almond flour adds a slight nuttiness and keeps the texture smooth. Ground oats are a budget-friendly substitute that also works well for binding.
How Do You Get the Perfect Sticky Dough Without It Being Too Wet or Dry?
The key is to balance moisture and dry ingredients for easy rolling.
- Start mixing dry ingredients with wet and stir well to form a sticky dough.
- If it feels too crumbly or dry, add small spoonfuls of yogurt or cream cheese until it sticks together.
- If it’s too sticky to handle, add a bit more almond flour or protein powder to firm it up.
- Once it comes together, chill the dough for 10-15 minutes before rolling—it helps it hold its shape better.
With these tips, you’ll get nice, easy-to-roll balls that hold their shape but stay soft and chewy.
Equipment You’ll Need
- Large mixing bowl – I find it easiest to combine all the ingredients here and mix thoroughly.
- Spoon or spatula – helps to stir everything smoothly without mess.
- Measuring cups and spoons – ensures your ingredients are just right for the best flavor and texture.
- Small cookie scoop or your hands – makes portioning the dough quick and easy.
- Plate or tray – for placing the rolled balls before refrigerating.
- Airtight container – perfect for storing the protein balls in the fridge.
Flavor Variations & Add-Ins
- Use chopped fresh strawberries instead of freeze-dried for a juicier, fresher taste. Just cut back on the yogurt to keep it firm.
- Mix in some shredded coconut or chopped nuts for added crunch and richness.
- Swirl in a bit of lemon or orange zest for a citrus twist that brightens the flavor.
- Replace vanilla protein with chocolate or unflavored protein for different taste profiles, such as chocolate or berry flavors.
Strawberry Cheesecake Protein Balls
Ingredients You’ll Need:
- 1 cup freeze-dried strawberries, crushed
- 1 cup plain Greek yogurt or cream cheese (softened)
- 1 cup vanilla protein powder
- 1 cup almond flour or finely ground oats
- 2 tablespoons honey or maple syrup
- 1 teaspoon vanilla extract
- Pinch of salt
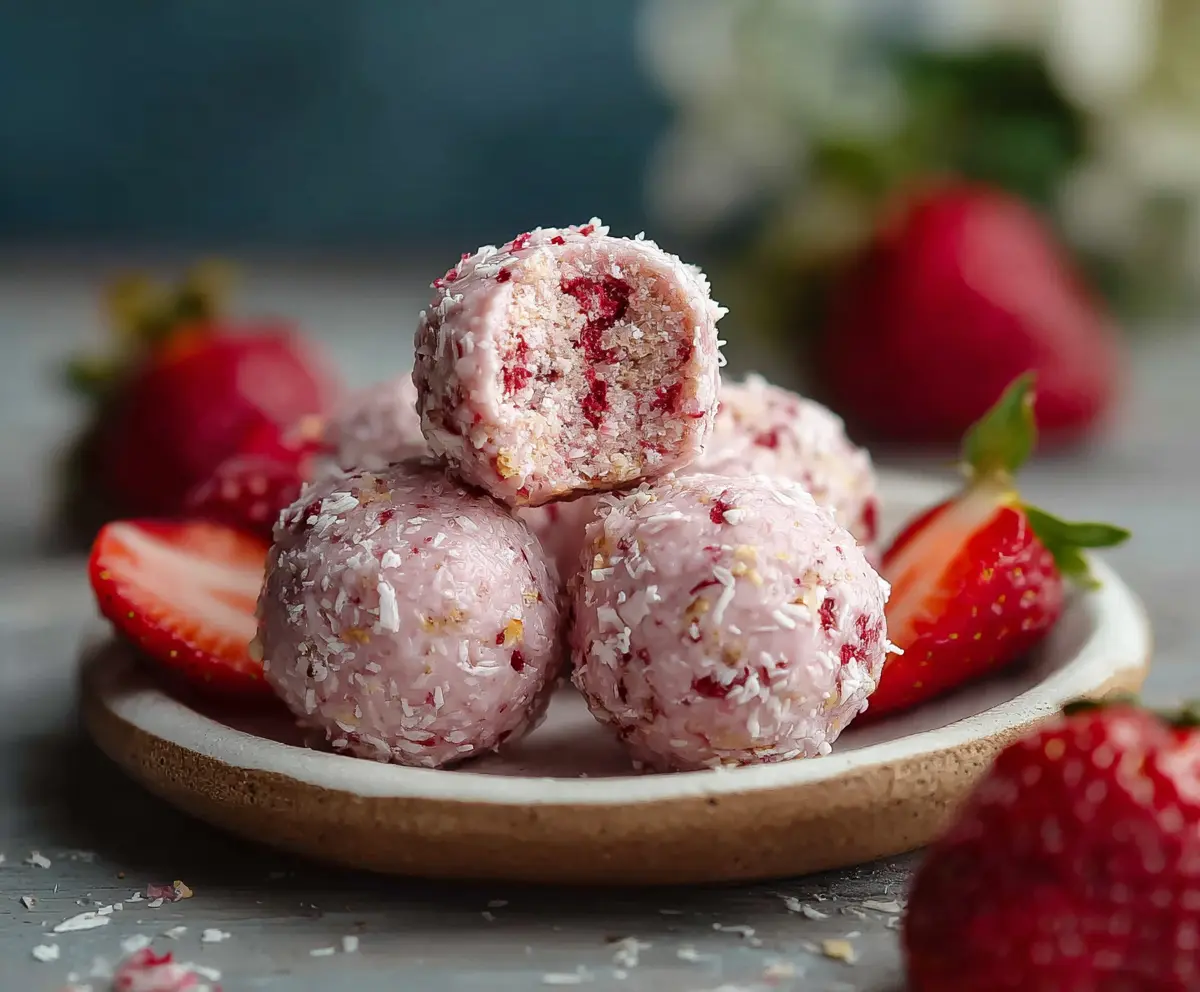
- Optional: crushed freeze-dried strawberries or shredded coconut for rolling/coating
How Much Time Will You Need?
This recipe takes about 10 minutes to prepare and mix the ingredients, plus 30 minutes of chilling time for the protein balls to firm up in the refrigerator. Perfect for a quick and easy healthy snack!
Step-by-Step Instructions:
1. Mix Dry Ingredients
In a large mixing bowl, combine the crushed freeze-dried strawberries and vanilla protein powder. Stir well to distribute the berries evenly through the powder.
2. Add Wet Ingredients and Combine
Add the softened cream cheese or Greek yogurt, almond flour (or ground oats), honey or maple syrup, vanilla extract, and a pinch of salt. Mix everything together using a spoon or your hands until a sticky dough forms. If the mixture feels too dry, add a little more yogurt or cream cheese. If it’s too wet, slowly add more protein powder or almond flour until it reaches a moldable consistency.
3. Shape the Protein Balls
Scoop out small portions of the mixture and roll them between your palms to form bite-sized balls. If you like, roll them in extra crushed freeze-dried strawberries or shredded coconut for a nice coating.
4. Chill and Store
Place the protein balls on a plate or tray and refrigerate for at least 30 minutes to help them firm up. Store any leftovers in an airtight container in the fridge. Enjoy your strawberry cheesecake protein balls chilled for a healthy, delicious snack any time!
Can I Use Fresh Strawberries Instead of Freeze-Dried?
Yes! Fresh strawberries work, but they add extra moisture. Reduce the amount of yogurt or cream cheese slightly to keep the dough firm and easy to roll.
How Long Do These Protein Balls Last?
Store them in an airtight container in the refrigerator for up to 5 days. For longer storage, you can freeze them and thaw in the fridge before eating.
Can I Make These Vegan?
Absolutely! Use a plant-based protein powder, dairy-free cream cheese or yogurt, and maple syrup instead of honey to keep it vegan-friendly.
What If I Don’t Have Almond Flour?
No problem! Ground oats or oat flour are great substitutes and provide a similar texture while keeping the recipe gluten-free if you choose certified oats.