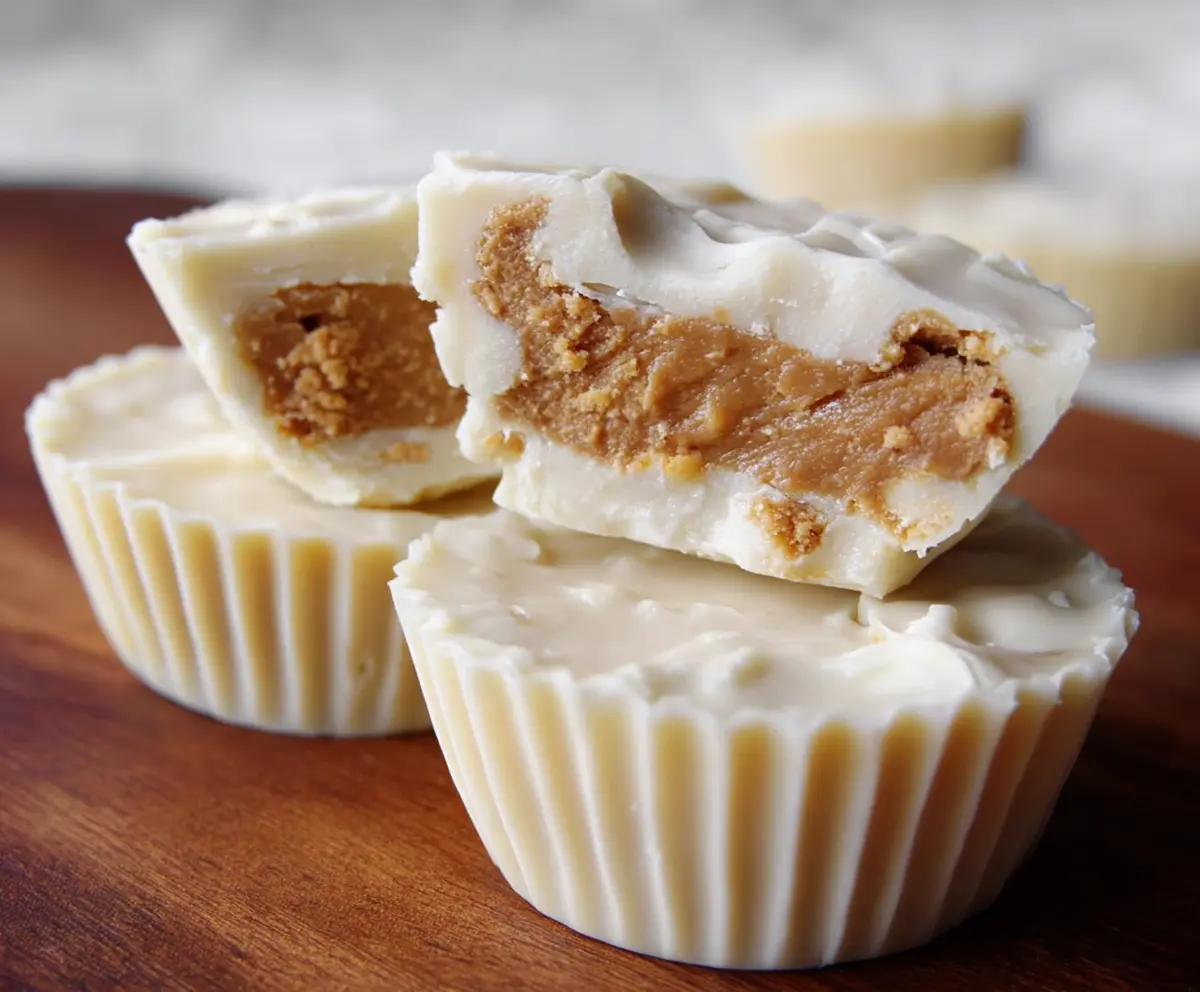
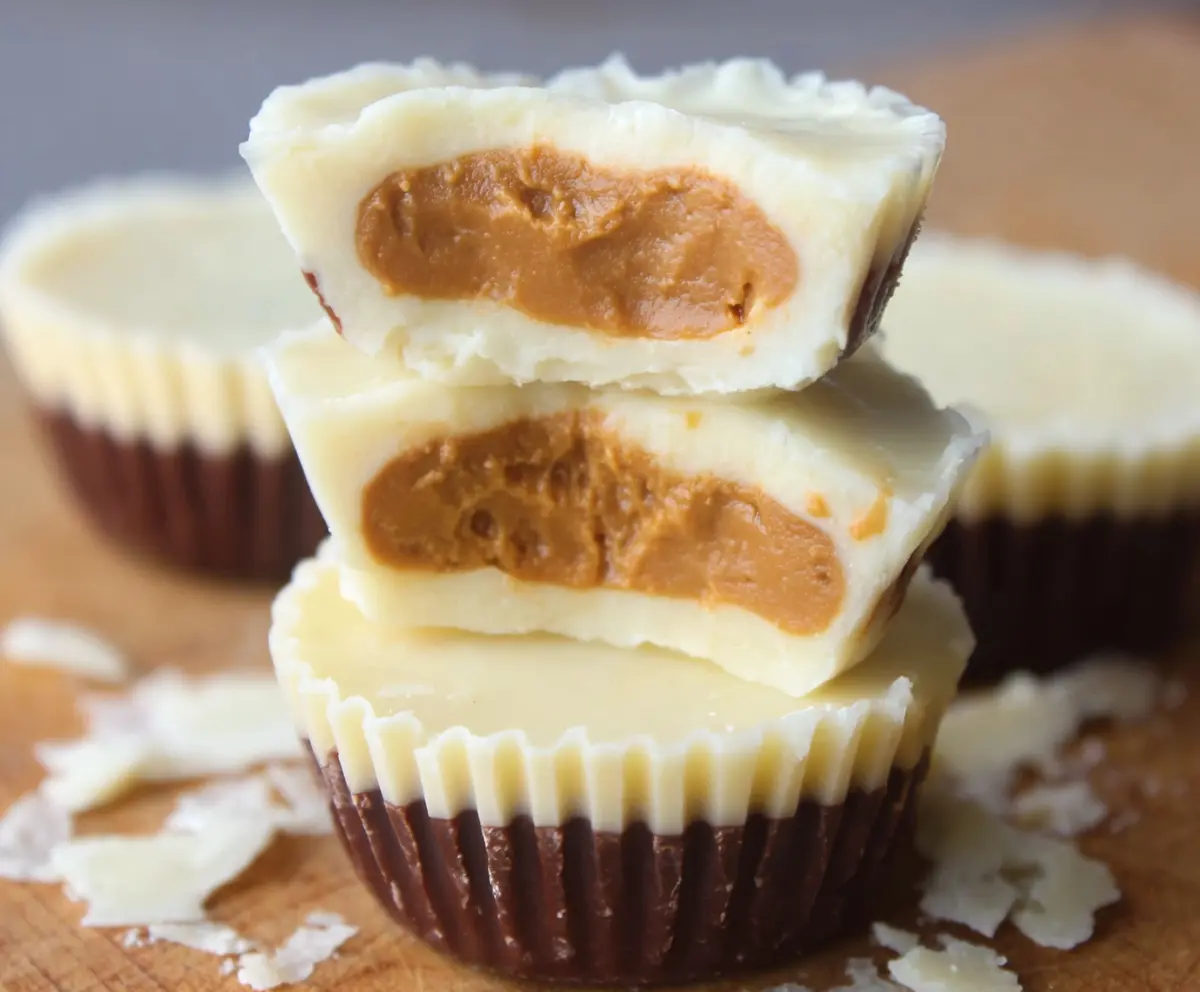
White Chocolate Peanut Butter Cups are a sweet treat that brings together creamy white chocolate and smooth peanut butter in one perfect bite. The rich, melt-in-your-mouth texture of the chocolate pairs beautifully with the slightly salty, nutty peanut butter filling, making these cups a favorite for anyone who loves a little sweet and salty in their snacks.
I love making these at home because they’re so simple but feel special—plus, I get to customize the peanut butter filling just how I like it, sometimes adding a pinch of sea salt or a touch of honey. They’re also fun to unwrap and share with friends or keep tucked away for when I need a little pick-me-up during the day.
My favorite way to enjoy these peanut butter cups is slightly chilled, just enough to keep the chocolate firm but still soft enough to melt on my tongue. They’re perfect for sharing at parties or enjoying as a little reward after a busy day. I bet once you try them, you’ll keep reaching for one more!
Key Ingredients & Substitutions
White Chocolate: Using good-quality white chocolate chips or chopped bars makes a huge difference. They melt smoothly and taste rich. If you can’t find white chocolate, you might try a vanilla-flavored candy coating, but the texture won’t be quite the same.
Peanut Butter: Creamy peanut butter works best for that smooth filling. If you prefer a little crunch, try crunchy peanut butter. For a healthier twist, you can use natural peanut butter, but thin it slightly with a bit of powdered sugar or honey to keep the filling firm.
Powdered Sugar: This sweetens and thickens the peanut butter layer. If you want to cut back on sugar, try adding a pinch of stevia or a little honey, but the texture may change a bit.
Butter & Vanilla Extract: Butter adds richness to the filling and helps it hold together, while vanilla boosts the flavor. You could substitute butter with coconut oil if you want a dairy-free version.
How Do You Get Smooth, Shiney White Chocolate Without Seizing?
Melting white chocolate can be tricky—it loves to seize or get grainy if it overheats or meets water. Here’s what helps me:
- Melt in short bursts: 20-30 seconds in the microwave, stirring well each time.
- Keep the bowl dry; moisture causes chocolate to seize.
- Use gentle heat and avoid rushing—residual heat will melt it completely.
- If it thickens too fast, add a small splash of vegetable oil and stir gently to smooth it out.
- Don’t let the bowl touch hot water or steam if melting over a double boiler.
These steps keep the chocolate silky and easy to spread, so your peanut butter cups look and taste perfect.
Equipment You’ll Need
- Mixing bowls – I recommend them for mixing the peanut butter filling and melting the chocolate easily.
- Microwave-safe bowl – makes melting the white chocolate quick and smooth.
- Mini muffin tin – perfect for shaping the cups and keeping them neat.
- Paper cupcake liners – help with easy removal and add a tidy look.
- Spatula or spoon – useful for spreading the melted chocolate and peanut butter evenly.
Flavor Variations & Add-Ins
- Add a few drops of peppermint or orange extract to the peanut butter for a fresh flavor twist.
- Mix in chopped nuts or shredded coconut into the peanut butter filling for extra texture.
- Use dark or milk chocolate instead of white for a richer, different taste.
- Top with a drizzle of caramel or sprinkle sea salt on top before chilling for a salty-sweet combo.
White Chocolate Peanut Butter Cups
Ingredients You’ll Need:
- 2 cups white chocolate chips or chopped white chocolate
- 1/2 cup creamy peanut butter (smooth or slightly textured)
- 1/4 cup powdered sugar
- 2 tablespoons unsalted butter, softened
- 1/4 teaspoon vanilla extract
- Pinch of salt (optional)
- Paper cupcake liners
How Much Time Will You Need?
This recipe takes about 15 minutes to prepare, plus around 1 hour to chill and set in the freezer or fridge. That’s it! A quick and easy treat you can make ahead and enjoy anytime.
Step-by-Step Instructions:
1. Prepare the Cups:
Start by lining a mini muffin tin with paper cupcake liners. Pop the tin in the freezer to chill while you get ready to melt the chocolate.
2. Melt White Chocolate Base:
In a microwave-safe bowl, melt 1 1/4 cups of white chocolate chips in 20-30 second bursts. Stir well after each burst to avoid burning and make sure it’s smooth and creamy.
3. Create the Chocolate Bottom Layer:
Scoop about one teaspoon of melted white chocolate into each cupcake liner and spread it out evenly to form the base. Put the tin back into the freezer so this layer firms up while you prepare the peanut butter filling.
4. Make the Peanut Butter Filling:
Mix together the creamy peanut butter, powdered sugar, softened butter, vanilla extract, and a pinch of salt in a bowl. Stir it until smooth and thick—it should hold its shape nicely.
5. Add the Peanut Butter Layer:
Once the chocolate base is firm, place about one tablespoon of the peanut butter mixture on top of each cup. Gently press it down to form an even layer.
6. Top with White Chocolate:
Now melt the remaining 3/4 cup of white chocolate the same way you did before. Spoon this melted chocolate over the peanut butter filling so it’s completely covered.
7. Chill and Set:
Put the muffin tin back in the freezer for at least 1 hour to let your peanut butter cups set up nice and firm.
8. Serve and Store:
When ready, remove the peanut butter cups from the liners and store them in an airtight container in the refrigerator. Enjoy your delicious, creamy, sweet, and slightly salty treat whenever you want!
Can I Use Frozen Peanut Butter for the Filling?
It’s best to use softened peanut butter for a smooth filling. If your peanut butter is frozen, let it thaw in the fridge overnight or at room temperature for about an hour before mixing.
Can I Substitute White Chocolate with Dark or Milk Chocolate?
Absolutely! Using dark or milk chocolate will change the flavor profile but still taste delicious. Just melt and use the same way as white chocolate in the recipe.
How Should I Store Leftover Peanut Butter Cups?
Store leftover cups in an airtight container in the refrigerator for up to 1 week. If you prefer them firmer, keep them chilled, and bring to room temperature briefly before eating for a softer bite.
Can I Make These Peanut Butter Cups Ahead of Time?
Yes! They keep well in the fridge or freezer, so prepare them a day or two ahead. If freezing, thaw in the fridge before serving for the best texture.