Boston butt pork roast earns its place in the rotation because it turns a tough, inexpensive cut into something deeply tender, smoky, and full of porky richness. After hours in the oven, the outside sets into a dark bark while the inside loosens into juicy shreds that pull apart without a fight. It’s the kind of roast that fills the house with the smell of brown sugar, paprika, and garlic long before dinner is ready.
The trick is patience and heat that stays low enough to soften the meat without drying it out. A bone-in pork butt brings extra flavor and helps the roast cook more evenly, while the vinegar in the pan keeps the environment moist and gives the drippings enough sharpness to balance all that fat and sweetness. The dry rub does more than season the surface; it forms the crust that makes the finished pork worth the wait.
Below, I’ll walk you through how to get that bark-like exterior, when the roast is actually done, and why the rest matters before you shred it. If you’ve ever had pulled pork turn out dry or stringy, this method fixes that.
The pork shredded exactly at 200°F and the pan juices kept it from drying out. I made sandwiches first, then used the leftovers for tacos the next day.
Save this Boston butt pork roast for the nights when you want barky pulled pork with almost no hands-on work.
The Bark Forms Because the Roast Stays Wet, Not Steamed
Most pulled pork goes wrong when the meat spends the whole cook trapped in its own moisture with nowhere for the surface to dry out. This version starts with a real rub, then stays covered only long enough for the interior to turn tender. Near the end of the cook, the bark develops because the roast has enough time to lose surface moisture and the sugar in the rub can darken without scorching.
The other mistake is rushing the temperature. Pork butt isn’t done when it looks soft on the outside; it’s done when the connective tissue has broken down enough that a fork slides in with almost no resistance. That usually happens in the 195°F to 205°F range, not at some neat round number on the thermometer.
What the Rub and Vinegar Are Each Doing Here
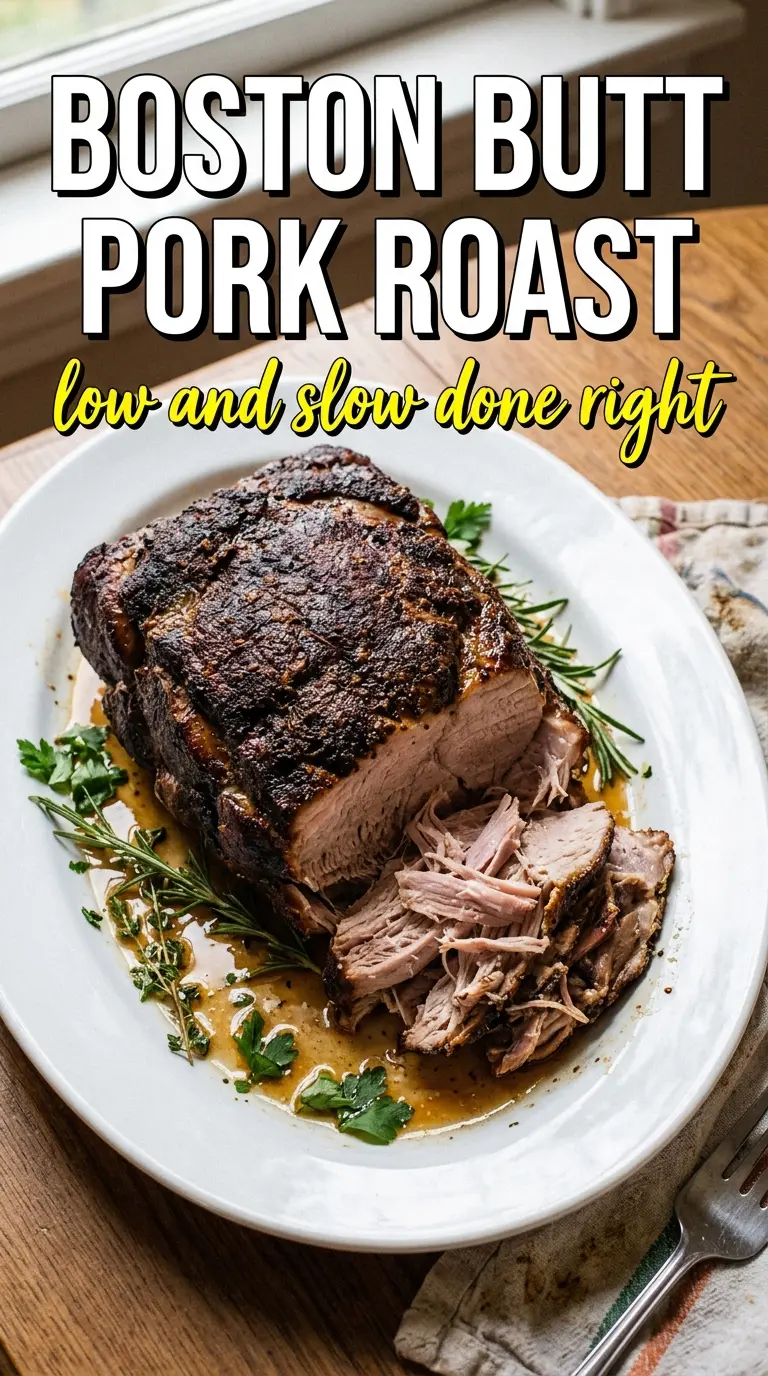
- Bone-in pork butt — The bone helps the roast cook more evenly, and the marbling inside this cut is what turns into tender shreds after a long roast. Boneless works in a pinch, but the bone-in version gives you a little more forgiveness and a deeper pork flavor.
- Brown sugar — This feeds the bark and balances the smoke from the paprika. You can reduce it slightly if you want a less sweet crust, but don’t skip it completely or the exterior will taste flatter.
- Smoked paprika — This gives the roast its smoky depth in an oven recipe, where you’re not getting actual wood smoke. Regular paprika won’t taste wrong, but it won’t build the same savory edge.
- Apple cider vinegar — This keeps the pan from drying out and gives the drippings a bright note that cuts through the richness. If you need to swap it, use apple juice mixed with a little white vinegar, but expect a softer, less tangy finish.
- Salt and black pepper — These need to get all the way around the roast, not just sprinkled on top. The seasoning that lands on the fat cap still matters because it helps build the crust you’ll shred through later.
How to Get from Big Whole Roast to Juicy Shreds
Building the Rubbed Surface
Mix the rub until the brown sugar breaks up and the spices look evenly distributed, then press it over every side of the pork butt. Don’t just dust the top; the sides and bottom matter for flavor and bark. If you have time, let it sit overnight in the fridge so the salt starts working into the meat and the surface dries out a little, which helps the crust form later.
Roasting Low and Slow
Set the pork fat-side up in a roasting pan and pour the vinegar around the bottom, not over the top. Cover the pan tightly with foil so the heat stays gentle and the meat softens before the surface has a chance to burn. The roast is done when a thermometer reads 195°F to 205°F in the thickest part and a probe or fork meets almost no resistance.
Resting Before You Pull It
Let the roast rest uncovered for about 30 minutes before shredding. That pause keeps the juices from running everywhere the second you cut in, and it also gives the bark a moment to set so it doesn’t disappear into mush. If you shred too soon, the meat will still taste good but it will lose a lot of what makes pulled pork worth serving.
Tossing in the Juices
Shred the meat with two forks, discarding the heavy fat pockets as you go, then spoon the pan juices back over the pork. That step brings the whole roast back to life and keeps the finished meat from tasting one-note. Add BBQ sauce at the end, not during the roast, so the sugars in the sauce don’t darken too fast and turn bitter.
How to Adapt This for Sandwiches, Burnt Ends, or a Lighter Plate
For classic pulled pork sandwiches
Toss the shredded pork with enough pan juices to keep it glossy, then add BBQ sauce just before serving. Brioche buns hold up best because they’re soft but sturdy, and a crunchy slaw cuts through the richness without making the sandwich soggy.
For a gluten-free plate
The pork itself is naturally gluten-free, so the only thing to check is your BBQ sauce and any buns or sides. Serve it over rice, roasted potatoes, or corn tortillas if you want the same slow-cooked pork experience without the bread.
For a less sweet, more savory roast
Cut the brown sugar back by half and lean a little harder on the black pepper and smoked paprika. You’ll lose some of the sticky crust, but the pork will taste more like a savory roast than a barbecue-style one.
For leftovers that stay useful
Store the shredded pork with a little of the pan juice mixed in so it doesn’t dry out in the fridge. Reheat it gently in a covered skillet with a splash of water or broth; high heat will make the edges tough before the center warms through.
Storage and Reheating
- Refrigerator: Keep leftovers in an airtight container for 4 days. The bark softens a bit, but the flavor stays strong.
- Freezer: Freeze shredded pork in portions with some pan juices for up to 3 months. Thaw overnight in the fridge so it reheats evenly.
- Reheating: Warm gently in a covered skillet or baking dish at low heat with a splash of liquid. Don’t blast it in the microwave without moisture or the leaner pieces will turn dry and stringy.
Answers to the Questions Worth Asking
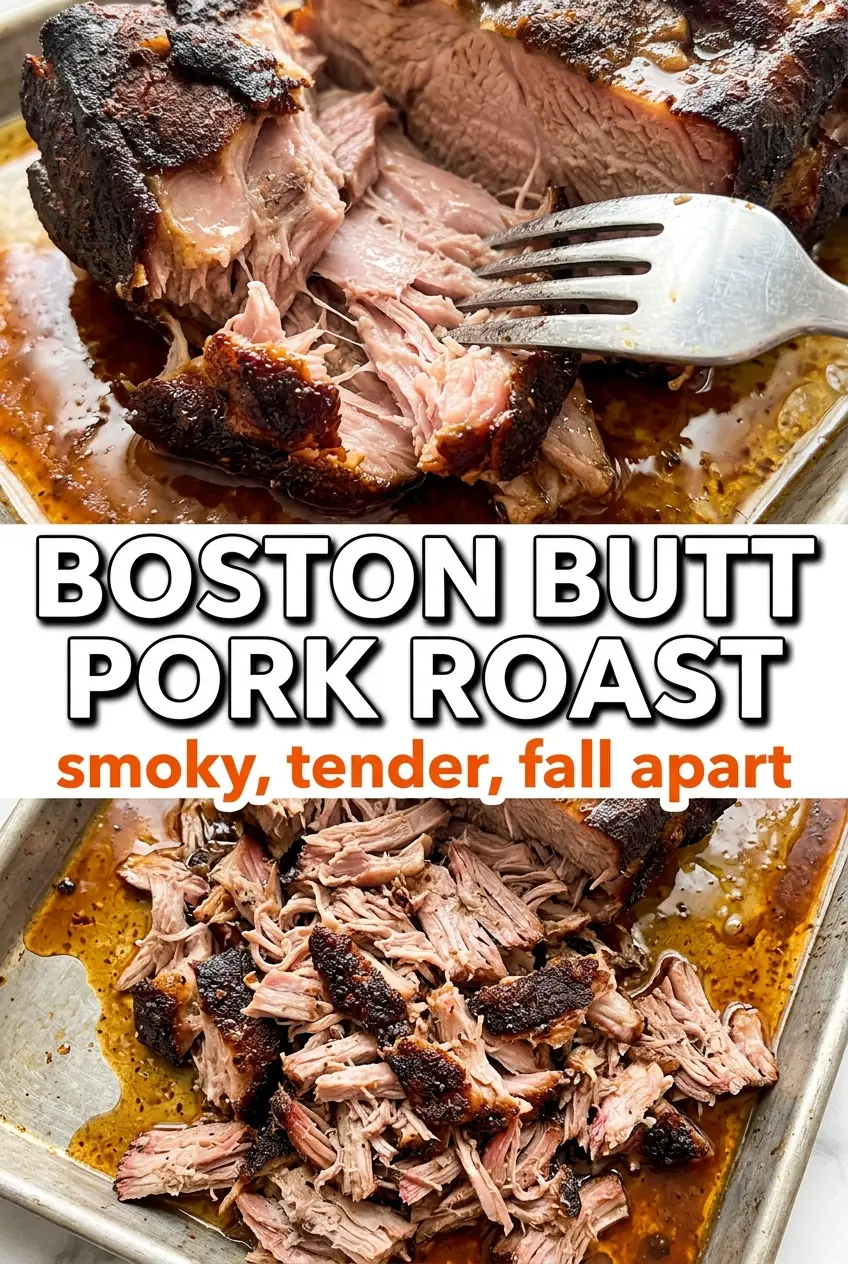
Boston Butt Pork Roast (Oven Pulled Pork)
Ingredients
Equipment
Method
- Mix brown sugar, smoked paprika, garlic powder, onion powder, cumin, cayenne, salt, and black pepper into a dry rub, then coat the bone-in pork butt thoroughly on all sides. Cover and refrigerate overnight if possible to deepen the flavor.
- Preheat the oven to 275°F. Place the pork fat-side up in a roasting pan and pour the apple cider vinegar around the bottom.
- Cover tightly with foil and roast at 275°F for 7–8 hours, until the internal temperature reaches 195–205°F and the meat shreds easily. Keep the roast covered for most of the cooking time to prevent drying.
- Rest the roast uncovered for 30 minutes. Shred with two forks, discarding excess fat.
- Toss the shredded pork with pan juices. Serve with BBQ sauce on brioche buns.