Deeply golden braised chicken gives you the kind of dinner that tastes like it took all afternoon, even though most of the work happens in one pot and the oven does the rest. The skin starts out crisp and bronzed, then settles into a glossy braising liquid that turns the meat tender without stripping it of flavor. The carrots soften into the broth, the garlic melts down just enough to perfume everything, and the whole dish finishes with a sauce that feels built, not dumped together.
What makes this version work is the order. The chicken gets a hard sear first, which gives you flavor and color before anything goes into the liquid. Tomato paste is cooked briefly with the vegetables so it loses that raw edge and deepens the broth instead of tasting sharp. A little white wine lifts the browned bits from the pan, and the final swirl of butter smooths the sauce without making it heavy.
Below, I’ll show you how to keep the chicken skin from going soft too early, how to build a braise that tastes rich instead of watery, and what to change if you want to make it without wine.
The chicken came out fall-apart tender and the sauce was glossy and full of flavor without being salty. I loved that the skin browned first and didn’t disappear in the oven.
Save this braised chicken for the nights when you want tender thighs, a glossy white wine pan sauce, and one Dutch oven doing all the work.
The Sear Is the Difference Between Braised and Bland
The biggest mistake with braised chicken is rushing past the sear because the oven will “finish it anyway.” The oven cooks the meat, but the skillet builds the flavor. If the skin doesn’t get deeply golden in the first few minutes, the final dish tastes muted and the sauce never gets that rounded, roasted depth.
Keep the heat at medium-high and give the thighs room so they can brown instead of steam. The skin should release easily when it’s ready; if it sticks, it needs another minute. Once you lift the chicken out, don’t toss the browned bits stuck to the pan. That’s the good stuff, and the wine will pull it into the sauce.
What Each Ingredient Is Actually Doing in the Pot
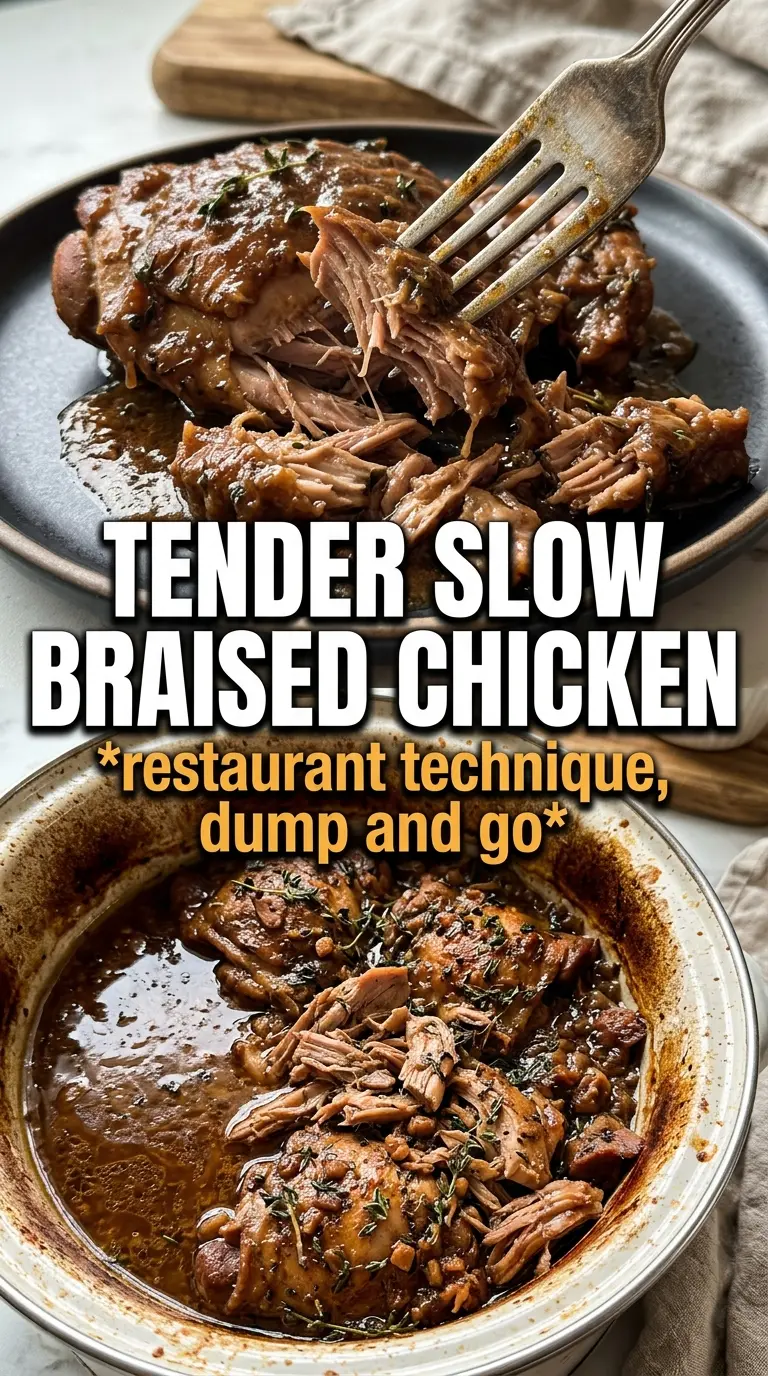
- Bone-in, skin-on chicken thighs — These stay juicy through the braise and give you enough fat and collagen to keep the sauce rich. Boneless thighs work in a pinch, but they cook faster and the sauce won’t have quite the same body.
- Dry white wine — This adds brightness and helps dissolve the browned bits left from searing. If you skip it, use extra broth with a small splash of lemon juice at the end so the braise doesn’t taste flat.
- Tomato paste — A small amount gives the sauce color and a deep savory note. Cook it for the full 2 minutes so it stops tasting sharp and starts tasting sweet and concentrated.
- Fresh thyme, rosemary, and bay leaf — These herbs perfume the broth without overpowering the chicken. Dried thyme can replace fresh, but use less because it reads louder in a braise.
- Butter — Swirled in at the end, it softens the edges of the sauce and gives it a sheen. Add it off the heat or low heat so the sauce stays smooth.
Building the Braise So the Sauce Stays Rich, Not Watery
Getting the Chicken Browned Properly
Season the thighs generously, then lay them skin-side down in hot oil and leave them alone until the skin is deep golden and crisp at the edges. The pan will tell you when it’s ready to release the chicken; if you force it early, the skin tears and the browning stays on the pan instead of on the meat. Pull the chicken out once the first side is well developed, not just lightly colored.
Cooking Down the Aromatics
The onion and carrots need a few minutes in the rendered fat to soften and pick up color. When the garlic and tomato paste go in, the mixture should smell sweet and savory, not raw and acidic. If the paste still looks bright red after a minute or two, keep cooking; undercooked tomato paste is one of the easiest ways to end up with a thin, sharp sauce.
Deglazing and Braising
Pour in the wine and scrape the bottom of the pot right away. That liquid should bubble and pull up the browned bits into the sauce base. Once the broth, herbs, and chicken go back in, the liquid should come partway up the thighs, not cover them completely, and the skin should stay above the broth as much as possible so it doesn’t turn soggy.
Finishing the Sauce
When the chicken is tender, lift it out and swirl in the butter after the pot comes off the heat or drops to low. That last step gives the sauce a glossy finish and smooths out the edges of the wine and tomato. If it tastes flat at the end, it usually needs a little salt more than more butter, so taste before adjusting.
How to Adapt This Braised Chicken Without Losing the Good Part
Make It Dairy-Free
Skip the butter at the end and finish with a teaspoon of olive oil instead. You won’t get the same silky sheen, but the sauce will still be round and glossy if you’ve reduced it enough.
Braised Chicken Without Wine
Use an extra 1/2 cup chicken broth plus 1 tablespoon lemon juice or a splash of white wine vinegar. That keeps the sauce bright enough to balance the richness, since broth alone can taste heavy after a long braise.
Add Potatoes for a One-Pot Dinner
Tuck small Yukon gold potatoes around the chicken before it goes into the oven. They’ll soak up the braising liquid and turn buttery, but cut them evenly so they finish at the same time as the thighs.
Storage and Reheating
- Refrigerator: Store covered for up to 4 days. The flavors deepen overnight, and the sauce will thicken as it chills.
- Freezer: It freezes well for up to 2 months. Cool completely first, then freeze the chicken with plenty of sauce so the meat stays from drying out.
- Reheating: Warm gently on the stovetop over low heat with a splash of broth. High heat will tighten the chicken and can make the sauce separate.
Answers to the Questions Worth Asking
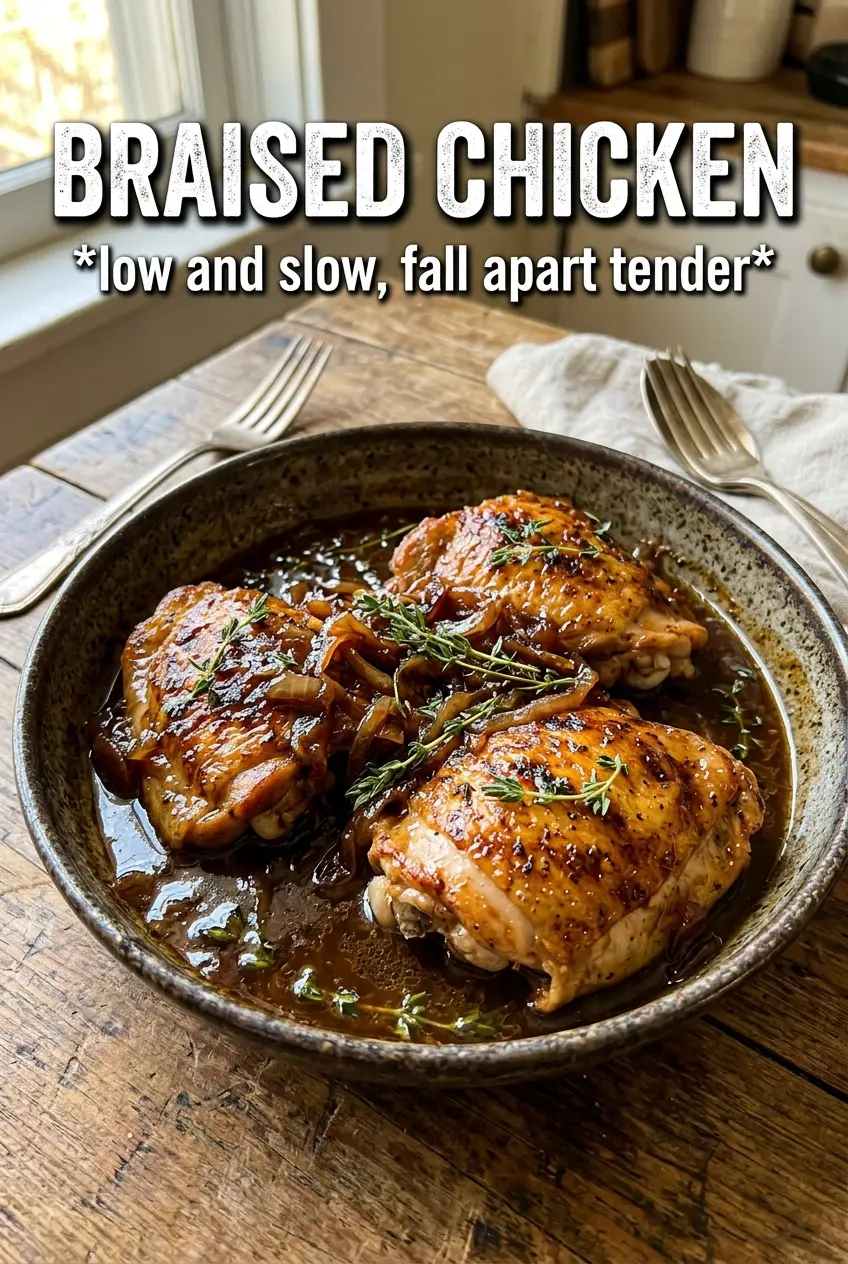
Braised Chicken
Ingredients
Equipment
Method
- Preheat oven to 325F, then season the bone-in skin-on chicken thighs generously with salt and pepper.
- Heat olive oil in a Dutch oven over medium-high heat.
- Place chicken skin-side down and sear for 6-7 minutes until deeply golden, then remove to a plate.
- Sauté onion and carrots for 4 minutes, then add garlic and tomato paste and cook for 2 minutes.
- Pour in dry white wine and simmer for 2 minutes to deglaze, scraping up browned bits.
- Add chicken broth, fresh thyme, fresh rosemary, and bay leaf, then return chicken skin-side up.
- Cover and braise in the oven at 325F for 35-40 minutes until the chicken is very tender.
- Swirl in unsalted butter, then remove the bay leaf and herbs.
- Garnish with fresh parsley and serve with the glossy braising liquid.