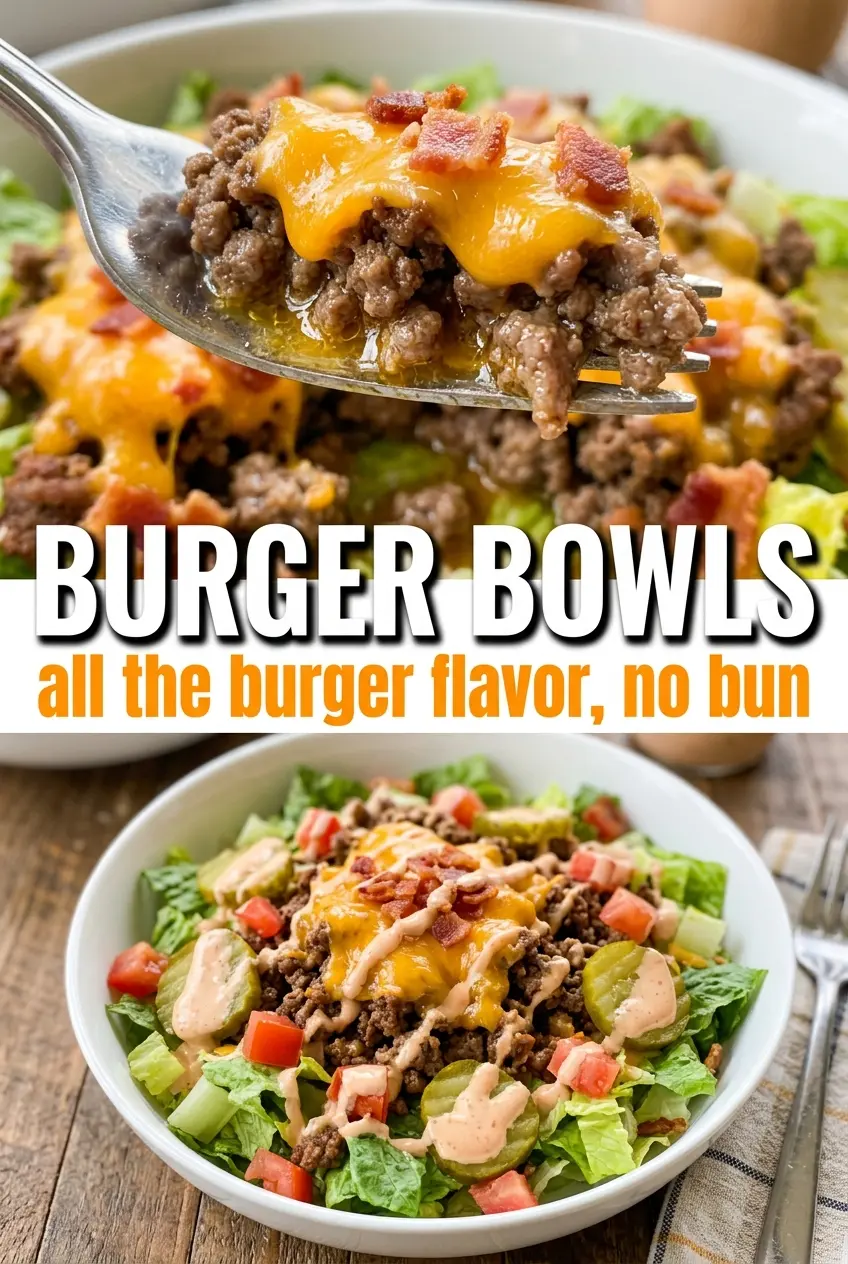
Burger bowls hit that same salty, smoky, messy-satisfying note as a great cheeseburger, but without the bun getting in the way. You get crisp lettuce, juicy beef, sharp cheddar, pickles, and that creamy burger sauce in every bite, which is exactly why this one lands on repeat in my kitchen.
The trick is treating the beef like burger meat, not taco filling. A hot skillet gives you browned edges and better flavor, and draining off excess fat keeps the bowl from turning greasy. The sauce also matters: it should taste a little tangy, a little sweet, and a little like the burger joint version you’d actually go back for.
Below, I’m walking through the little details that keep the lettuce crisp, the beef flavorful, and the sauce balanced. I’ve also added the swaps I use when I want to make these dairy-free, lower-carb, or stretch them for a bigger dinner crowd.
The beef browned beautifully and the sauce had that perfect fast-food tang. I layered the bowls right before dinner, and the lettuce stayed crisp instead of wilting under the hot meat.
Like the crisp, saucy burger bowl layers? Save this one for nights when you want all the burger flavors without turning on the grill.
The Reason Burger Bowls Stay Crisp Instead of Turning Soggy
The biggest mistake with a burger bowl is building it like a salad and then piling hot beef on top too early. That softens the lettuce fast, which is how a fresh bowl turns limp before it ever hits the table. Here, the beef is cooked first, drained, and then layered over sturdy greens right before serving so each component keeps its own texture.
The second mistake is underseasoning the beef. Ground beef needs salt, garlic powder, and onion powder to taste like a burger instead of plain crumbles. The sauce helps too, but it shouldn’t have to carry the whole bowl. When the meat is seasoned well, the pickles and tomatoes taste brighter, the cheddar tastes sharper, and the whole bowl comes together like an actual burger, just cleaner to eat.
What Each Ingredient Is Actually Doing in This Bowl

- Ground beef (80/20) — The fat content matters here. 80/20 gives you browning and flavor without drying out the meat, and it still drains cleanly enough that the bowls don’t feel heavy. If you use leaner beef, add a little oil to the pan so the crumbles don’t turn dry and tight.
- Romaine or iceberg — Iceberg gives you the classic fast-food crunch, while romaine brings a little more structure and a mild grassy note. Either works, but the key is shredding it into bite-size pieces so the sauce catches in the leaves instead of sliding off.
- Sharp cheddar — Mild cheddar disappears here. Sharp cheddar stands up to the tangy sauce and salty beef, and shredding it yourself usually gives you a better melt from the residual heat of the meat. Pre-shredded cheese works in a pinch, but it won’t cling as nicely.
- Mayonnaise — This is the base of the sauce, and it needs to be full-fat for the right body. Light mayo can work, but the sauce gets thinner and less plush. If you want a lighter version, use half mayo and half Greek yogurt, knowing the tang will be stronger.
- Pickle relish, ketchup, and mustard — These build the burger-joint taste. The relish adds sweetness and texture, the ketchup brings balance, and the mustard keeps the sauce from tasting flat. If you only have chopped dill pickles, mince them fine and add a pinch of sugar if the sauce tastes too sharp.
Building the Beef, Sauce, and Bowl in the Right Order
Seasoning the Meat Before It Hits the Pan
Mix the garlic powder, onion powder, salt, and pepper into the ground beef before it goes into the skillet. That way the seasoning clings to the meat as it browns instead of sitting on the surface. Break the beef into rough pieces as it cooks, then let it sit long enough in spots to develop browned edges. If you stir constantly, you’ll get steamed crumbles instead of the savory, burger-like flavor you want.
Cooking Off the Moisture and Fat
Use medium-high heat and keep the pan hot enough that the beef sizzles as soon as it lands. Once it’s fully browned, drain the excess fat so the bowl doesn’t pool at the bottom with grease. A little fat left behind is fine and helps carry flavor, but too much will make the lettuce wilt and the sauce slide around.
Whisking the Special Sauce
Stir the sauce ingredients together until it looks smooth and glossy, with no streaks of ketchup or mustard left behind. Taste it before you build the bowls. If it seems too sweet, add a touch more mustard; if it feels too sharp, add a little more mayo. The sauce should taste bold on its own because it gets mellow once it hits the beef and lettuce.
Assembling So the Lettuce Stays Crisp
Divide the lettuce into bowls first, then add the hot beef, tomatoes, pickles, onion, and cheddar. Drizzle the sauce over the top right before serving. If you let the bowls sit after dressing them, the lettuce softens and the whole thing loses the contrast that makes burger bowls work.
How to Adapt Burger Bowls for Different Nights
Dairy-Free Burger Bowls
Skip the cheddar or use a dairy-free shred that melts reasonably well, then keep the sauce dairy-free by sticking with mayo-based dressing. You’ll lose a little of the classic cheeseburger finish, but the beef, pickles, and sauce still carry the dish on their own.
Low-Carb or Keto Version
This is already close to low-carb as written. For a stricter keto bowl, check the ketchup and relish for added sugar and use a sugar-free ketchup or a smaller amount of chopped dill pickle instead. The flavor stays familiar, but the sauce reads a little more savory and less sweet.
Make It with Turkey
Ground turkey works, but it needs a little help because it doesn’t have the same built-in richness as beef. Add a tablespoon of oil to the pan and season it well, then cook just until no pink remains. If you overcook turkey, it gets chalky fast, so pull it as soon as it’s done.
Storage and Reheating
- Refrigerator: Store the beef and sauce separately from the lettuce and toppings for up to 4 days. The lettuce will stay crisp much longer if you keep everything unassembled.
- Freezer: The seasoned beef freezes well for up to 2 months. Freeze it in a flat, airtight container or bag, then thaw it in the fridge before reheating.
- Reheating: Warm the beef in a skillet over medium heat or in the microwave in short bursts until hot. Don’t overcook it during reheating or the texture turns dry and crumbly; add a splash of water if the meat seems tight.
Answers to the Questions Worth Asking
Burger Bowls
Ingredients
Equipment
Method
- Season the ground beef with garlic powder, onion powder, salt, and black pepper, then cook in a skillet over medium-high heat, breaking into crumbles, until browned, about 10–12 minutes; drain excess fat.
- Whisk together mayonnaise, ketchup, yellow mustard, pickle relish, and garlic powder until smooth, about 2–3 minutes.
- Divide shredded lettuce among four bowls as the base, keeping it in an even layer.
- Top each bowl with beef crumbles, cherry tomatoes, dill pickles, diced red onion, and shredded cheddar.
- Drizzle generously with burger sauce in wide spirals and serve immediately.