Chocolate chip caramel bars hit that sweet spot between a cookie, a shortbread bar, and a gooey caramel square. The edges bake up crisp and buttery, the center stays soft, and that layer of melted caramel gives every bite a stretchy, sticky middle that keeps people coming back for another piece. The chocolate chips do their job without taking over, and a pinch of flaky salt on top keeps the whole pan from tasting flat.
The trick here is treating the dough like a press-in oat cookie base instead of a loose crumble. You want enough of it packed firmly into the pan to support the caramel, then the rest can be scattered on top for texture. Warming the caramel with a little cream helps it pour evenly and settle into the base instead of sitting in one thick layer that turns messy when you cut the bars.
Below, I’ve included the one step that keeps the caramel layer neat, plus a few swaps that actually work if you need to adjust the filling or make these dairy-free.
The caramel layer set up perfectly, and the bars cut cleanly after cooling. I loved the oat texture on top and the flaky salt made the chocolate pop.
Like these chocolate chip caramel bars? Save them to Pinterest for the days when you want a gooey caramel center, a crisp oat topping, and a pan dessert that slices cleanly.
The Caramel Layer That Stays Put Instead of Seeping Everywhere
Most bar recipes go sideways when the filling gets too hot, too thin, or too close to the edges. Here, the base gets a 10-minute head start, which sets enough structure to support the caramel instead of letting it sink straight through the crumbs. The caramel goes on while the base is still hot, so it spreads easily, but the chocolate chips and topping go over it before the whole thing has a chance to run.
The other thing that matters is cooling. If you slice these while the caramel is still warm, the middle will smear and the bars won’t hold their shape. Give them time to cool all the way through, and the caramel firms into that soft, chewy layer you want.
- Why the partial bake matters — Pressing and pre-baking two-thirds of the mixture gives you a sturdy bottom that won’t collapse once the caramel goes in.
- Why the caramel gets cream — The cream loosens the sauce just enough so it pours and spreads evenly. Without it, thicker caramel can clump and bake into uneven pockets.
- Why the topping stays crumbly — Leaving part of the dough loose on top creates contrast. Packed dough on top would bake up dense instead of giving you those crisp, buttery bits.
What Each Ingredient Is Doing in These Bars
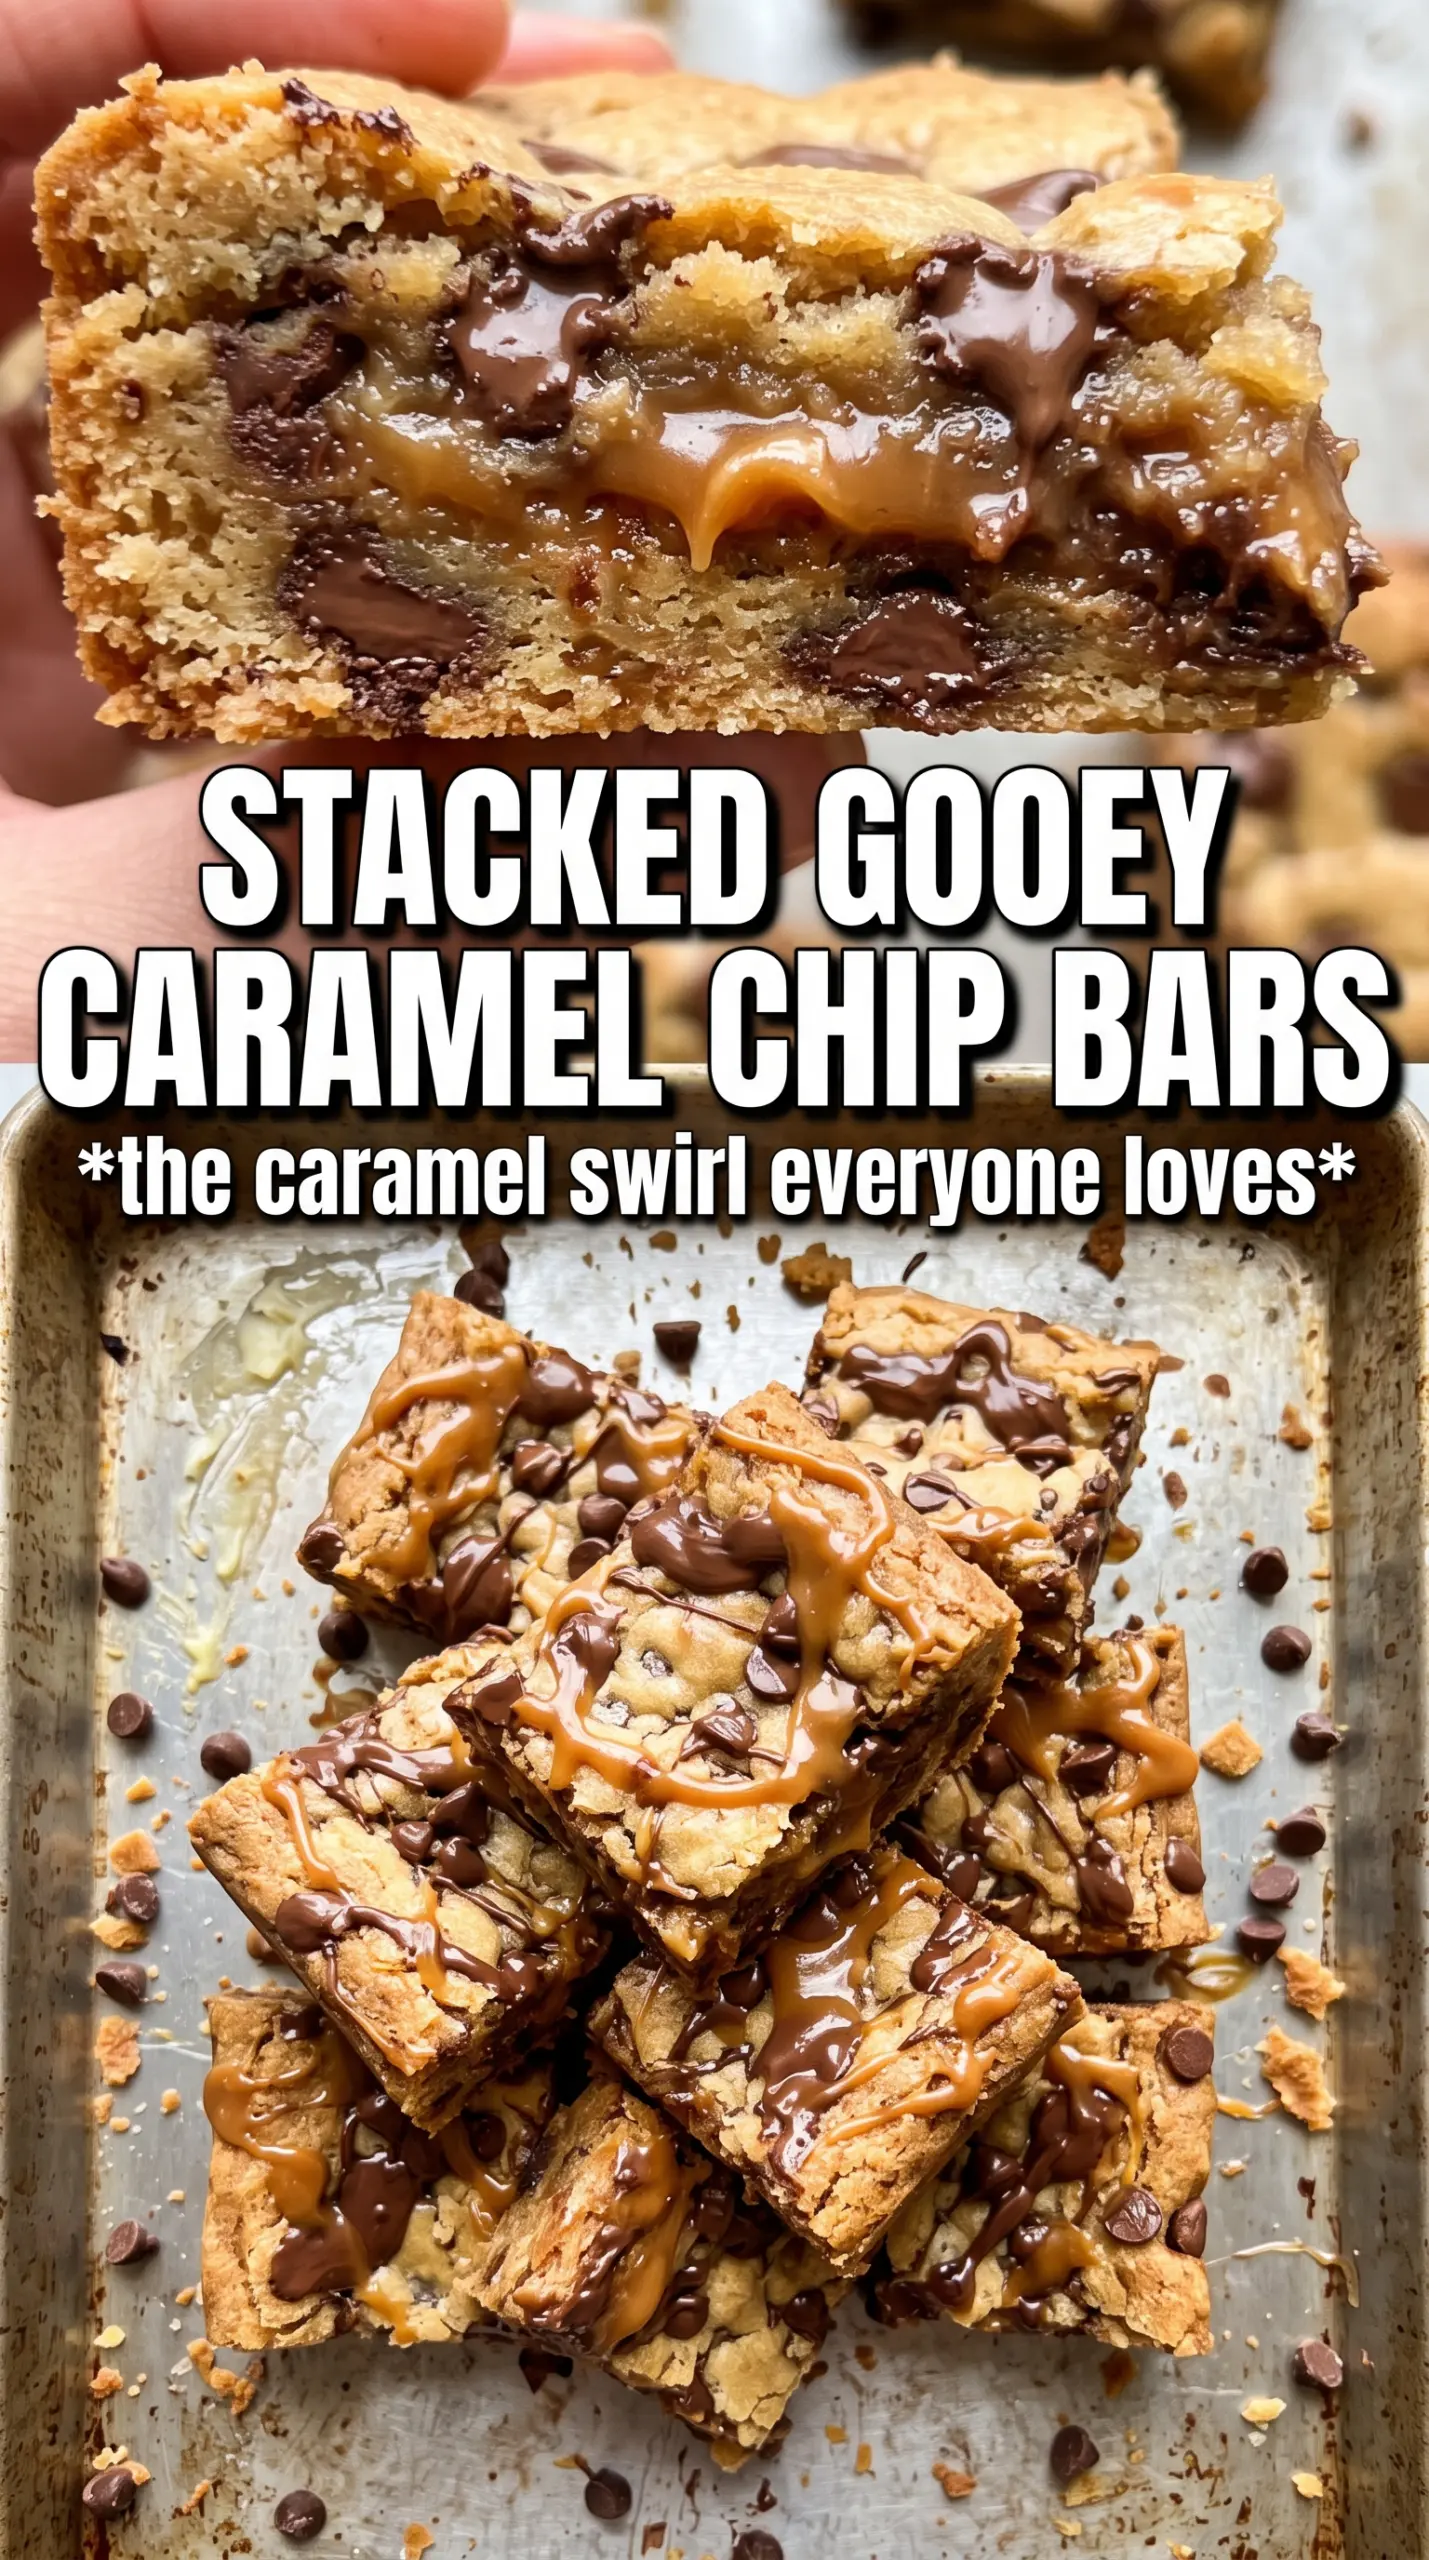
- Rolled oats — These bring chew and structure. Quick oats will work in a pinch, but the texture turns finer and less nubby.
- Brown sugar — This is what gives the bars their caramel-like depth. White sugar alone would make the base taste flatter and bake drier.
- Melted butter — Melted butter helps the dough come together fast and gives the crust that rich, dense, cookie-bar texture. Don’t swap in oil here; you’ll lose the set and the flavor.
- Caramel sauce — Use a thick sauce, not a thin pourable syrup. Store-bought works fine if it’s a real caramel sauce, but very runny ice-cream topping won’t hold the middle layer.
- Heavy cream — This softens the caramel just enough to spread cleanly. Half-and-half can work, but the filling won’t be quite as plush.
- Semi-sweet chocolate chips — These balance the sweet caramel without turning the bars candy-like. Milk chocolate makes the whole pan sweeter, which some people love, but it blurs the salt and oat flavor.
Press, Layer, and Bake Without Losing the Middle
Mix the dough until every oat is coated
Stir the flour, oats, sugars, baking soda, and salt together first so the leavening and salt distribute evenly. Then drizzle in the melted butter and toss until the mixture looks evenly moistened and clumps when squeezed. If you leave dry patches, those spots bake up sandy instead of tender.
Build a firm base before the caramel goes in
Press about two-thirds of the mixture into the parchment-lined pan and pack it down with the bottom of a measuring cup or your fingers. You want it tight enough to hold the filling, not crumbled loosely like a streusel. Bake it just until set at the edges; if it browns too much at this stage, the finished bars taste dry.
Spread the caramel while the crust is hot
Whisk the caramel and cream together until smooth, then pour it over the hot base and nudge it into the corners. The warmth helps the filling settle into an even layer. If the caramel seizes or looks streaky, it usually means the sauce was too cold or too thick; warm it a few seconds longer and stir again before pouring.
Finish with chips and crumbs, then bake to a golden top
Scatter the chocolate chips over the caramel, then crumble the remaining dough over the top. Don’t cover every inch; a few gaps let the caramel peek through and keep the bars from becoming heavy. Bake until the topping is golden and the center looks set around the edges, then add flaky salt right away so it sticks.
Dairy-Free Caramel Bars
Use a plant-based butter and a dairy-free caramel sauce, then skip the cream or use a thick coconut cream in its place. The bars will still hold together, but the caramel layer will taste a little less rich and a little more coconut-forward if you use coconut cream.
Gluten-Free Version
Swap the all-purpose flour for a 1:1 gluten-free baking blend and use certified gluten-free oats. The texture stays close to the original, though the crumb may be a little more delicate, so let the pan cool completely before cutting.
Nutty Upgrade
Fold up to 1 cup of chopped pecans or walnuts into the topping mixture. You’ll get more crunch and a deeper toasted flavor, but the bars will also feel a little richer, so the flaky salt becomes even more important.
Storage and Reheating
- Refrigerator: Store in an airtight container for 5 days. The caramel firms up in the fridge, so the bars will taste chewier and a little denser cold.
- Freezer: These freeze well. Wrap cut bars individually and freeze for up to 2 months, then thaw in the refrigerator so the caramel doesn’t weep.
- Reheating: Warm a bar in the microwave for 10 to 15 seconds if you want the caramel soft again. Don’t overheat it or the chocolate chips will melt out and the center can turn greasy.
Questions I Get Asked About This Recipe
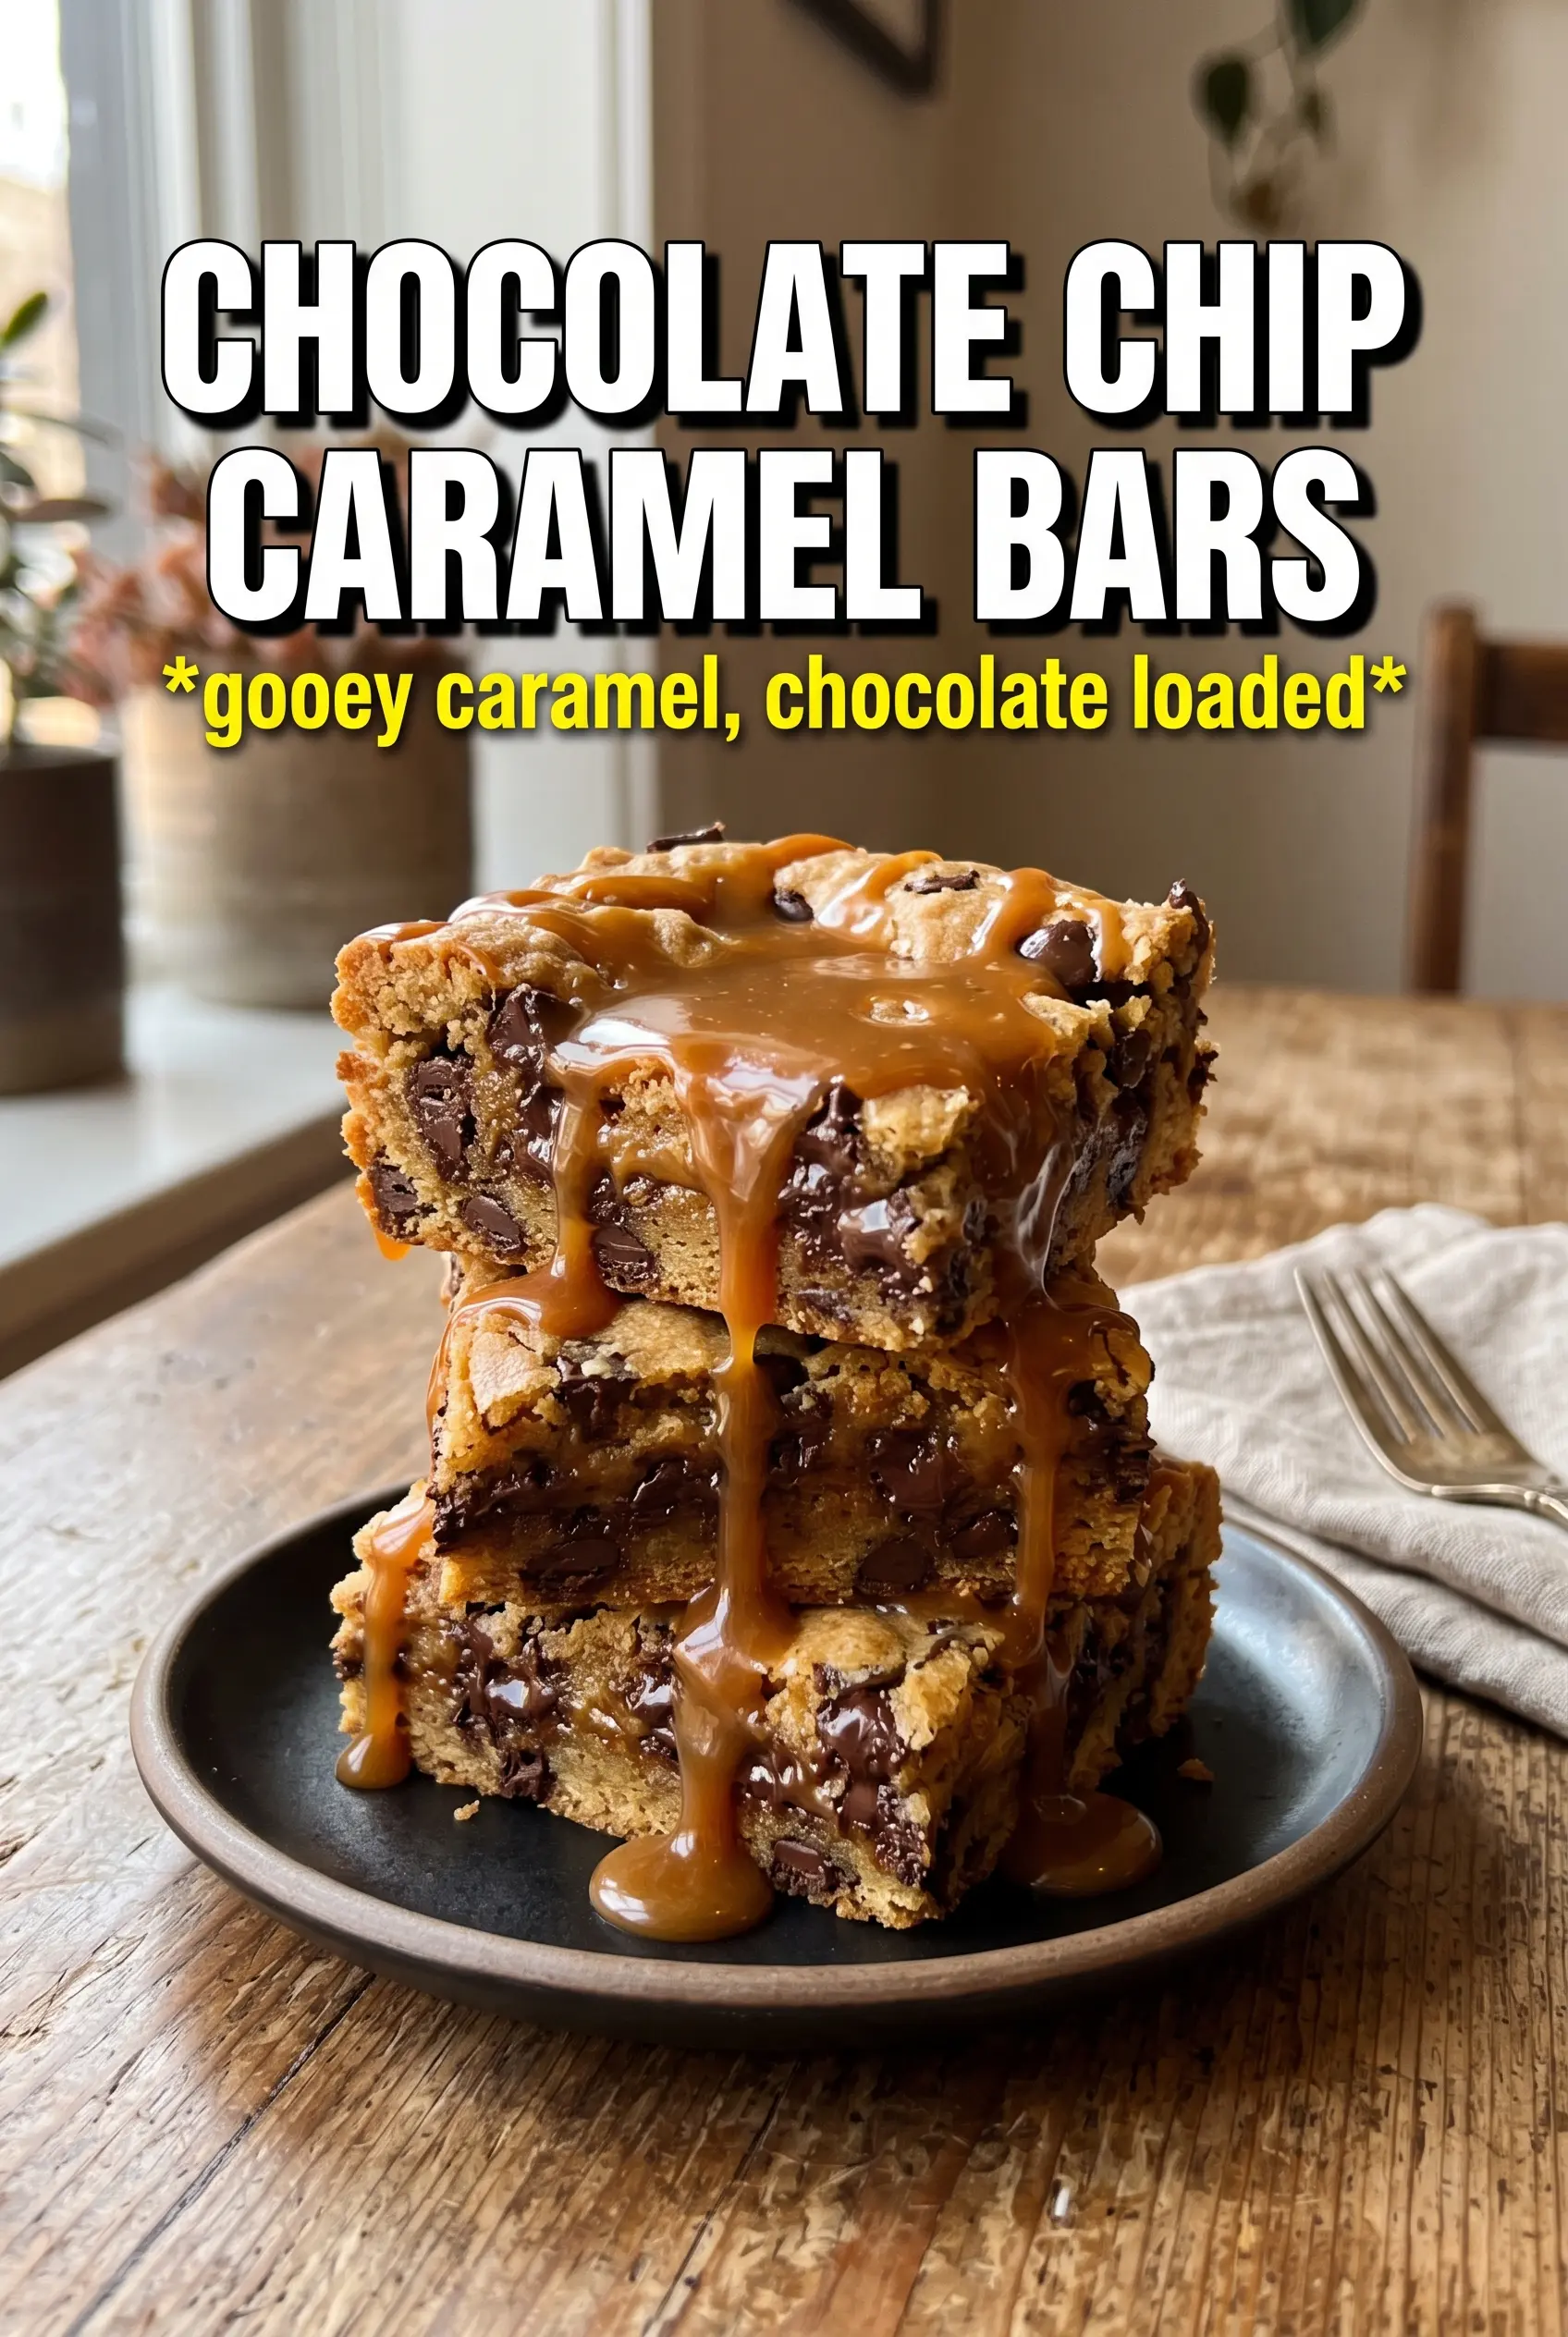
Chocolate Chip Caramel Bars
Ingredients
Equipment
Method
- Preheat oven to 350F and line a 9x13 pan with parchment for easy release. Keep the pan ready so the base can go in right away.
- Mix all-purpose flour, rolled oats, brown sugar, granulated sugar, baking soda, and salt until evenly combined. Use a dry mix to distribute the leavening and salt.
- Drizzle in melted unsalted butter and toss until the mixture looks evenly moistened. The crumbs should hold together when pressed.
- Press 2/3 of the mixture firmly into the prepared pan and bake for 10 minutes at 350F. The base should look set and lightly golden at the edges.
- Whisk caramel sauce and heavy cream until smooth and pourable. Pour while it is fluid so it spreads over the hot base.
- Pour the caramel mixture over the hot base in an even layer. Stop before it overflows the parchment edges.
- Scatter semi-sweet chocolate chips over the caramel. Distribute them across the surface so every bar has chips.
- Crumble the remaining dough over the chocolate chips to form an even top layer. Press very lightly so the topping stays crumbly.
- Bake for 20-22 minutes more at 350F until the topping is golden. Look for a firm, browned crumb top.
- Sprinkle flaky sea salt over the warm bars. Add it right after baking so it sticks to the caramel and crumb top.
- Cool completely before slicing. This helps the caramel set into clean bars instead of running.