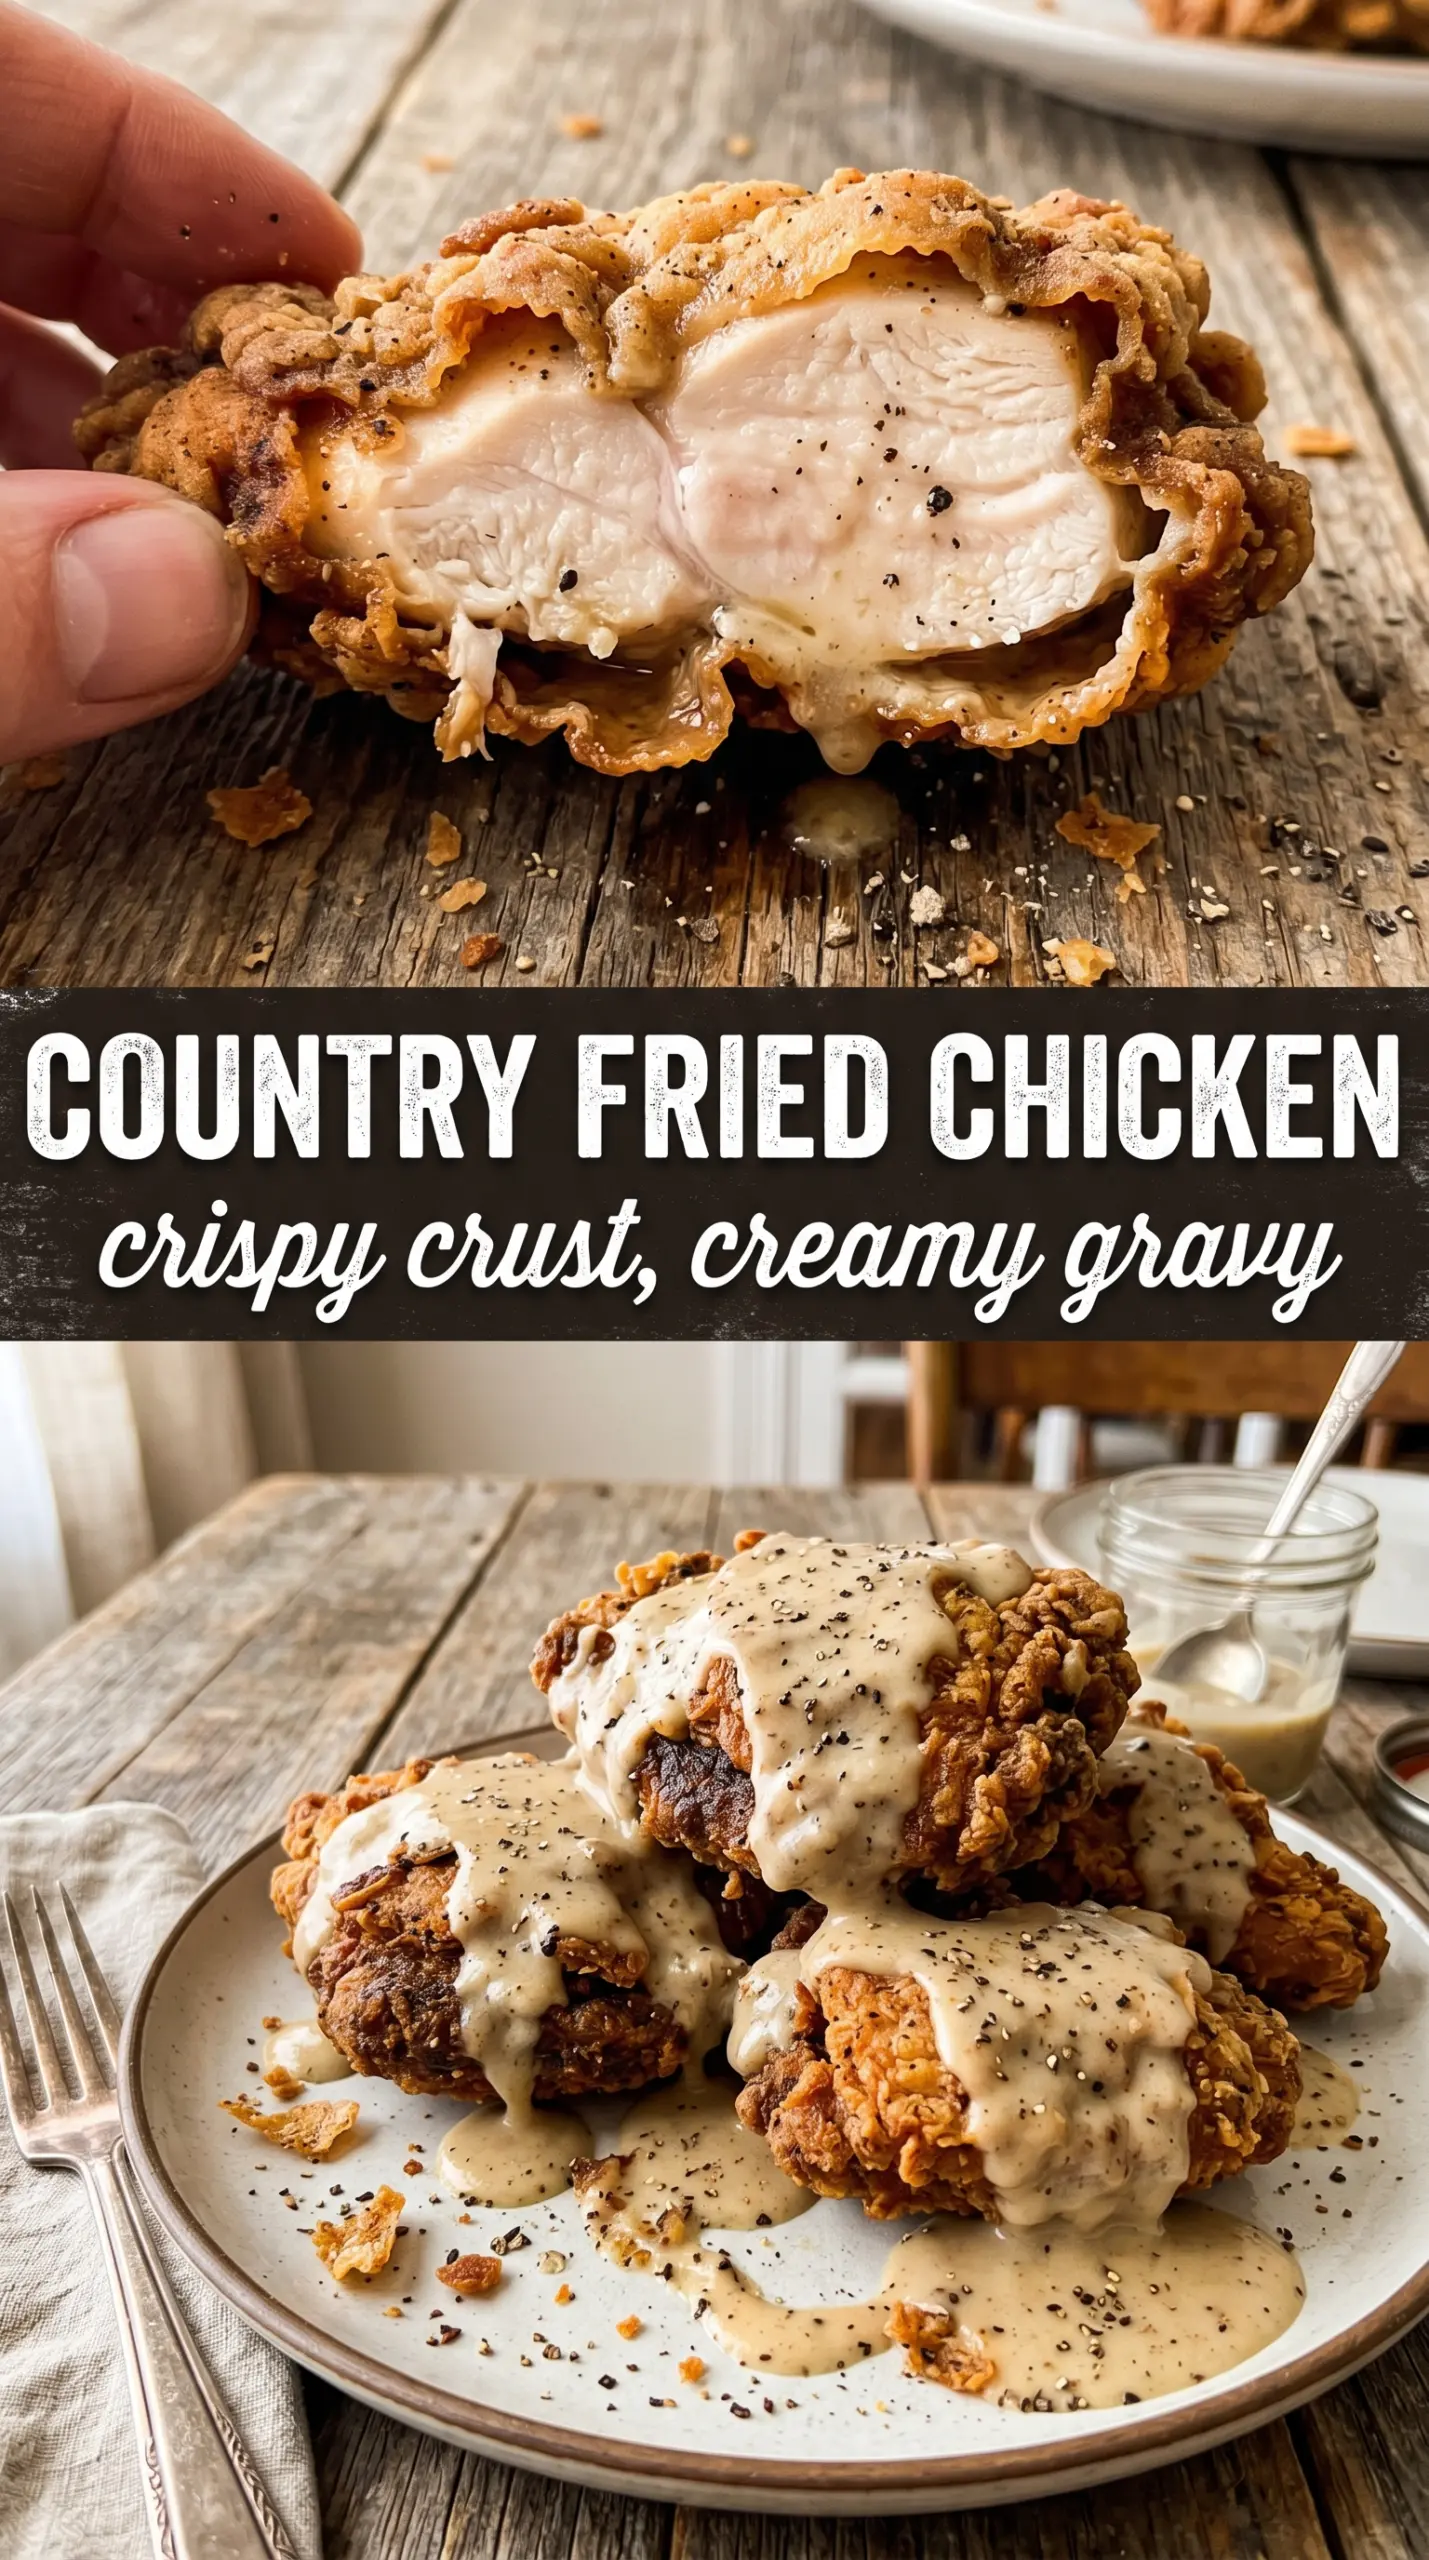
Country fried chicken earns its place at the table when the crust turns deeply golden and shatters under the knife, while the meat underneath stays juicy from the buttermilk soak. The coating is sturdy enough to stay crisp, and the white gravy gives you that classic diner-style finish without softening the chicken into a soggy mess.
The trick is in the layers. Buttermilk seasons the chicken from the inside and helps the flour cling, while the second dredge builds those craggy edges that fry up extra crunchy. A cast iron skillet helps hold the oil temperature steady, which matters more than almost anything else here — if the oil runs too cool, the crust turns greasy; if it runs too hot, the coating browns before the chicken cooks through.
Below, I’ll walk through the part that matters most, why the flour mixture is built the way it is, and how to keep the gravy smooth and spoonable. If you’ve ever had breading slide off or gravy turn gluey, you’ll know exactly where to pay attention.
The crust stayed on perfectly and got extra crunchy after the second dredge. I used thighs, and the gravy came together smooth with the pan drippings just like you said.
Love this crispy country fried chicken with white gravy? Save it to Pinterest for the nights when you want a shatteringly crisp crust and a true Southern-style gravy finish.
The Crust That Stays Put Instead of Falling Off
The breading problem usually starts before the chicken ever hits the oil. If the coating is too dry, it won’t grab; if it’s too wet, it turns pasty and slides. The buttermilk gives the flour something to cling to, and the second dredge creates those rough little ridges that fry into a thicker crust. That’s the difference between a flat coating and the crisp, craggy finish you want on country fried chicken.
Oil temperature is the other piece people miss. A steady 350°F keeps the crust cooking at the same pace as the chicken inside, which means the coating sets before it has time to soak up grease. If you crowd the skillet, the temperature drops fast and the breading goes pale and heavy instead of crunchy.
What the Buttermilk, Spices, and Gravy Are Each Doing Here
- Buttermilk — This does more than tenderize. Its mild acidity helps soften the chicken just enough for a juicier bite and gives the flour a tacky surface that clings well. If you don’t have buttermilk, use 2 cups milk mixed with 2 tablespoons lemon juice or vinegar and let it sit 5 minutes before soaking.
- Hot sauce — You won’t taste heat in the finished chicken, but it adds a little backbone to the marinade and helps the seasoning feel more rounded. Any vinegar-based hot sauce works here.
- Smoked paprika, garlic powder, onion powder, cayenne — These season the flour itself, which is the best place to build flavor in fried chicken. Don’t skip the paprika; it gives the crust that deep color and a little warmth that plain flour can’t deliver.
- Bone-in chicken pieces — Bone-in thighs are the most forgiving, but breasts work if you keep the oil steady and don’t overcook them. Boneless pieces cook faster but lose some of that classic fried chicken texture and need less fry time.
- Pan drippings and whole milk — The drippings carry the flavor from the fry pan into the gravy, and whole milk gives you a smooth, rich finish. If the gravy tastes flat, it usually needs more salt than people expect.
Frying the Chicken and Finishing the Gravy Without Rushing Either One
Soaking the Chicken
Lay the chicken in the buttermilk and hot sauce long enough for the surface to fully hydrate, at least 30 minutes and up to overnight. The marinade won’t make the chicken sour; it just seasons and softens it. When you pull the pieces out, let the excess drip off for a few seconds so the flour coating doesn’t turn gummy.
Building the Dredge
Mix the flour and spices thoroughly so every bite tastes the same. Press the chicken into the flour firmly, then lift and press again for the second dredge. That repeated contact is what builds the rough, flaky crust. If the flour starts clumping too wet, replace it with fresh flour before the coating gets heavy.
Frying to a Deep Golden Finish
Heat the oil until it reaches 350°F and keep the heat steady as the chicken cooks. You want a steady sizzle, not violent bubbling. Fry the pieces until the crust is a deep golden color and the internal temperature reaches 165°F, turning once halfway through. If the chicken browns too fast, lower the heat a little; if it looks pale after several minutes, the oil is too cool.
Whisking the White Gravy
Use the drippings while they’re still warm and whisk in the flour for about a minute so the raw taste cooks out. Add the milk slowly while whisking so the gravy stays smooth. It should thicken enough to coat a spoon, not turn into paste. If it gets too thick, whisk in a splash more milk; if it’s thin, give it another minute over the heat.
How to Adjust Country Fried Chicken Without Losing the Crust
Use thighs for the most forgiving fry
Thighs stay juicy even if they go a minute or two long, and the darker meat stands up well to the crunchy coating. Breasts work too, but they need closer attention because they dry out faster once the center hits temperature.
Make it gluten-free with a flour blend
Use a 1:1 gluten-free flour blend that includes xanthan gum if possible. The crust won’t be quite as shaggy as wheat flour, but it will still crisp well if you press the coating on firmly and avoid moving the chicken too early in the oil.
Bake it instead of frying
For a lighter version, set the breaded chicken on a wire rack over a sheet pan, mist it with oil, and bake until the coating is crisp and the chicken reaches 165°F. You won’t get the same blistered crust as frying, but you’ll keep the seasoning and the buttermilk flavor.
Storage and Reheating
- Refrigerator: Store leftovers in an airtight container for up to 3 days. The crust will soften, especially after the gravy hits it.
- Freezer: Freeze the fried chicken without gravy for up to 2 months. Wrap each piece well so freezer burn doesn’t wreck the crust.
- Reheating: Reheat on a wire rack in a 375°F oven until hot and crisp again. The biggest mistake is microwaving it, which turns the coating rubbery and steamy.
Answers to the Questions Worth Asking

Country Fried Chicken
Ingredients
Equipment
Method
- Soak the bone-in chicken pieces in the buttermilk and hot sauce for at least 30 minutes or overnight, keeping it chilled if soaking longer. This helps the coating adhere for a crunchy crust.
- Whisk together the all-purpose flour, garlic powder, onion powder, smoked paprika, cayenne pepper, salt, and cracked black pepper in a shallow dish. Mix until the color is evenly speckled.
- Remove the bone-in chicken pieces from the buttermilk mixture, letting excess drip off. Then dredge firmly in the seasoned flour coating to press it onto the surface.
- Repeat the dip-and-dredge one more time for extra crunch, using the buttermilk mixture and then returning to the seasoned flour coating. Keep coating coverage thick and even.
- Heat 2-3 inches of vegetable oil to 350°F in a large cast iron skillet. Use the thermometer so the oil stays in the 350°F range while frying.
- Fry the bone-in chicken pieces for 10-12 minutes per side, turning once, until deeply golden. Fry until the internal temperature reaches 165°F in the thickest part.
- Drain the fried chicken on paper towels after frying. Let it rest briefly so the coating stays crisp before serving.
- Whisk the pan drippings and flour in the same skillet over medium heat for 1 minute. Stir constantly until the mixture looks smooth and slightly darker.
- Gradually whisk in the whole milk, then cook until the gravy thickens. Keep whisking to avoid lumps and stop when it coats the back of a spoon.
- Season the white gravy with salt and pepper to taste. Adjust to your preferred level of salt and heat.
- Serve the country fried chicken immediately with the white gravy poured over the top. Make sure the gravy drips down to pool around the base for the classic presentation.