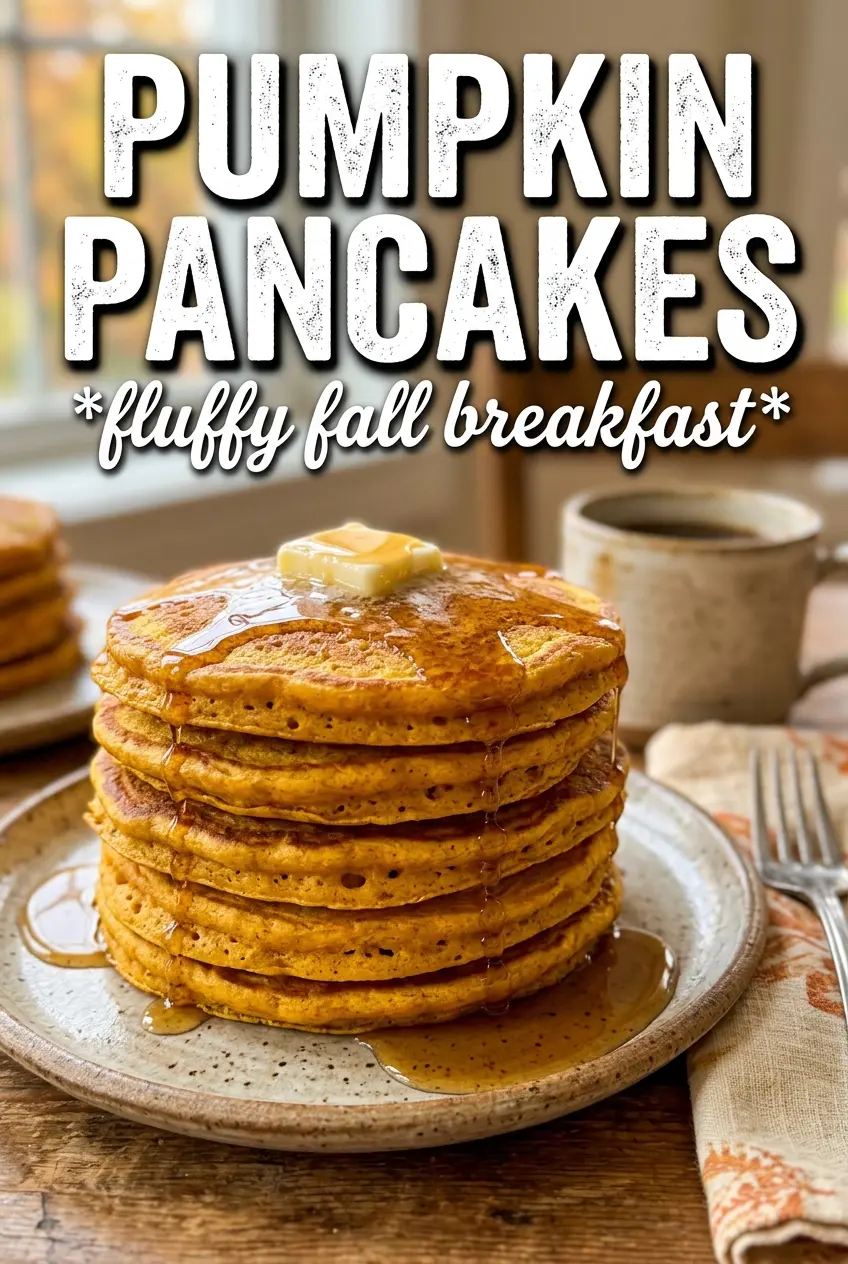
These pumpkin pancakes come out thick, tender, and lightly spiced with that deep orange pumpkin color that looks as good as it tastes. The edges set into a soft little crust while the centers stay fluffy, and a stack of them with melting butter and maple syrup is the kind of breakfast people linger over instead of rushing through.
The trick here is using pumpkin puree for moisture without making the batter heavy, then balancing it with both baking powder and baking soda so the pancakes lift properly on the griddle. Buttermilk matters too. It gives the batter a gentle tang and reacts with the baking soda for a better rise, which is how you get pancakes that feel light instead of dense and gummy.
Below, I’ve included the exact batter cues I watch for, plus a few swaps and storage notes for when you want to make them dairy-free or save a batch for later.
The batter rested exactly as long as written and the pancakes cooked up thick but not heavy. The spice level was spot-on, and the maple syrup soaked into the fluffy centers without making them soggy.
Save these fluffy pumpkin pancakes for the mornings when you want a thick, warmly spiced stack with maple syrup in every bite.
The Batter Needs a Short Rest, Not a Long Wait
Pumpkin pancake batter behaves a little differently from plain pancake batter because pumpkin puree holds moisture and thickens the mix as it sits. That five-minute rest is enough time for the flour to hydrate and the leavening to settle in, but if you let the bowl hang around too long, the batter gets sluggish and the pancakes cook up flatter. The goal is a batter that drops from the spoon in a thick ribbon, not a pourable crepe batter and not a dry dough.
The other thing that matters is heat control. Pumpkin and sugar brown faster than you might expect, so a griddle that’s too hot will give you dark exteriors before the centers finish. Medium heat is the sweet spot here. If the first pancake smokes or colors too fast, pull the pan down for a minute before the next round.
What Each Ingredient Is Doing in These Pumpkin Pancakes
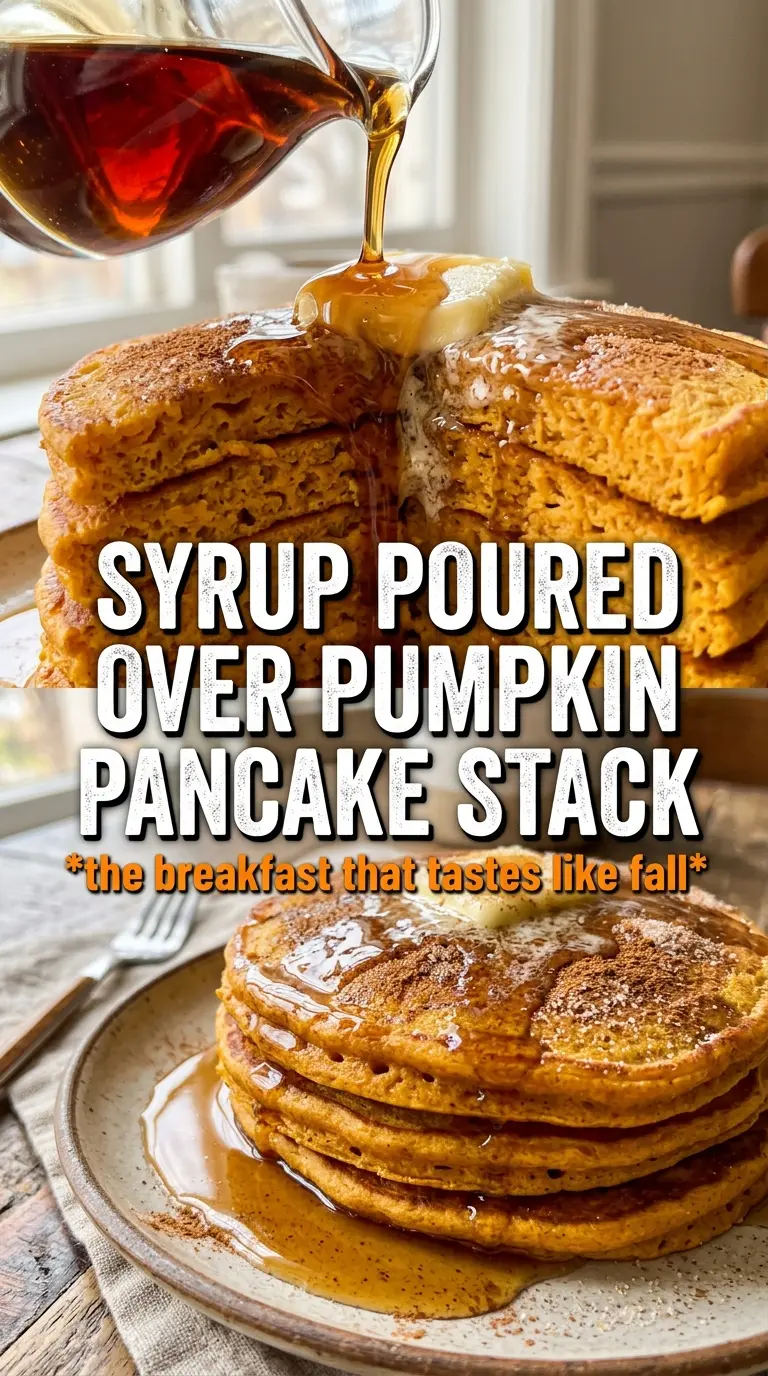
- Pumpkin puree — This gives the pancakes their color, body, and moisture. Use plain pumpkin puree, not pumpkin pie filling, which already contains sugar and spice and will throw the batter off.
- Buttermilk — This is what keeps the pancakes tender and helps the baking soda do its job. If you don’t have it, mix 1 tablespoon lemon juice or vinegar into 1 1/4 cups milk and let it sit for 5 minutes, but expect a slightly milder tang.
- Brown sugar and granulated sugar — The mix gives a rounded sweetness and helps the pancakes brown without becoming overly dark too quickly. The brown sugar also plays nicely with the pumpkin spice flavor and adds a little moisture.
- Pumpkin pie spice and cinnamon — Pumpkin pie spice brings the classic warm background notes, while extra cinnamon sharpens the flavor so the pancakes don’t taste flat. If your spice blend is old, the pancakes will taste dull, not broken, so fresh spice matters here.
- Melted butter — This adds richness and keeps the crumb soft. Let it cool slightly before whisking it into the eggs and buttermilk so you don’t end up with tiny butter streaks in the batter.
Getting the Griddle Heat and Flip Timing Right
Mix the Dry and Wet Separately
Whisk the flour, sugars, baking powder, baking soda, spices, and salt in one bowl, then whisk the pumpkin, buttermilk, eggs, melted butter, and vanilla in another. That separation keeps the leavening evenly distributed and helps prevent streaks of spice or pockets of flour. When you combine them, fold just until the dry patches disappear. A few lumps are fine. Overmixing is what turns pancakes chewy instead of tender.
Let the Batter Relax Briefly
Rest the batter for 5 minutes before cooking. During that short pause, the flour absorbs liquid and the mixture thickens just enough to hold a nice round shape on the griddle. If it starts to look too thick after resting, stir in a tablespoon of buttermilk to loosen it. If it seems runny, it probably needs another minute or two rather than a big correction.
Cook Until the Edges Set First
Lightly butter the skillet and keep the heat at medium. Scoop about 1/4 cup batter for each pancake, then let the first side cook until bubbles form across the surface and the edges look matte and set, about 3 minutes. That’s the cue to flip. If you flip too early, the center won’t have enough structure and the pancake can fold in the middle.
Finish Without Pressing the Pancakes Down
After the flip, cook the second side for 1 to 2 minutes until the center springs back lightly when touched. Don’t press them with a spatula. That squeezes out the air you just worked to build. Serve them right away with butter and warm maple syrup while the centers are still soft and steaming.
Three Useful Ways to Adjust These Pumpkin Pancakes
Make Them Dairy-Free
Use a thick unsweetened non-dairy milk plus 1 tablespoon lemon juice or vinegar in place of the buttermilk, and swap the butter for melted coconut oil or a neutral oil. You’ll lose a little of the tang from true buttermilk, but the pancakes will still rise well and stay soft.
Use Whole Wheat Flour for a Heartier Stack
Replace up to half the all-purpose flour with whole wheat flour. The pancakes will taste nuttier and feel a little denser, so don’t swap all of it unless you want a more rustic texture. A brief rest becomes even more important because whole wheat needs time to hydrate.
Make the Spice Gentler or Bolder
Cut the cinnamon back slightly if you want the pumpkin to come forward, or add an extra 1/4 teaspoon pumpkin pie spice for a stronger warm-spice finish. The sugar and butter support more spice than you might think, but too much can overpower the pumpkin and make the pancakes taste dusty.
Storage and Reheating
- Refrigerator: Store cooled pancakes in an airtight container for up to 3 days. They’ll soften a bit as they sit, but they reheat well.
- Freezer: Freeze in a single layer, then stack with parchment between layers and seal in a freezer bag for up to 2 months. This keeps them from sticking together and makes it easy to grab just what you need.
- Reheating: Warm in a toaster, 300°F oven, or dry skillet until heated through. The mistake people make is microwaving them too long, which makes the crumb rubbery instead of soft.