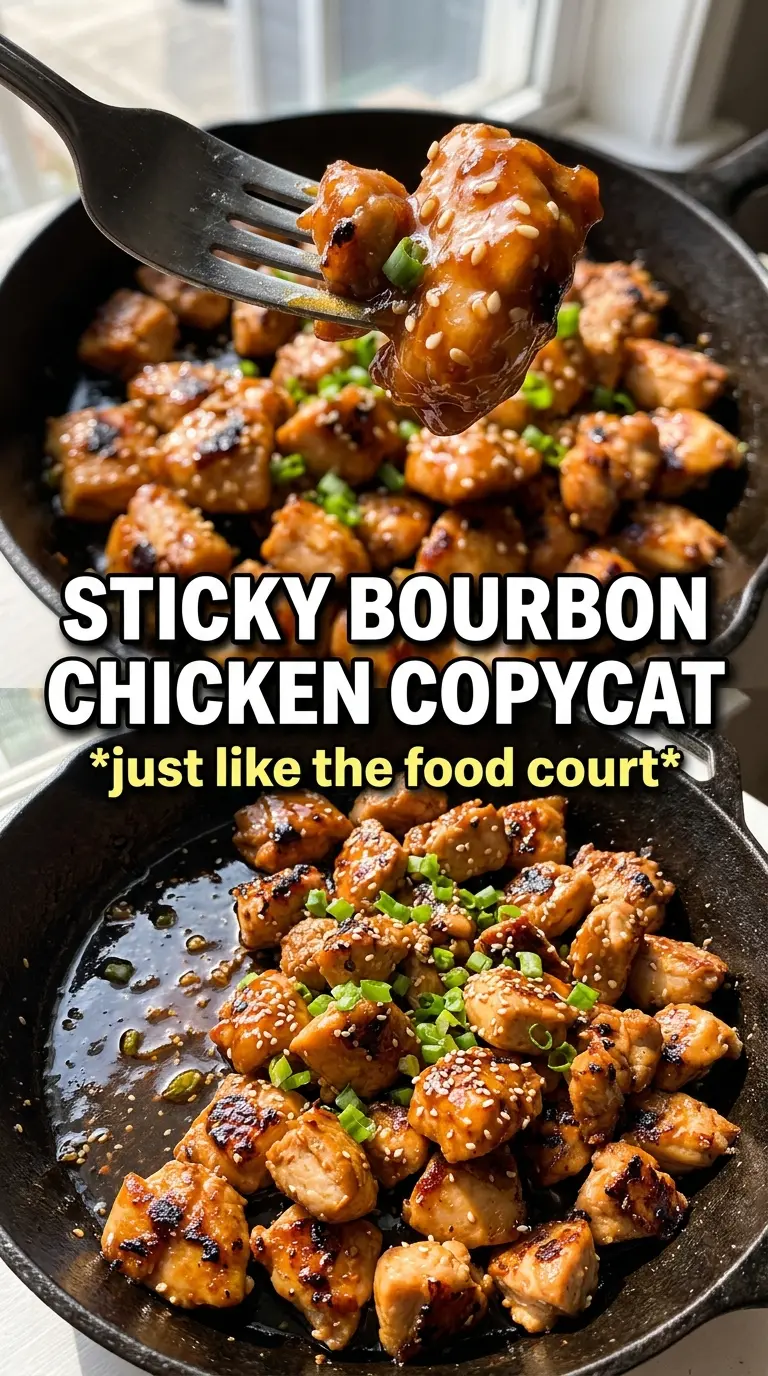
Sticky bourbon chicken hits the table with that glossy, dark amber sauce clinging to every bite-sized piece, and it’s the kind of takeout-style dinner that disappears fast over a bowl of steamed rice. The chicken stays tender because it gets browned first, then finished right in the sauce instead of simmering until dry. What you end up with is sweet, savory, a little smoky, and just sharp enough from the ginger and garlic to keep every bite moving.
The trick here is building the sauce in the same skillet after the chicken comes out. Those browned bits left behind are the backbone of the flavor, and the bourbon loosens them into the glaze instead of letting them burn. The cornstarch slurry goes in after the sauce is simmering, not before, which keeps the texture smooth and glossy instead of pasty. You’ll also see why a little juice matters: it softens the bourbon edge and makes the sauce taste rounder, the way good food court bourbon chicken should.
Below, I’ve laid out the exact cues I watch for when the chicken is browned and the sauce is at that perfect lacquered stage. I’ve also included a few smart swaps and storage notes for the nights when you want dinner ready with almost no thinking.
The sauce turned thick and glossy in minutes, and the chicken stayed tender even after I tossed it back in. My husband said it tasted just like the mall food court version, only better over rice.
Save this bourbon chicken copycat for the nights when you want that glossy takeout-style glaze without waiting on delivery.
The Browning Step That Gives Bourbon Chicken Its Takeout Edge
The biggest mistake with this kind of chicken is crowding the pan and letting it steam. If the pieces sit in their own juices, you lose the browned edges that make the sauce taste deeper later. Give the chicken room and leave it alone for those first few minutes so it can actually color.
Another thing that matters here is where the sauce gets built. The browned residue in the skillet is not something to clean away; it’s the flavor base. Once the bourbon and soy sauce hit the pan, they pull that flavor back into the glaze, which is why this tastes more like the food court version than a plain sweet-and-salty stir-fry.
What Each Ingredient Is Actually Doing in This Glaze
- Chicken thighs — Thighs stay juicy through the browning and final toss in the sauce. Breast meat works in a pinch, but it dries faster and won’t forgive an extra minute in the pan.
- Bourbon — This gives the sauce its signature warmth and helps dissolve the browned bits from the skillet. Cook it down with the other sauce ingredients so the alcohol sharpness fades and leaves behind depth, not a boozy bite.
- Soy sauce — This is the savory backbone. Use regular soy sauce for the best balance; low-sodium works if that’s what you keep on hand, but the sauce may need a touch more time to taste rounded.
- Brown sugar and ketchup — These are what make the sauce cling and caramelize like takeout glaze. The ketchup adds tang and body, while the sugar gives you that sticky finish.
- Apple juice or pineapple juice — A small amount softens the bourbon and brightens the sauce. Pineapple juice tastes a little sharper and fruitier; apple juice is milder and closer to the classic mall-food-court version.
- Cornstarch slurry — This thickens the sauce fast without needing a long simmer. Stir it into a simmering sauce, not a boiling one, so it thickens smoothly instead of turning cloudy or lumpy.
Building the Glaze So It Turns Sticky, Not Grainy
Brown the chicken first
Heat the oil until it shimmers, then lay the chicken in a single layer. Let it sit untouched for 3 to 4 minutes so the underside can develop a deep brown crust before you flip it. If you move it around too early, it releases moisture and turns pale, which leaves the finished dish flatter and less caramelized.
Cook the sauce in the same pan
Once the chicken is out, add the bourbon, soy sauce, brown sugar, ketchup, juice, garlic, ginger, and red pepper flakes straight into the skillet. Stir and scrape the bottom so the brown bits dissolve into the liquid. Keep the heat at a steady simmer; if it boils hard, the sugars can tighten too fast and make the glaze taste scorched instead of balanced.
Thicken it at the simmer
Whisk in the cornstarch slurry while the sauce is bubbling gently, then give it 2 to 3 minutes to turn shiny and coat the spoon. This is the point where the sauce goes from thin and glossy to a true glaze. If it still looks loose, let it go another minute rather than adding more slurry too soon, because it thickens more as it settles.
Finish with the chicken
Return the chicken to the pan and toss until every piece is lacquered. The sauce should cling in a thin, shiny layer, not pool at the bottom. Let it cook another minute or two so the chicken picks up the glaze and the sauce settles into the meat instead of sitting on top like syrup.
How to Adapt This for a Few Different Kitchens
Dairy-Free as Written
This recipe is naturally dairy-free, so you don’t need to change a thing for that. The gloss comes from the cornstarch and sugar, not cream or butter, which keeps the texture clean and sticky.
No Bourbon on Hand
If you skip the bourbon, use extra apple juice or pineapple juice plus a splash of water. You’ll lose some of the caramel warmth, but the sauce still turns glossy and savory-sweet instead of tasting thin.
Lower-Sugar Version
Cut the brown sugar back to 2 tablespoons and keep the ketchup as written. The sauce won’t coat quite as heavily, but it still gets that shiny finish, especially if you let it reduce for the full 2 to 3 minutes after the slurry goes in.
Make It Gluten-Free
Use a certified gluten-free soy sauce or tamari and check your ketchup label. The sauce thickens the same way, and the flavor stays close to the original as long as the soy substitute is full-bodied.
Storage and Reheating
- Refrigerator: Store in an airtight container for up to 4 days. The sauce will thicken as it chills, and the chicken stays tender if you don’t overcook it on the first pass.
- Freezer: This freezes well for up to 2 months. Cool it completely first, then freeze in a flat container so the sauce reheats evenly instead of separating.
- Reheating: Warm gently in a skillet over medium-low heat with a splash of water to loosen the glaze. The common mistake is blasting it in the microwave until the sauce turns sticky and the chicken tightens up.
Questions I Get Asked About This Recipe
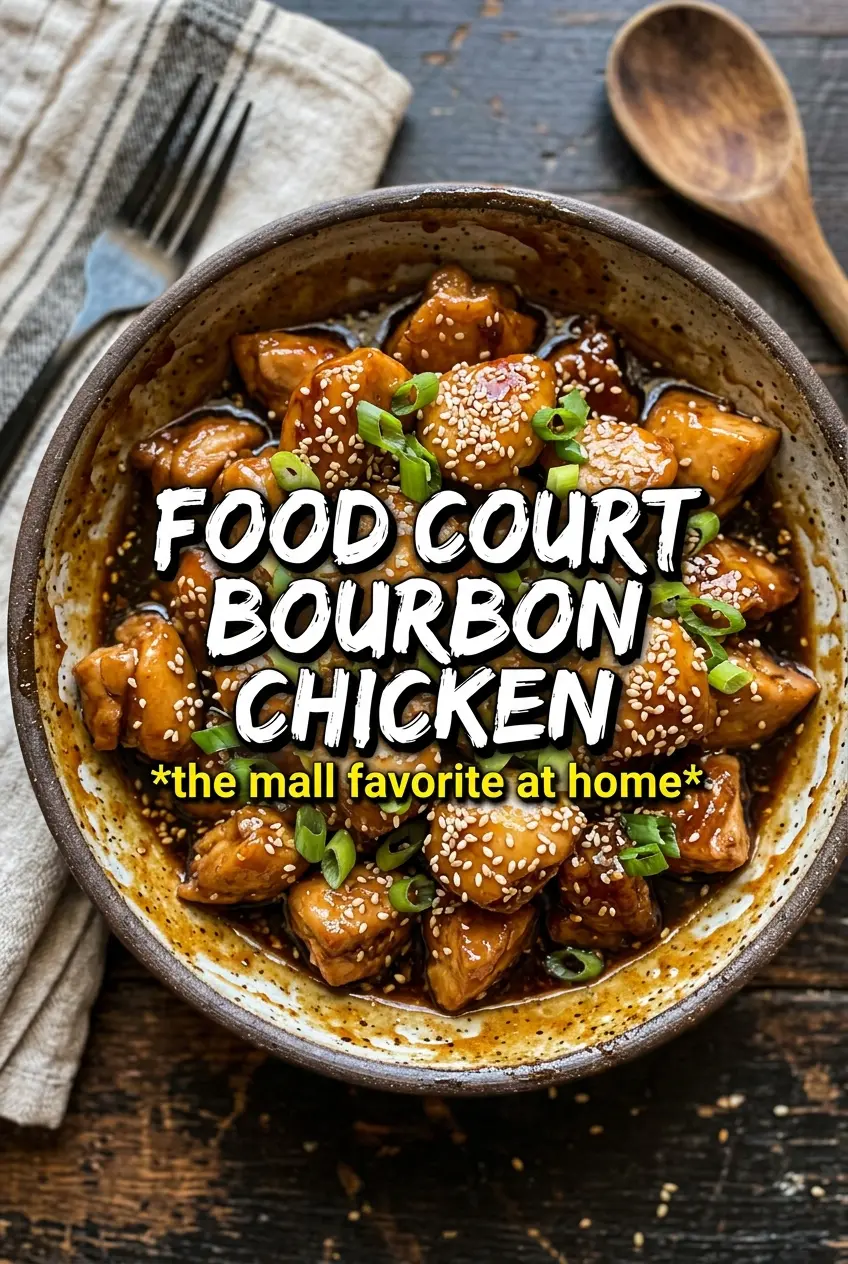
Food Court Bourbon Chicken Copycat
Ingredients
Equipment
Method
- Heat the vegetable oil in a large skillet over medium-high heat, then add the chicken in a single layer. Cook without stirring for 3-4 minutes until browned, with the pieces developing dark edges.
- Flip the chicken and cook for 2 more minutes until lightly cooked through. Remove the chicken to a plate and leave any browned bits in the pan.
- Combine the bourbon, soy sauce, brown sugar, ketchup, apple juice or pineapple juice, garlic, ginger, and red pepper flakes in the same pan. Stir to dissolve the sugar, scraping up browned bits.
- Bring the mixture to a simmer over medium-high heat. Whisk in the cornstarch slurry until no streaks remain.
- Cook at a steady simmer until the sauce thickens to a glaze, about 2-3 minutes. Look for a dark-amber color that coats the back of a spoon.
- Return the chicken to the pan and toss to coat in the glaze. Cook for 2 minutes, stirring occasionally, until the coating clings to the chicken.
- Serve the bourbon chicken over steamed rice with green onions and sesame seeds. Spoon extra glaze over the top so every bite is coated.