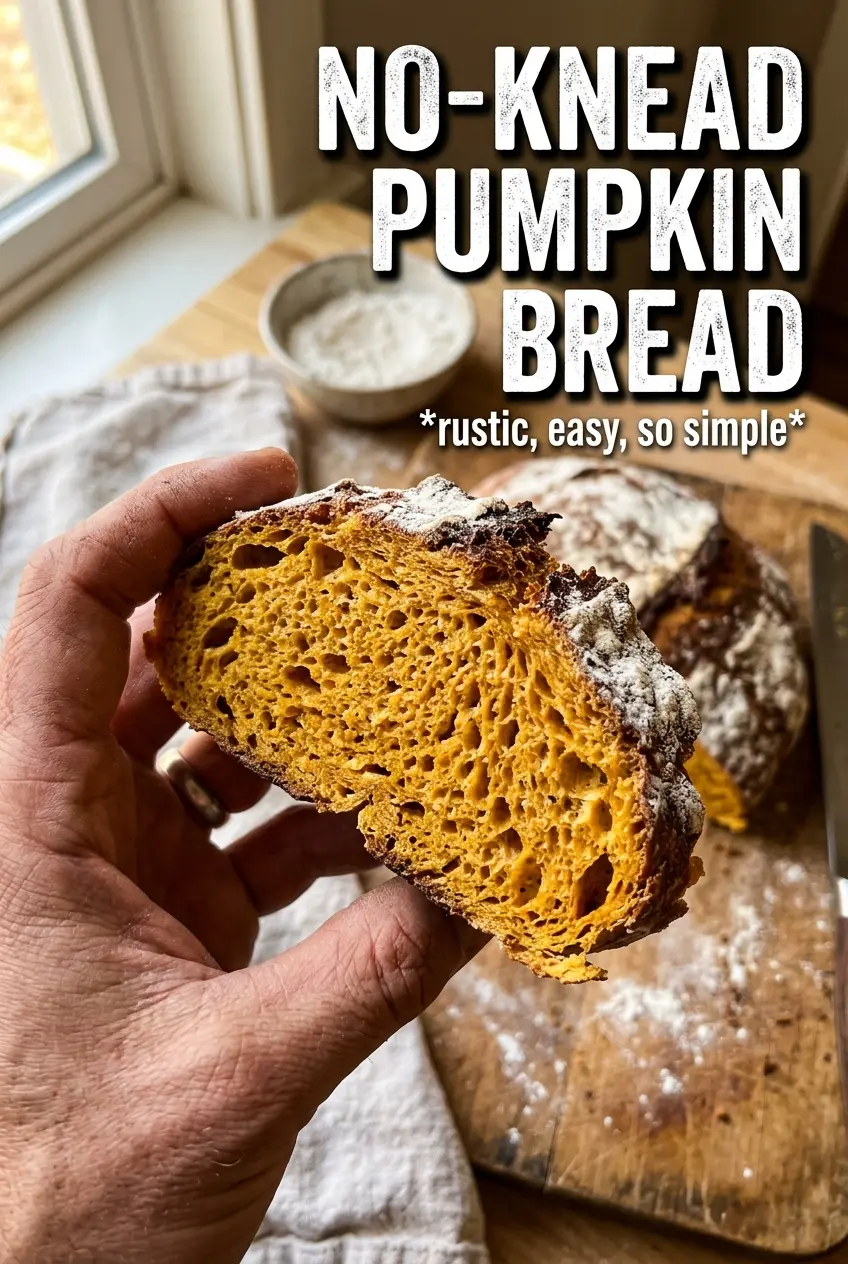
Crackled on the outside and soft, open, and fragrant inside, no-knead pumpkin bread earns its place on the table fast. The overnight rest does most of the work, and the hot Dutch oven gives you that bakery-style crust without any kneading or fuss. What you get is a loaf that looks rustic, slices beautifully, and brings a warm pumpkin spice aroma to the whole kitchen.
The trick is keeping the dough loose and wet enough to ferment slowly, then baking it in a preheated pot so the crust sets before the loaf can spread too much. Pumpkin puree adds color and a gentle richness, but it’s the long rest that builds flavor and the chewy, airy crumb. A little maple syrup or honey rounds out the spice and helps the crust brown.
Below, I’ll walk through the part that matters most: how to handle the sticky dough without overworking it, how to get that deep golden crust, and what to change if you want a slightly sweeter loaf for breakfast toast.
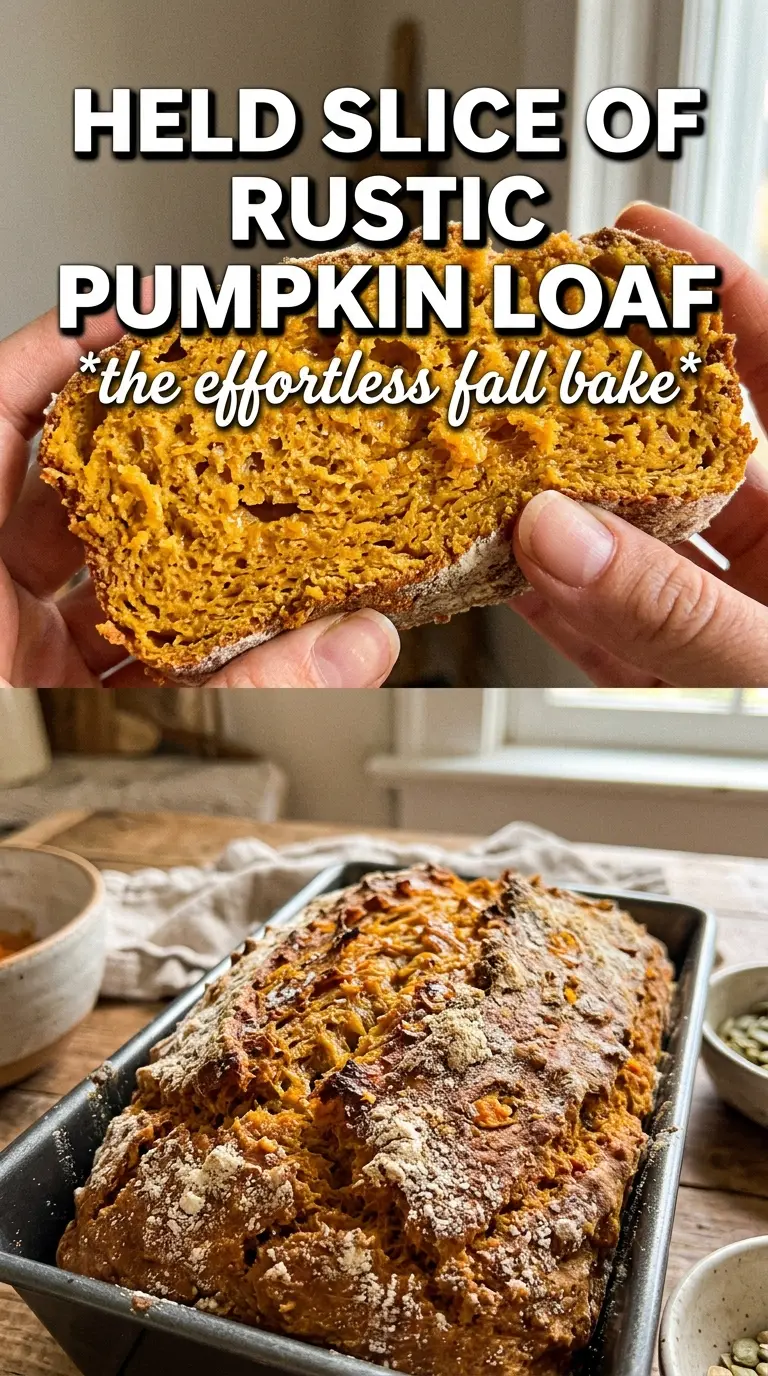
The overnight rest gave me the most gorgeous open crumb, and the crust came out crackly instead of tough. I was worried the pumpkin would make it dense, but it sliced like a bakery loaf and stayed tender for days.
Like this rustic pumpkin loaf? Save it to Pinterest for the kind of breakfast bread that bakes up crackly, tender, and full of warm spice.
The Overnight Rest Is What Builds the Crumb
With no-knead bread, the dough has to do its own gluten development while it sits. That long rest is what gives this loaf structure, so the bread doesn’t bake up gummy or squat. The dough should look very active by morning, with bubbles across the surface and a slightly domed top.
The biggest mistake here is rushing the rise because the dough looks messy at first. It’s supposed to. If it’s mixed into a smooth ball, it’s usually too dry for this style of bread, and the finished loaf can turn tight instead of airy. Keep the dough loose, and let time do the heavy lifting.
- Too much flour at the mixing stage will make the crumb dense. The dough should be shaggy and sticky before the overnight rest.
- Warm but not hot liquid helps the yeast wake up without killing it. If the mixture feels uncomfortable to the touch, it’s too hot.
- The Dutch oven matters because it traps steam. That steam gives you the crackly crust and better oven spring.
What Each Ingredient Is Actually Doing in This Loaf
- Bread flour gives the loaf more chew and better structure than all-purpose flour. You can swap in all-purpose if that’s what you have, but the crumb will be a little softer and less lofty.
- Instant yeast works well here because you’re using a long, slow rise. Don’t increase it unless you want the dough to move faster, because too much yeast can make the loaf taste flat and overly yeasty.
- Pumpkin puree adds color, moisture, and a subtle earthy sweetness. Use plain pumpkin puree, not pumpkin pie filling, or the loaf will be too sweet and spiced in the wrong way.
- Maple syrup or honey deepens the flavor and helps browning. Honey gives a slightly rounder sweetness, while maple leans a little more autumnal and works beautifully with the spice.
- Warm milk and water loosen the puree and help the dough hydrate evenly. The milk adds tenderness; if you need a dairy-free loaf, use all water and expect a slightly leaner crumb.
Shaping and Baking Without Losing the Air Bubbles
Mixing Just Until the Dough Comes Together
Stir until no dry flour remains and the dough looks shaggy, sticky, and uneven. Don’t keep mixing until it turns smooth, or you’ll tighten the dough and lose some of the open texture this bread is known for. The pumpkin puree should be fully distributed, but the dough will still look rough. That’s exactly right.
Letting the Dough Ferment Overnight
Cover the bowl tightly and leave it at room temperature for 12 to 18 hours. By the end, the dough should be puffed, bubbly, and jiggly when you shake the bowl. If your kitchen is warm, it may be ready sooner; if it’s cool, the rise can take closer to 18 hours. What matters is the visual cue, not the clock alone.
Preheating the Dutch Oven Until It’s Loudly Hot
Put the Dutch oven in the oven before you preheat, then give it the full 30 minutes. A hot pot gives the bread its initial lift and helps the bottom set quickly so the loaf doesn’t spread. If the pot isn’t properly preheated, the bread can come out flatter and the crust won’t blister and brown the same way.
Baking Covered, Then Uncovered
Covering the loaf traps steam and protects the crust while the center finishes baking. When you uncover it, the surface should already be set and pale golden, and the last 12 to 15 minutes are for color and crunch. If the crust darkens too fast, move the pot to a lower oven rack for the uncovered finish.
How to Adapt This Pumpkin Bread When You Want a Different Result
Gluten-Free Version
This recipe depends on bread flour for structure, so a straight swap won’t work well. Use a cup-for-cup gluten-free flour blend that includes xanthan gum, and expect a softer, slightly more delicate crumb. The loaf may spread a bit more, so keep the Dutch oven preheated and handle the dough gently.
Dairy-Free Swap
Replace the milk with warm water or an unsweetened non-dairy milk. Water gives you a slightly leaner loaf, while oat milk keeps some of the tenderness without changing the flavor much. Avoid canned coconut milk here; it can make the dough heavier than you want.
Slightly Sweeter Breakfast Loaf
Add another tablespoon of maple syrup or honey if you want a loaf that leans more toward toast-and-butter territory. That extra sweetness helps the crust brown a little more and pairs well with cinnamon, but it also softens the bread’s savory edge. I’d stop there so the dough still behaves like bread, not cake.
Storage and Reheating
- Refrigerator: Store sliced or whole, wrapped well, for up to 4 days. The crust softens a bit in the fridge, but the flavor stays good.
- Freezer: This bread freezes well. Slice it first, wrap tightly, and freeze for up to 2 months so you can pull out only what you need.
- Reheating: Toast slices straight from the freezer or warm them in a 300F oven. Don’t microwave the loaf if you want to keep the crust from turning rubbery.
Questions I Get Asked About This Recipe
No-Knead Pumpkin Bread
Ingredients
Equipment
Method
- Whisk bread flour, instant yeast, salt, pumpkin pie spice, and cinnamon in a large bowl until evenly distributed.
- Whisk pumpkin puree, warm water, warm milk, and maple syrup or honey, then stir into the dry ingredients until a shaggy dough forms.
- Cover with plastic wrap and rest at room temperature for 12–18 hours until the dough is very bubbly.
- Preheat the oven to 450F and place a Dutch oven inside to heat for 30 minutes.
- Turn the dough onto a well-floured surface, shape into a ball, and rest for 15 minutes.
- Carefully lower the dough into the hot Dutch oven, cover, and bake at 450F for 30 minutes.
- Uncover and bake for 12–15 more minutes at 450F until the crust is deeply golden with a crackled look.
- Cool the loaf on a wire rack for 1 hour before slicing so the crumb sets.