These oatmeal pumpkin pancakes come off the griddle with crisp edges, a tender middle, and a warm pumpkin spice flavor that tastes cozy without getting heavy. The oats give them a rustic bite and a little more substance than a standard pancake, so they actually hold up well to maple syrup instead of turning soggy on the plate.
What makes this version work is the balance between oat flour and all-purpose flour. All oats can make pancakes dense and a little dry, but a smaller amount of wheat flour keeps the crumb light while still letting the oats do their job. Pumpkin puree adds moisture and body, so the batter needs just a short rest before cooking; that gives the oats time to hydrate and keeps the pancakes from tasting gritty.
Below, I’ve included the small details that matter most here: how to keep the batter from turning gluey, why the skillet heat matters, and the easiest swaps if you need to work with what’s in the pantry.
The batter thickened after the short rest, and the pancakes cooked up fluffy with those little oat bits still giving them texture. My kids asked for maple syrup and extra pecans on top, and there wasn’t a dry one in the stack.
Save these oatmeal pumpkin pancakes for a breakfast that stays fluffy, spiced, and sturdy enough for maple syrup.
The Oats Need a Short Rest, Not a Long Sit
Pancake batter with oats behaves differently from standard batter. The oats keep pulling in liquid after the bowl is mixed, which is why these start out a little loose and then thicken just enough to cook up with a tender center. If you skip the rest entirely, the oat bits stay a little chalky. If you let the batter sit too long, it turns heavy and spreads poorly in the pan.
The sweet spot is a brief three-minute rest. That’s enough time for the oats to soften without letting the baking powder lose its lift. You should see a batter that still pours, but not one that runs like milk. If it looks too tight after resting, add a splash of milk; if it looks thin, give it another minute before deciding anything is wrong.
What the Pumpkin, Eggs, and Oats Are Each Doing Here
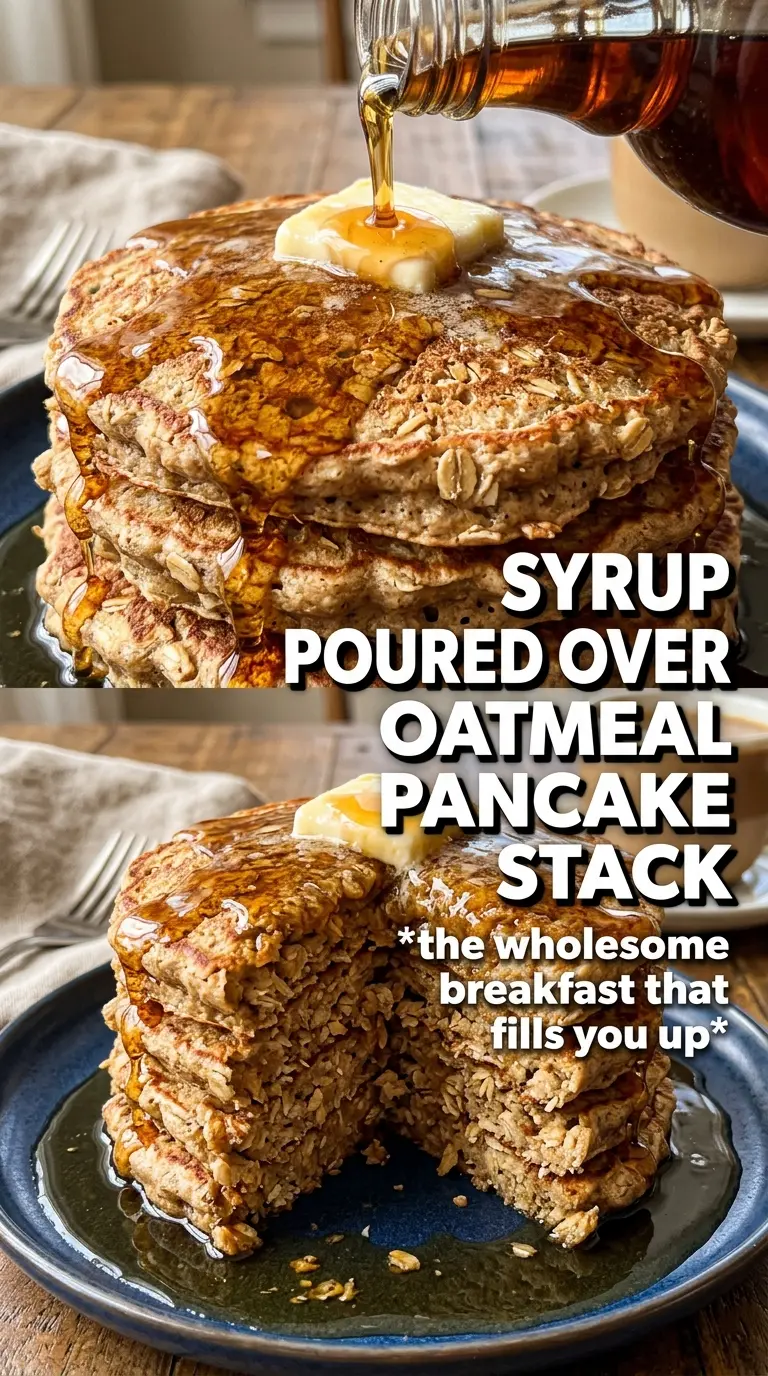
- Old-fashioned rolled oats — Blending them into a coarse flour gives these pancakes their signature texture. Quick oats can work in a pinch, but they break down faster and make the batter a little softer. Don’t leave them whole unless you want a much chewier, more bran-like pancake.
- Pumpkin puree — This brings moisture, color, and that mellow pumpkin flavor without making the batter taste like pie filling. Use plain pumpkin puree, not pumpkin pie filling, or the batter will be too sweet and the spice balance will be off.
- Milk or buttermilk — Milk gives a clean, mild pancake; buttermilk makes them a touch tangier and a little lighter. If you use buttermilk, the batter may thicken a bit more after resting, so don’t panic if it looks sturdier than expected.
- Melted butter or coconut oil — Fat keeps the crumb tender and helps the pancakes release from the pan cleanly. Butter gives the best flavor, while coconut oil is a good dairy-free swap that still keeps the edges from drying out.
- Eggs — They bind the oat flour and pumpkin together so the pancakes flip without breaking. Two eggs are important here; cutting back makes the batter looser and the centers more fragile.
Getting the Pan Hot Enough Without Burning the Spice
Mix the dry and wet bowls separately
Stir the oat flour, all-purpose flour, baking powder, spices, salt, and brown sugar together first so the leavening and spice are evenly distributed. In a separate bowl, whisk the pumpkin, milk, eggs, melted butter, and vanilla until the mixture looks smooth and thick. When you combine them, fold just until the dry spots disappear; overmixing wakes up the gluten in the wheat flour and makes the pancakes tough.
Let the batter hydrate briefly
After mixing, rest the batter for about three minutes. You’ll notice it thickens as the oats absorb liquid, which is exactly what you want. If the batter still seems pourable but not thin, it’s ready. If it becomes spoonable rather than pourable, loosen it with a tablespoon or two of milk before it hits the skillet.
Cook over steady medium heat
Grease a skillet lightly and heat it over medium, not high. Pumpkin batter browns faster than plain batter because of the sugar and spices, so a pan that’s too hot will leave you with dark outsides and underdone middles. Use about 1/4 cup batter per pancake and wait for bubbles to form across the top and the edges to look set before flipping. If the first one browns too fast, lower the heat right away.
Finish with syrup while they’re still warm
These are best served the moment they come off the griddle, when the centers are still soft and the edges hold a little crispness. Maple syrup, chopped pecans, and whipped cream all work here because the pancakes have enough structure to carry toppings without falling apart. If you’re cooking for a crowd, keep finished pancakes on a baking sheet in a low oven instead of stacking them tightly on a plate, which traps steam and softens the edges.
How to Adapt These Pancakes for Different Mornings
Dairy-Free Pumpkin Oatmeal Pancakes
Use coconut oil instead of butter and regular milk or a plain unsweetened non-dairy milk. Almond milk works, but it makes the batter a little thinner, so you may need to let it rest the full three minutes before judging the texture. The flavor stays warm and spiced, just a little less rich.
Gluten-Free Version
Swap the all-purpose flour for a 1:1 gluten-free baking blend and keep the oat flour in place. The pancakes will be slightly more delicate, so let the first side cook until the top is dotted with bubbles and the edges look dry before flipping. This keeps them from tearing.
Extra-Spiced, Less-Sweet Pancakes
Cut the brown sugar back to 1 tablespoon and add another 1/4 teaspoon of cinnamon if you like a stronger spice note. This version is a good fit when you plan to serve them with plenty of maple syrup, because the pancakes themselves stay more neutral and the topping does the sweet work.
Storage and Reheating
- Refrigerator: Store leftovers in an airtight container for up to 3 days. They’ll soften a bit as they sit, but the flavor stays good.
- Freezer: These freeze well. Lay cooled pancakes in a single layer until firm, then stack with parchment between them and seal in a freezer bag for up to 2 months.
- Reheating: Reheat in a toaster oven, skillet, or 325°F oven until warmed through. The mistake to avoid is microwaving them too long, which makes the oat texture gummy instead of tender.
Answers to the Questions Worth Asking
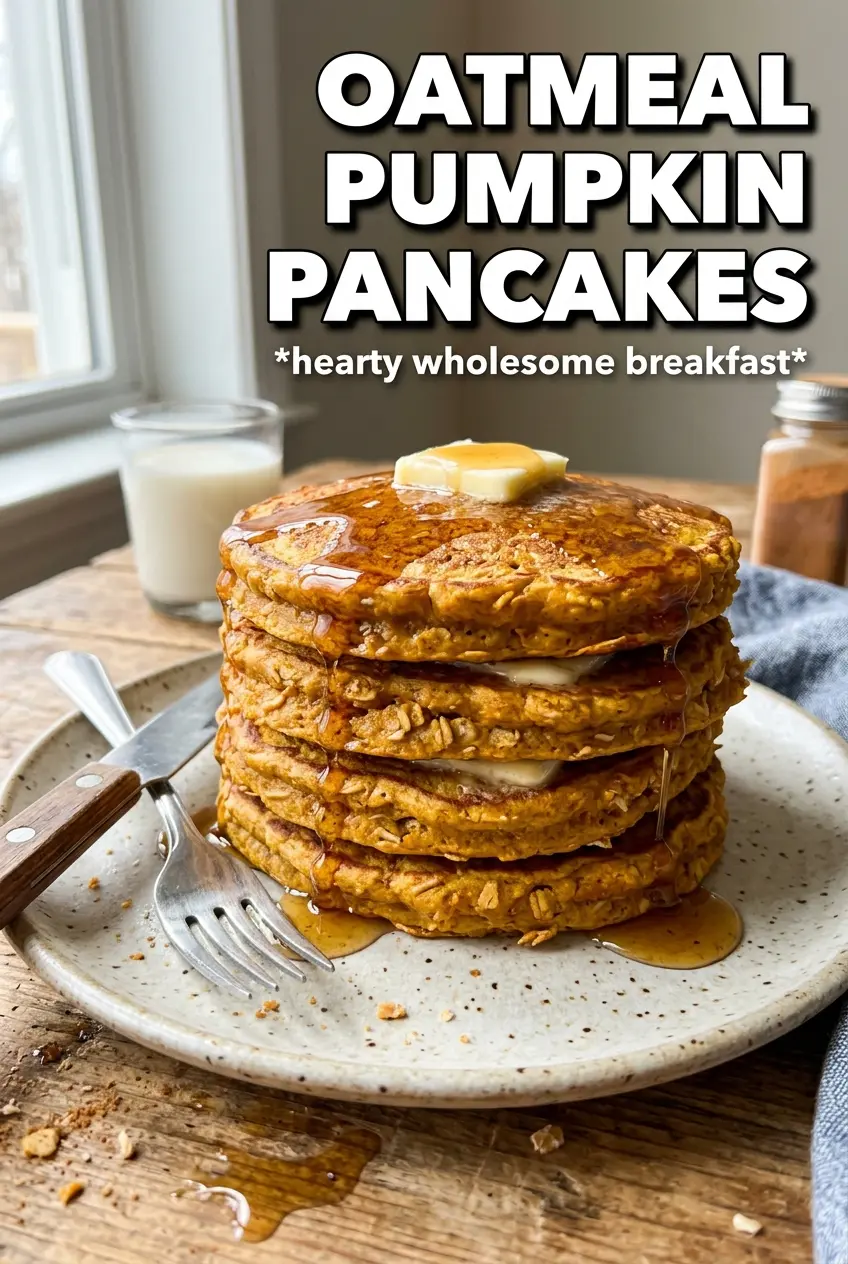
Oatmeal Pumpkin Pancakes
Ingredients
Equipment
Method
- Blend the rolled oats into a coarse oat flour in a blender or food processor until you can still see small oat bits.
- Combine oat flour, all-purpose flour, baking powder, pumpkin pie spice, cinnamon, salt, and brown sugar.
- Whisk pumpkin puree, milk or buttermilk, eggs, melted butter or coconut oil, and vanilla extract together until smooth.
- Fold the wet mixture into the dry mixture just until combined, then stop when you no longer see dry pockets.
- Rest the batter for 3 minutes so it thickens slightly and hydrates the oats.
- Heat a greased skillet over medium heat (about 350°F) until hot.
- Cook 1/4 cup portions for 2-3 minutes per side, flipping when bubbles form on top and the edges look set.
- Serve the pancakes warm with maple syrup, chopped pecans, and whipped cream.