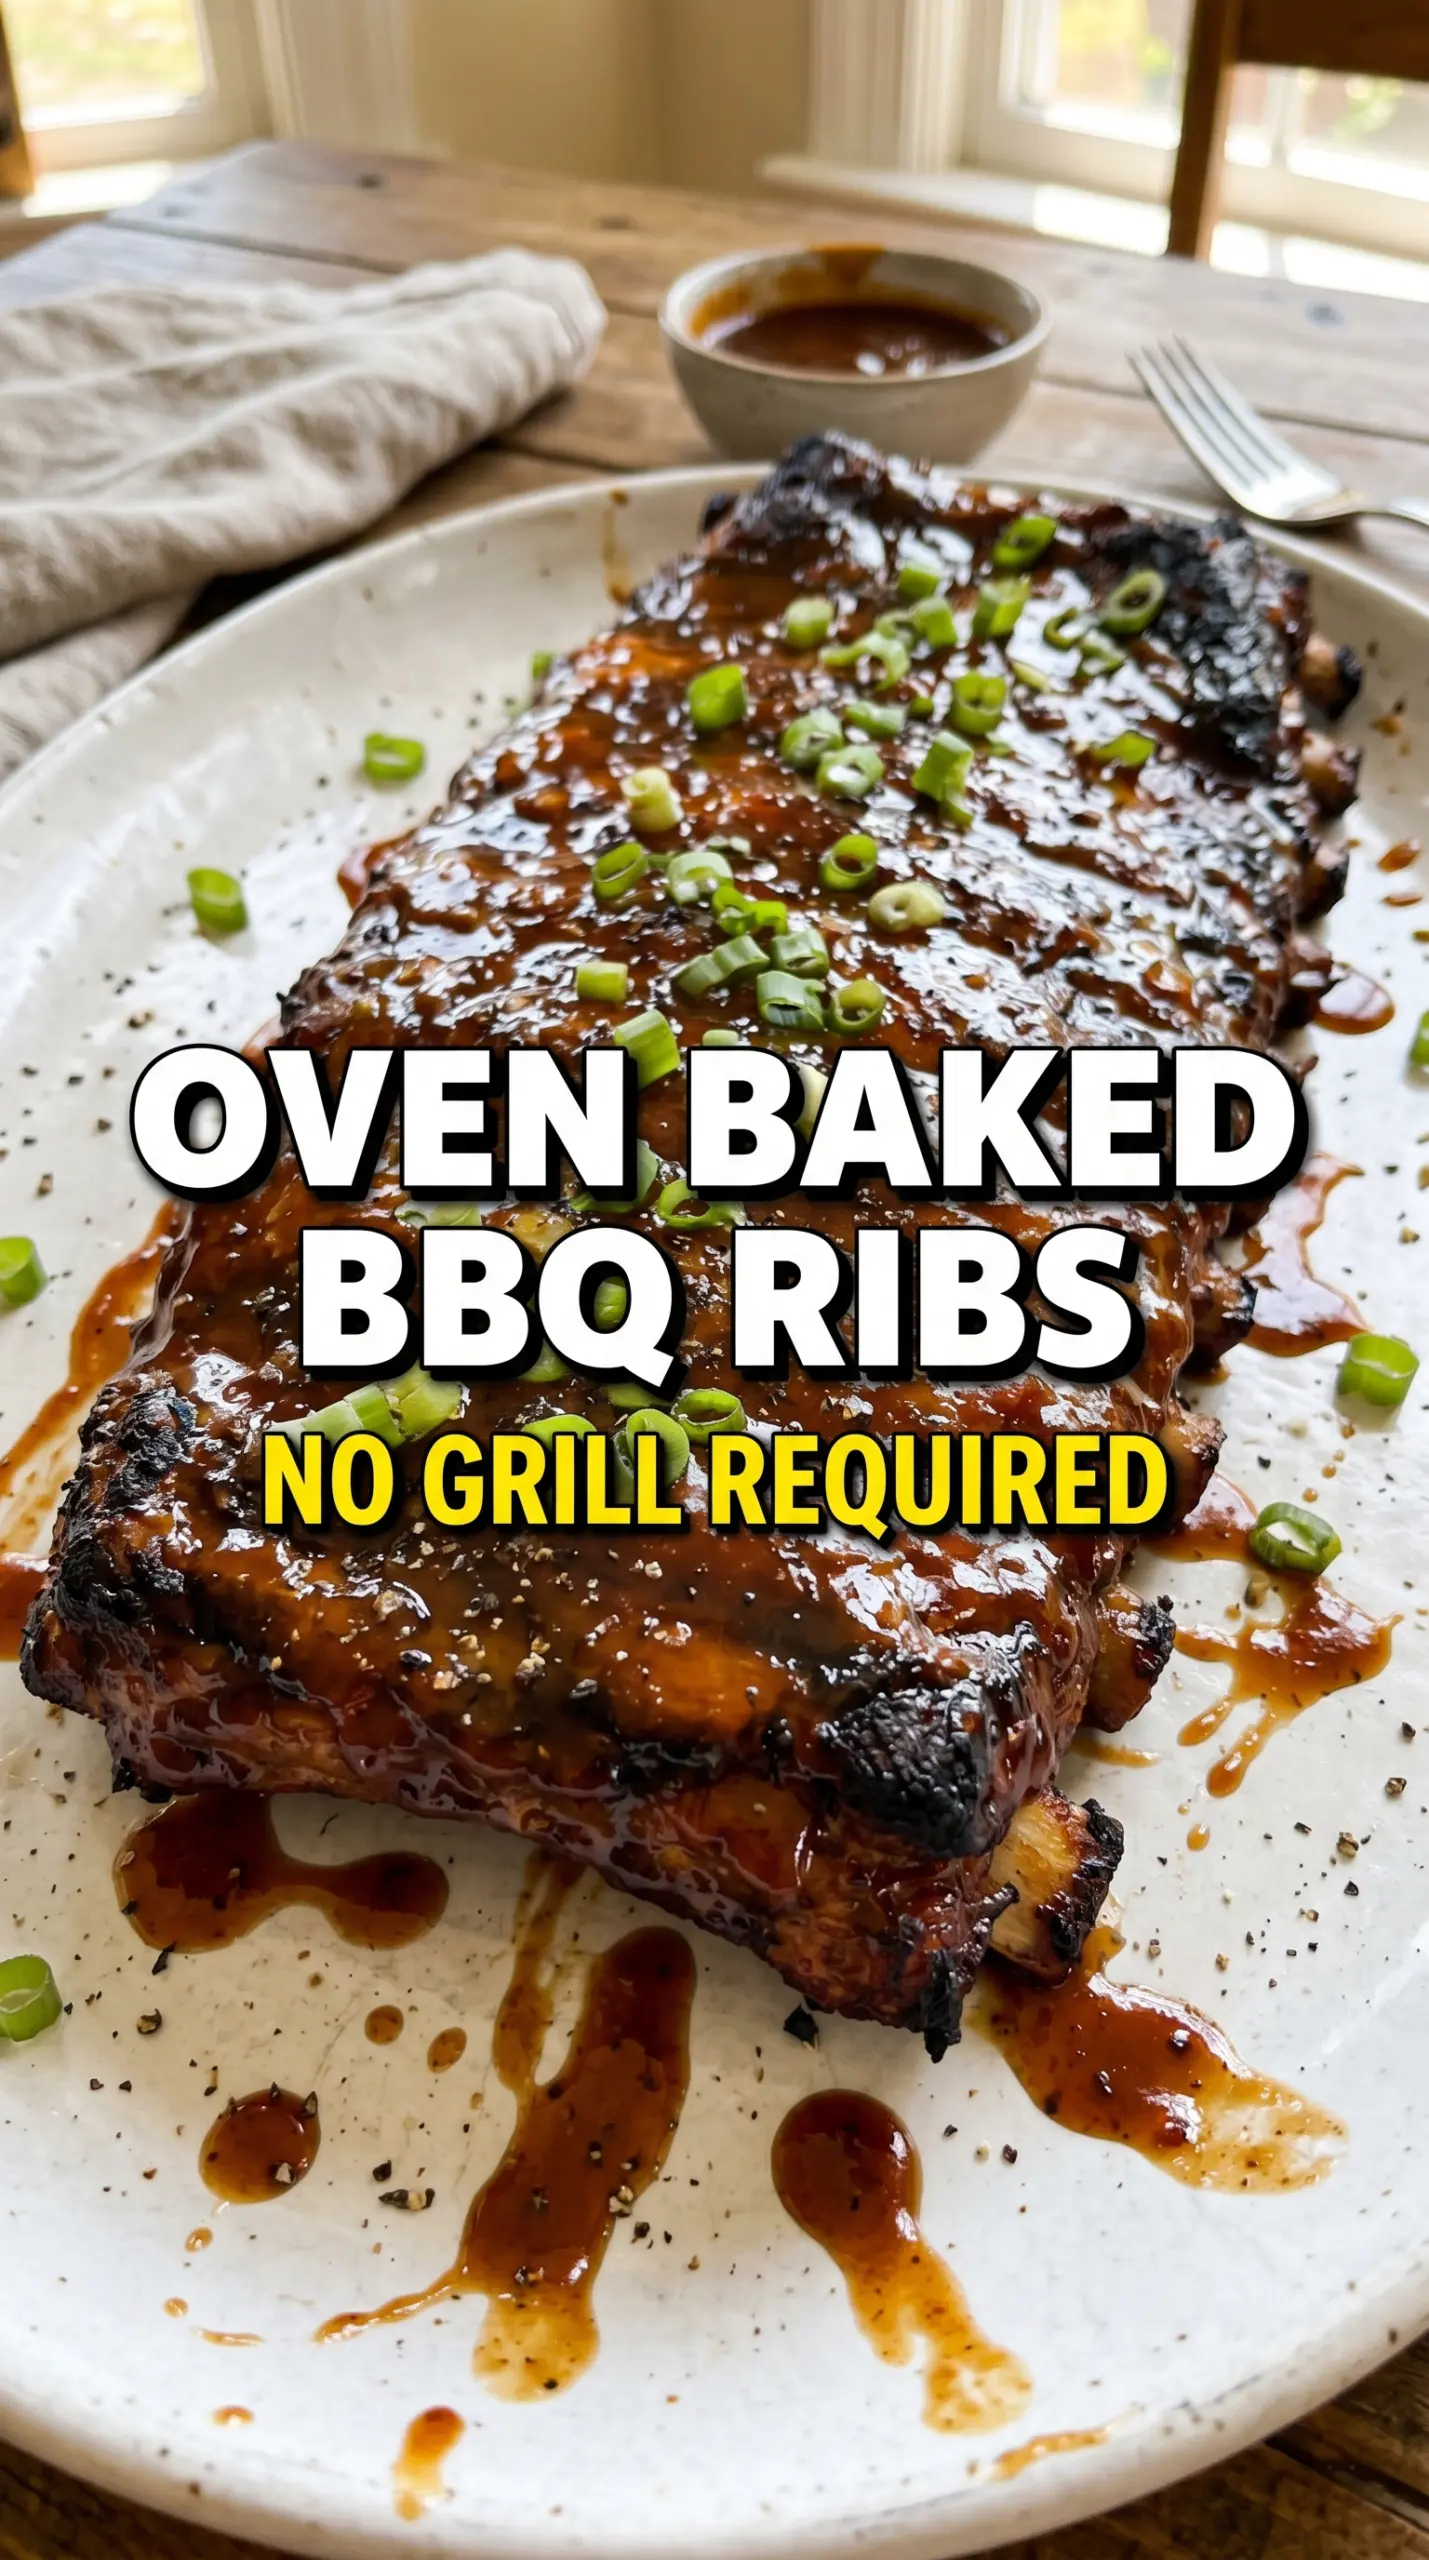
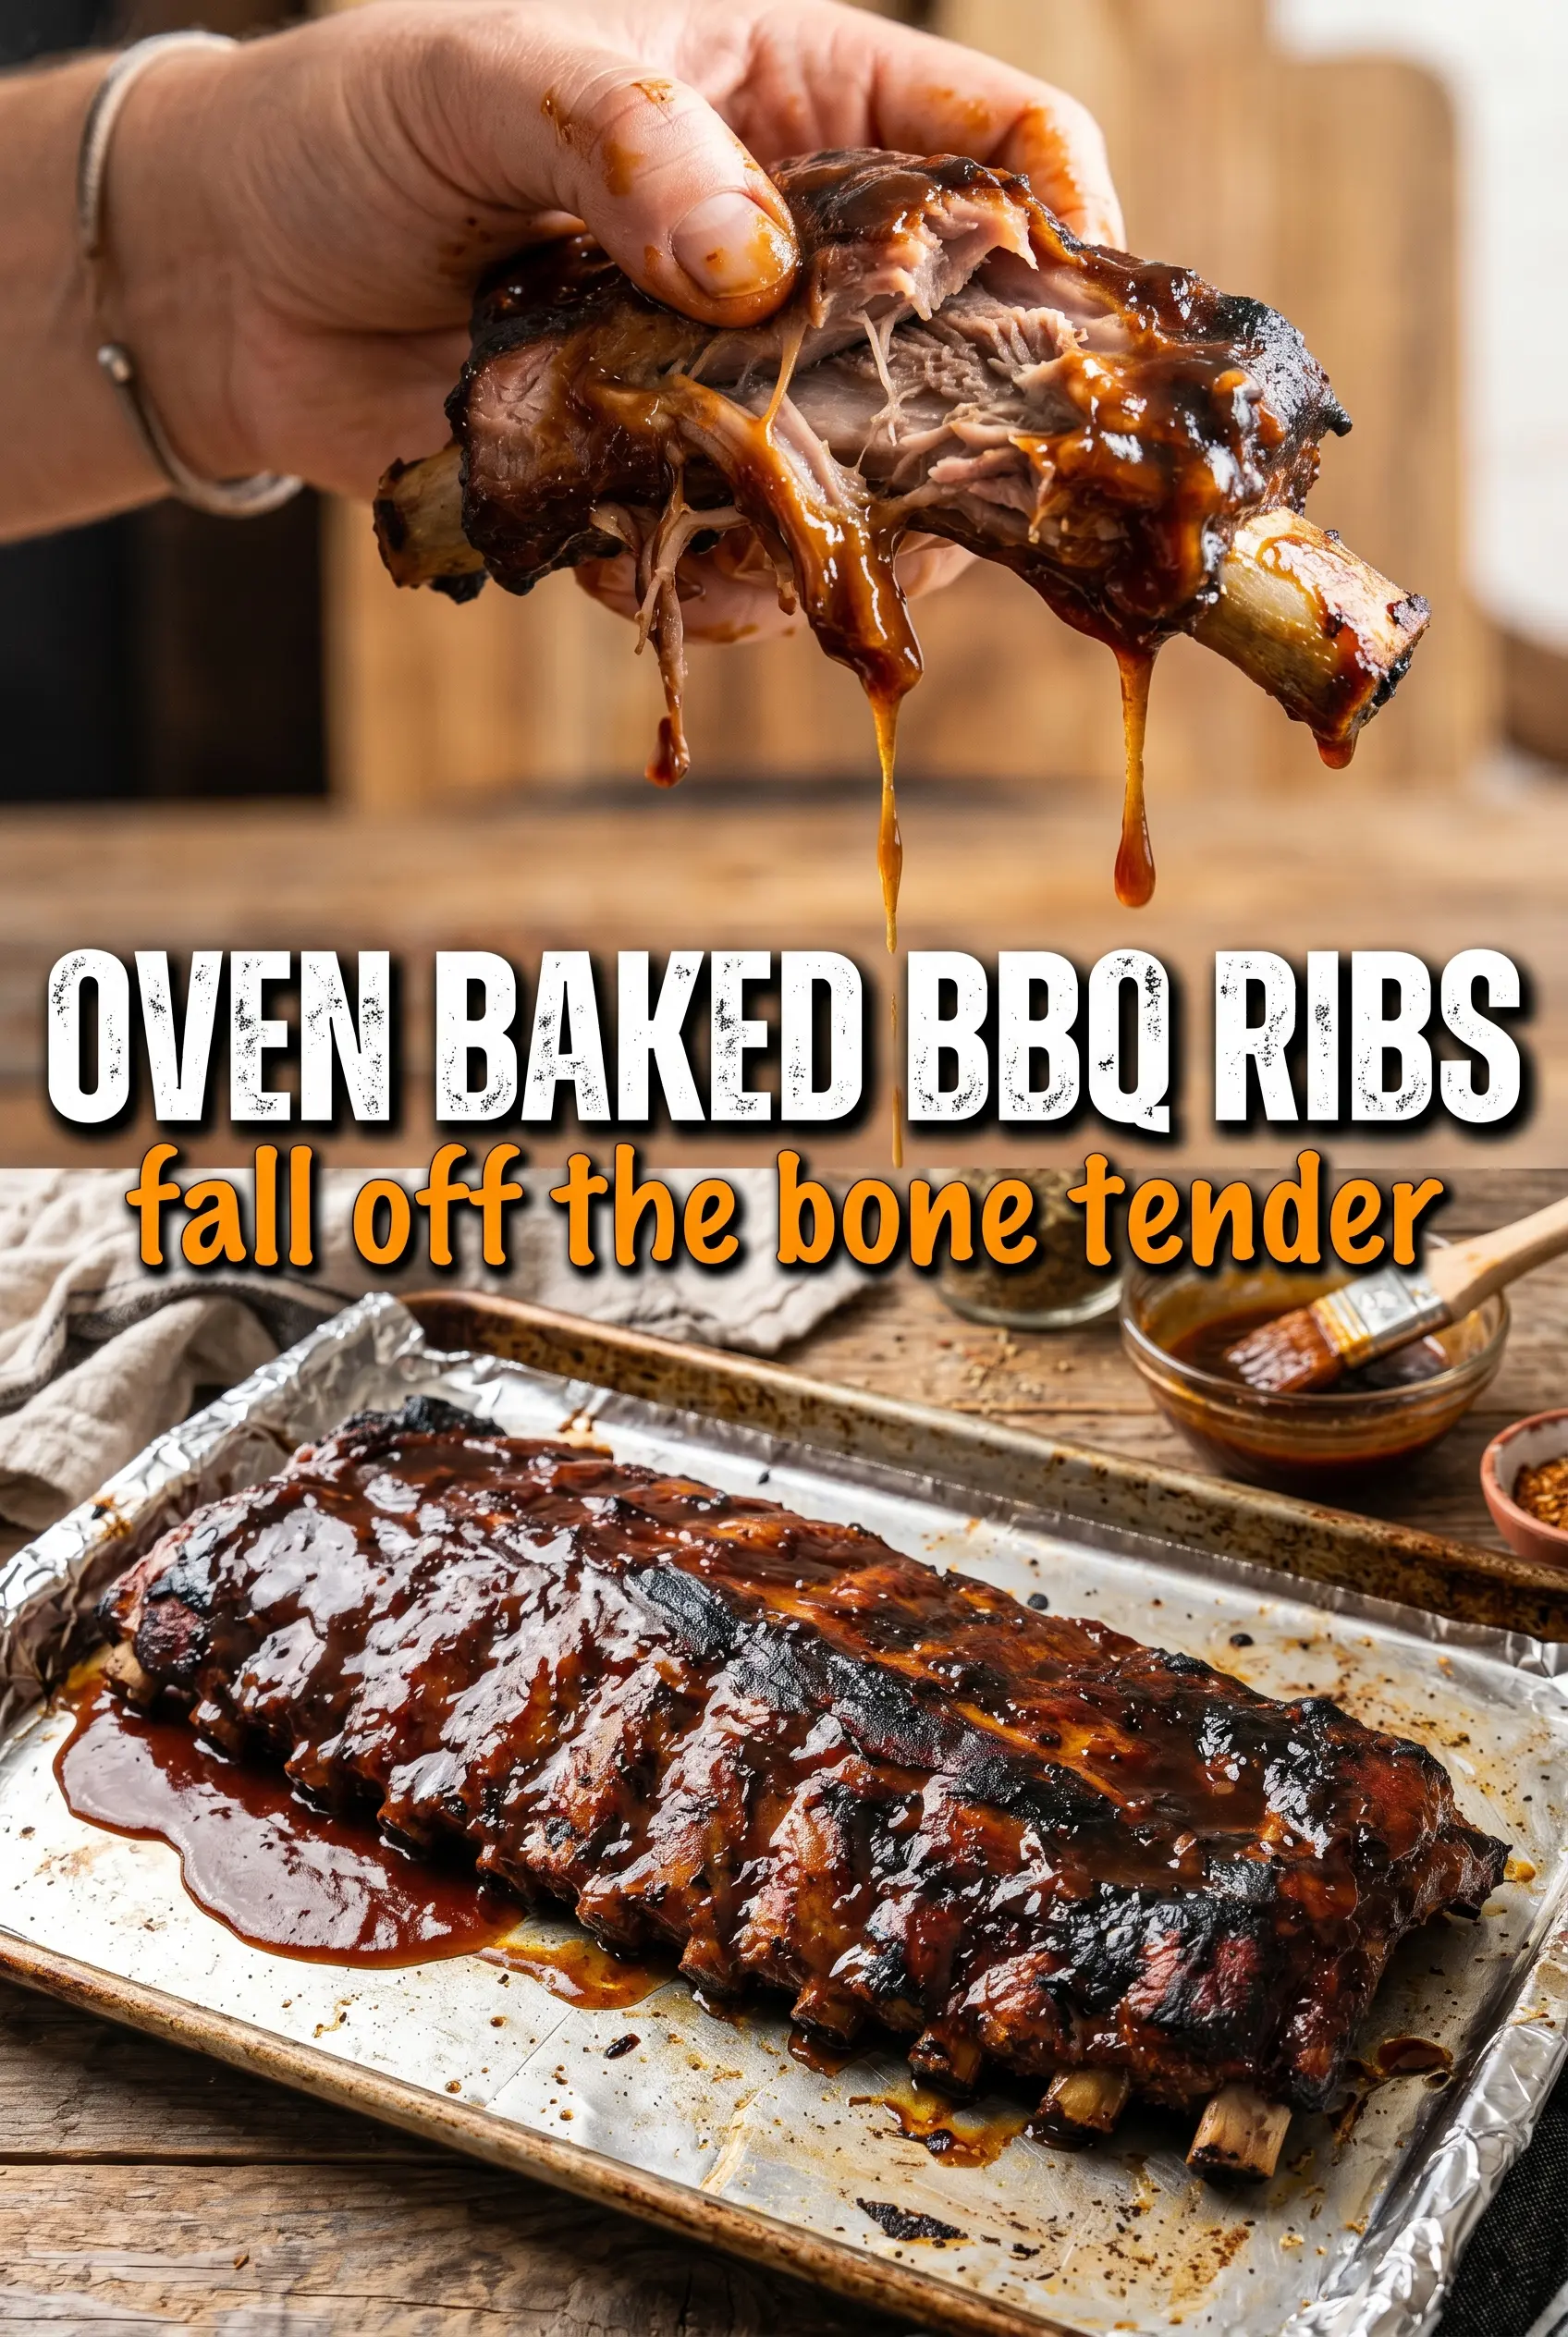
These oven baked BBQ ribs come out with tender meat that pulls cleanly from the bone and a sticky, caramelized glaze that clings to every bite. You don’t need a grill to get that deep barbecue flavor at home. The oven does the slow work, and the broiler finishes the ribs with those dark, glossy edges everyone goes after first.
The trick is low heat and patience. Baby back ribs need time for the connective tissue to relax, and wrapping them tightly in foil keeps the meat moist while it turns tender. A dry rub with brown sugar, smoked paprika, and cumin gives the ribs a head start on flavor before the sauce ever hits the pan, and removing the silver membrane from the back of the rack keeps the texture from turning chewy.
Below, you’ll find the exact timing I use, the moment the ribs are ready to come out of the oven, and the best way to broil them without burning the sauce.
The ribs were tender all the way through and the glaze got sticky under the broiler without turning bitter. Removing the membrane made a huge difference, and the seasoning had great depth even before the sauce went on.
Like this oven baked BBQ ribs recipe? Save it for the next weekend when you want sticky, fall-off-the-bone ribs without firing up the grill.
The Part Most Ribs Get Wrong: Letting the Heat Work Slowly
Ribs get tough when the oven runs too hot or the foil packet leaks steam. At 275°F, the collagen has time to soften before the outside dries out, which is why these ribs turn tender instead of stringy. That low, steady heat is doing the heavy lifting here, not the sauce.
The other mistake is checking them too early. Baby back ribs need the full bake time if you want the meat to pull back from the bones and bend easily when lifted. If the rack still feels stiff, give it more time; if it tears apart as soon as you unwrap it, the oven ran too long or too hot.
- Low oven temperature — This keeps the ribs juicy while the connective tissue breaks down. Faster heat can brown the surface, but it won’t give you that tender bite.
- Tight foil wrap — The sealed packet traps moisture around the ribs so they braise in their own steam. Loose foil lets the edges dry out before the center is ready.
- Broiler finish — The sauce needs that short burst of high heat to turn sticky and caramelized. Skip it and you’ll get good ribs, but not that glossy barbecue finish.
What the Rub and Sauce Are Actually Doing Here
- Baby back pork ribs — These cook a little faster than spare ribs and stay tender with this method. If you use spare ribs, add more time and check for tenderness rather than just looking at the clock.
- Brown sugar — It helps the rub melt into the surface and gives the broiled glaze a deeper, darker finish. White sugar won’t give the same molasses note.
- Smoked paprika and cumin — These bring that barbecue backbone without needing a smoker. Regular paprika works in a pinch, but you’ll lose some of the depth.
- BBQ sauce — Use a sauce you actually like eating from the spoon, because the broiler concentrates everything. If your sauce is very sweet, keep the broil time shorter so it doesn’t burn.
Building Tender Ribs Before the Sauce Goes On
Pulling the Membrane
Slide a knife under the thin silver membrane on the back of each rack, then use a paper towel to grip it and pull it off in one sheet if possible. If you leave it on, the ribs can turn chewy on the underside and the seasoning won’t penetrate as well. It usually comes off more cleanly when you start at one end and work slowly.
Coating the Ribs Evenly
Mix the dry rub until the brown sugar is broken up and the spices are evenly distributed, then press it onto every side of the ribs. Don’t just sprinkle it over the top; the sugar and paprika need direct contact with the meat to build flavor. If the rub looks patchy, the finished ribs will taste patchy too.
Wrapping and Baking
Wrap each rack tightly in heavy-duty foil so the juices stay around the meat instead of running onto the pan. Set the packets on a baking sheet for easier handling and a cleaner oven. After about 2.5 hours, open one packet and test the ribs by lifting with tongs; the rack should bend easily, and the meat should look pulled back from the bones.
Glazing Under the Broiler
Unwrap the ribs carefully and brush on a generous layer of BBQ sauce. Put them under the broiler just long enough for the sauce to bubble and darken at the edges, usually 5 to 7 minutes. Stay close, because sugar burns fast once it starts to caramelize; if the sauce starts to blacken in spots, pull the ribs out immediately.
How to Change These Ribs Without Losing the Texture
For a milder rib rack
Leave out the cayenne and use a sweeter BBQ sauce. You’ll keep the sticky finish and smoky seasoning, but the heat drops back and lets the brown sugar and paprika lead.
For a gluten-free version
Use a gluten-free BBQ sauce and check the spice labels if you buy pre-mixed seasoning. The cooking method stays the same, and the ribs still finish with that same sticky, broiled glaze.
For spare ribs instead of baby backs
Spare ribs need more time because they’re larger and a bit fattier. Plan on adding 30 to 45 minutes, then judge doneness by tenderness, not the timer.
Storage and Reheating
- Refrigerator: Store leftovers tightly wrapped or in an airtight container for up to 4 days. The glaze softens a little, but the meat stays tender.
- Freezer: These freeze well if you wrap portions individually and freeze them without extra sauce. Thaw overnight in the fridge before reheating.
- Reheating: Warm the ribs covered in a 300°F oven until heated through, then uncover and brush with a little extra sauce for the last few minutes. The biggest mistake is blasting them in the microwave, which dries out the meat and makes the glaze sticky in the wrong way.
Answers to the Questions Worth Asking
Oven Baked BBQ Ribs
Ingredients
Equipment
Method
- Preheat the oven to 275°F. Set out a baking sheet and heavy-duty foil for wrapping.
- Remove the silver membrane from the back of each rack. Pull it away with a firm grip so the rub can penetrate.
- Mix all dry rub ingredients together in a bowl. Coat the ribs thoroughly on all sides, pressing the rub into the meat.
- Wrap each rack tightly in heavy-duty foil and place it on a baking sheet. Make sure the foil is sealed to trap moisture.
- Bake for 2.5–3 hours at 275°F until the meat is tender and pulls away from the bone. Look for shrinking at the ends and a soft, joint-yielding texture.
- Unwrap the ribs carefully and let them rest for 30 minutes to dry slightly before glazing. The surface should look less wet and more tacky as it rests.
- Brush the ribs generously with BBQ sauce. Add a thick, even layer so the glaze can caramelize.
- Broil 5–7 minutes until the glaze is caramelized. Watch for bubbly, sticky edges with a shiny finish.
- Serve with extra BBQ sauce on the side. Slice into individual pieces and serve while hot.