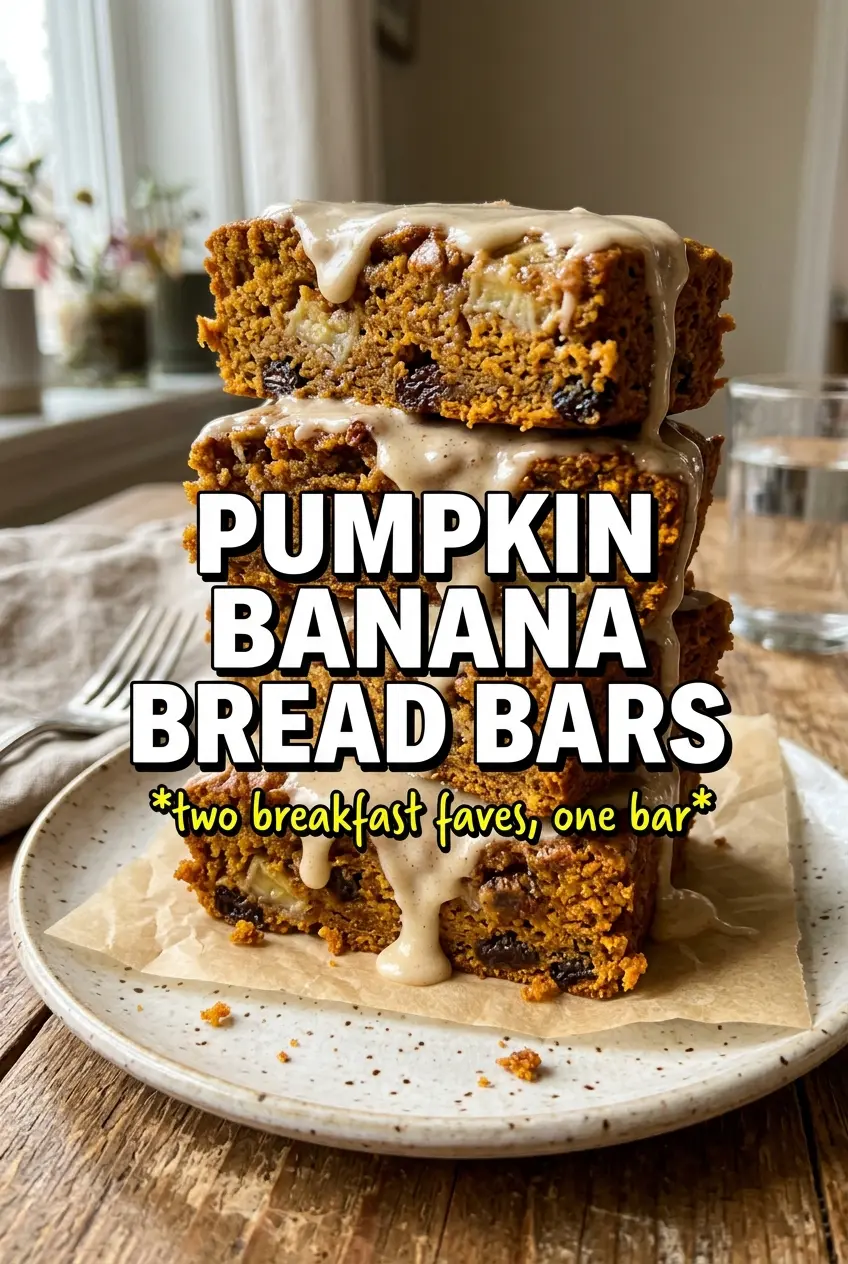
Pumpkin banana bread bars bake up soft, thick, and moist with the kind of tender crumb that makes you want a second piece before the pan has even cooled. The banana brings sweetness and body, the pumpkin keeps everything plush, and the maple glaze on top finishes the whole thing with a clean, cozy sweetness that doesn’t bury the bread bar underneath it.
What makes this version work is balance. The bananas need to be mashed very smooth so they disappear into the batter instead of leaving streaks or gummy pockets. Pumpkin puree adds moisture without making the bars heavy, and the mix of baking soda plus baking powder gives enough lift to keep the texture light instead of dense. The key is stopping the mixing as soon as the dry ingredients disappear; overmixing turns quick breads tough fast.
Below, I’ve included the small details that matter most, from getting the batter into the pan evenly to knowing exactly when to pull the bars so they stay soft instead of dry. The glaze is straightforward, but a few tiny adjustments can make it sit on top in neat ribbons instead of soaking in.
I loved how the bars stayed super moist without turning dense, and the maple glaze set up just enough that it didn’t run everywhere when I cut them. My bananas were extra ripe, and the pumpkin-banana combo came through in the best way.
Save these pumpkin banana bread bars for the mornings when you want soft, maple-glazed breakfast bars with real banana flavor.
The Secret to Keeping Pumpkin Banana Bars Soft Instead of Heavy
The biggest mistake with bars like these is treating them like cake batter and beating them too long. Once the flour goes in, the batter only needs a few folds. Overmixing wakes up the gluten in the flour, and that’s how you end up with bars that look fine in the pan but eat like bread bricks the next day.
The other thing that matters is the balance of moisture. Pumpkin and banana both bring a lot of liquid to the batter, so the leaveners have to do enough work to keep the texture from collapsing into something gummy. That’s why this recipe uses both baking soda and baking powder: one helps with browning and lift from the acidic fruit, the other gives a little extra rise for a softer, more tender crumb.
What Each Ingredient Is Actually Doing in These Bars
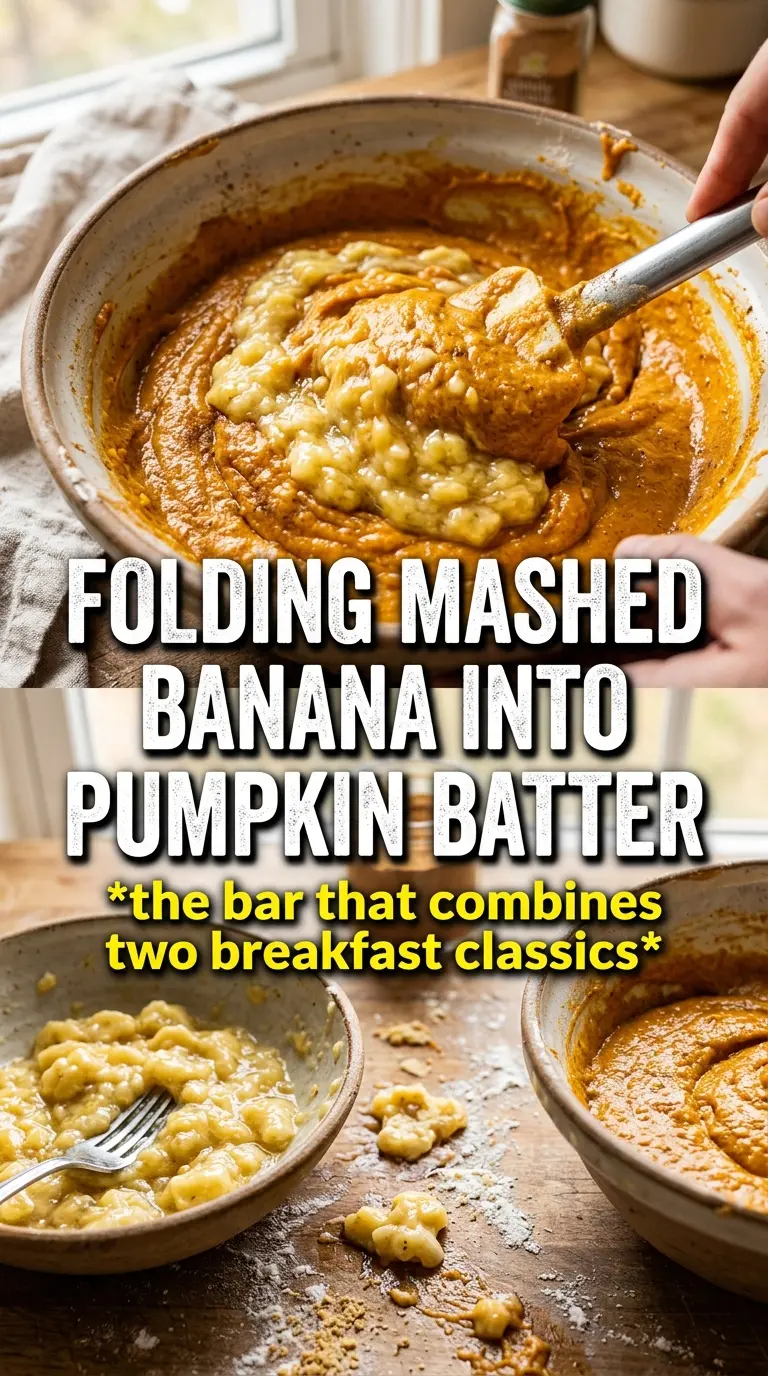
- Very ripe bananas — These bring sweetness, moisture, and that familiar banana bread flavor. Green-tipped bananas won’t work the same way; they’re too starchy and won’t melt smoothly into the batter. Mash them until there are no big lumps left so the bars bake evenly.
- Pumpkin puree — Use plain pumpkin puree, not pumpkin pie filling. Pie filling is already sweetened and spiced, which throws off both the flavor and the texture. The puree keeps the bars soft and gives them that deep orange color without making them taste like pumpkin pie.
- Vegetable oil — Oil keeps these bars tender for days. Butter can work, but it changes the texture and firms up more once cooled. If you want the softest crumb, oil is the better choice here.
- Maple syrup glaze — The glaze needs pure maple syrup for the right flavor. Pancake syrup makes it taste flat and overly sweet. A tablespoon of milk loosens it just enough so it drizzles instead of clumping.
Getting the Batter Into the Pan and the Glaze On Cleanly
Start With a Smooth Fruit Base
Mash the bananas until they’re very smooth, then whisk them with the pumpkin, sugars, oil, eggs, and vanilla until the mixture looks uniform. If you leave banana chunks behind, they can sink and leave little wet pockets in the baked bars. A smooth base also helps the batter spread more evenly in the pan.
Fold, Don’t Beat
Add the dry ingredients and fold just until the flour disappears. The batter should look thick and pourable, not whipped. If you keep stirring after that point, the bars lose tenderness and the top can bake up oddly tough before the center is set.
Watch the Center, Not the Clock Alone
Bake until a toothpick comes out clean or with just a few moist crumbs, usually around 25 to 30 minutes. The edges should look set and lightly golden, and the center should spring back when touched. If the middle still looks glossy, give it a few more minutes; underbaked pumpkin bars collapse as they cool.
Glaze After Full Cooling
Let the bars cool completely before drizzling on the maple glaze. If the bars are even slightly warm, the glaze melts and disappears into the top instead of sitting in those pretty ribbons. A thicker glaze gives you cleaner lines; if it’s too loose, add a spoonful more powdered sugar.
Three Ways to Make These Bars Fit What You’ve Got
Make Them Dairy-Free Without Changing the Texture
These bars are naturally dairy-free as written if you use milk in the glaze that matches your needs. Swap the milk for almond milk, oat milk, or any unsweetened non-dairy milk in the glaze. The bars themselves stay just as soft because the richness comes from oil, bananas, and pumpkin, not butter.
Gluten-Free Version With a Cup-for-Cup Blend
A good 1:1 gluten-free baking flour works here, especially one that already contains xanthan gum. The bars will be a little more delicate when warm, but the flavor and moisture hold up well. Avoid almond flour alone; it won’t give the same structure, and the bars can turn crumbly.
Turn Them Into Muffins for Grab-and-Go Breakfasts
Spoon the batter into lined muffin cups about two-thirds full and start checking around 18 to 20 minutes. Muffins will bake faster and brown a little more around the edges, which gives you a slightly drier crumb than bars but a handy portable version. The glaze still works, but drizzle it lightly so it doesn’t slide off.
Storage and Reheating
- Refrigerator: Store covered for up to 5 days. The bars stay moist, though the glaze will soften slightly as they sit.
- Freezer: Freeze the bars without glaze for the best texture. Wrap individually and freeze for up to 2 months, then thaw at room temperature before glazing.
- Reheating: Warm a bar in the microwave for 10 to 15 seconds if you want it soft and bakery-style. Don’t overheat it, or the crumb turns dry and the glaze melts off completely.