Soft, tall pumpkin buttermilk pancakes have a way of disappearing fast. The edges turn golden and lightly crisp while the centers stay tender and airy, with just enough pumpkin spice to taste warm without overwhelming the batter. When they’re cooked right, they stack up fluffy instead of dense, and the first pour of maple syrup sinks into all those little nooks in the best way.
This version works because the batter leans on buttermilk and baking soda for lift, then gives the flour time to hydrate before it hits the griddle. Pumpkin puree adds moisture and color, but it also makes pancakes heavy if the batter is overmixed or the pan runs too hot. A short rest keeps the crumb softer and helps the pancakes spread just enough instead of turning cakey and thick in the middle.
Below, I’ll walk through the small details that matter most: how to mix the batter without knocking out the air, how to know when the griddle is at the right temperature, and a few easy swaps if you need to work around what’s in your pantry.
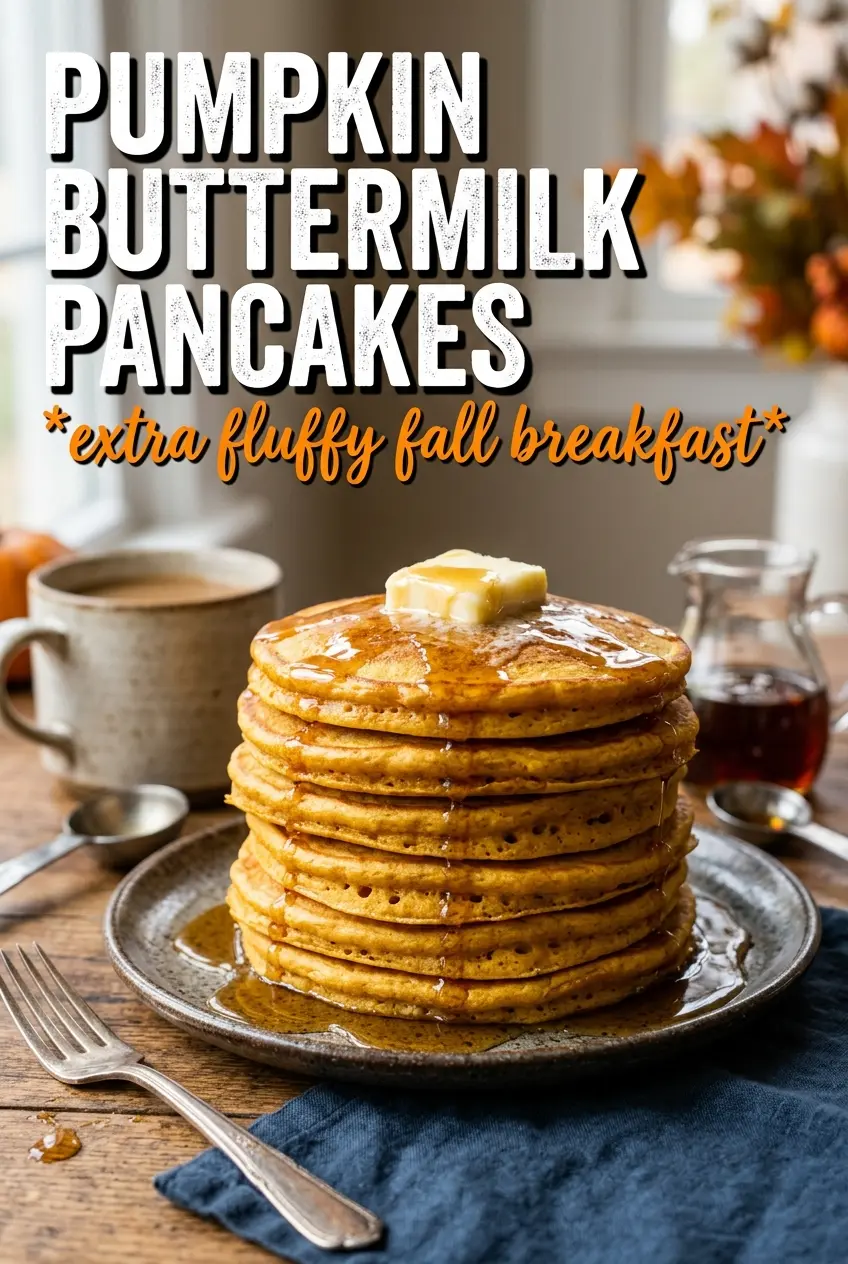
The batter rested just long enough to thicken up, and the pancakes came off the griddle fluffy with those tiny bubbles all over the top. I used real maple syrup and the pumpkin spice came through without tasting heavy.
These pumpkin buttermilk pancakes stay fluffy and tender, with golden edges and a maple-ready center.
The Trick to Pancakes That Rise Instead of Turn Dense
The biggest mistake with pumpkin pancakes is treating the batter like regular buttermilk batter. Pumpkin puree adds weight and moisture, so if you whisk too long or cook too hot, the pancakes set before the center has a chance to lift. The result is a thick, bready stack instead of the light, fluffy pancake you were aiming for.
The fix is simple: mix only until the flour disappears, then let the batter rest long enough for the flour to hydrate and the leaveners to start working. That short rest is where the texture changes. You’ll notice the batter thicken slightly, which helps the pancakes hold shape on the griddle without spreading too thin.
- Buttermilk — This is doing more than adding tang. It reacts with the baking soda and gives you the lift that makes these pancakes taste airy instead of heavy. Regular milk won’t behave the same way, though you can use milk mixed with lemon juice or vinegar in a pinch.
- Pumpkin puree — Use plain pumpkin puree, not pumpkin pie filling. Pie filling is already sweetened and spiced, which throws off the balance and makes the batter too loose.
- Baking soda and baking powder — The soda reacts with the buttermilk right away, while the baking powder keeps the rise going on the griddle. You need both for pancakes that puff without tasting metallic.
- Resting the batter — Don’t skip this. Five to eight minutes is enough to let the flour absorb moisture and settle the bubbles, which gives you a smoother pour and a more even crumb.
What the Pumpkin, Buttermilk, and Spice Are Each Doing
- All-purpose flour — This gives the pancakes structure without making them chewy. Bread flour would make them tougher, and cake flour can make them too fragile to flip cleanly.
- Brown sugar and granulated sugar — The granulated sugar helps with browning, while the brown sugar adds a little depth that plays well with pumpkin. You don’t need much; the goal is warmth, not sweetness overload.
- Pumpkin pie spice and cinnamon — The spice mix gives you that familiar autumn baking note, but the extra cinnamon keeps the flavor from feeling flat. If your pumpkin pie spice is old, the pancakes can taste dull, so use a fresh jar if you’ve had it around for a while.
- Eggs and melted butter — The eggs help bind the batter and add richness, while the butter keeps the crumb tender. Melt the butter and let it cool for a minute before whisking it in so you don’t accidentally cook the eggs.
- Vanilla extract — It rounds out the pumpkin and spice and makes the pancakes smell like a proper breakfast stack the second they hit the pan.
Mix, Rest, and Cook Them at the Right Heat
Build the Dry Base First
Start by whisking the flour, both sugars, baking powder, baking soda, spices, and salt together until the color looks even throughout. That breaks up pockets of baking soda or spice, which matters more than people think when you’re making a batter this small. If the dry ingredients aren’t blended well now, you’ll get uneven spots in the pancakes later.
Whisk the Wet Ingredients Until Smooth
In a separate bowl, whisk the pumpkin puree, buttermilk, eggs, melted butter, and vanilla until the mixture looks smooth and streak-free. The butter may look a little stubborn at first, but keep whisking and it will come together. If the butter is too hot, it can scramble the eggs or leave little greasy ribbons in the batter.
Fold, Don’t Beat
Pour the wet mixture into the dry ingredients and fold gently with a spatula until you no longer see dry flour. Lumps are fine; actually, they’re what you want. Overmixing develops the gluten and turns the pancakes rubbery, and with pumpkin in the batter, that problem shows up fast.
Watch the Griddle, Not the Clock
Heat a lightly greased griddle over medium heat until a drop of batter sizzles softly, not violently. Too hot and the outside browns before the inside sets; too low and the pancakes dry out before they gain height. Pour about 1/4 cup batter for each pancake, then cook until bubbles appear across the surface and the edges look set and matte.
Flip Once and Finish Cleanly
Turn each pancake in one confident motion and cook the second side for about 2 minutes, until it’s golden and the center springs back lightly when pressed. Don’t press down with the spatula or you’ll squeeze out the air you worked to build. Stack them immediately with butter between the layers so they stay soft while you finish the batch.
How to Adjust These Pancakes Without Losing the Fluff
Dairy-Free Version
Use a thick dairy-free milk mixed with 1 tablespoon lemon juice or vinegar for each cup of buttermilk replacement. You’ll lose a little of the classic tang, but the acid still helps the baking soda do its job and keeps the pancakes light.
Gluten-Free Swap
Use a cup-for-cup gluten-free flour blend that already includes xanthan gum. The batter may need an extra minute or two of rest to thicken, and the pancakes will be a touch more delicate, but they’ll still cook up fluffy if you handle them gently.
Extra-Spiced Version
Add another 1/4 teaspoon cinnamon plus a pinch of nutmeg if you want the spice to come forward a little more. Don’t go heavy on cloves or allspice, or the pumpkin gets buried instead of supported.
Storage and Reheating
- Refrigerator: Store cooled pancakes in an airtight container for up to 3 days. They’ll soften a little, but the flavor stays good.
- Freezer: These freeze well. Lay them in a single layer on a baking sheet, freeze until solid, then stack with parchment between layers and seal in a freezer bag for up to 2 months.
- Reheating: Toast them in a dry skillet or warm them in a 325°F oven until heated through. The common mistake is microwaving too long, which makes the centers gummy and kills the edges.
Answers to the Questions Worth Asking
Pumpkin Buttermilk Pancakes
Ingredients
Equipment
Method
- Whisk all-purpose flour, granulated sugar, brown sugar, baking powder, baking soda, pumpkin pie spice, cinnamon, and salt until evenly combined and no lumps remain.
- Whisk pumpkin puree, buttermilk, eggs, melted unsalted butter, and vanilla extract together until smooth, noting the buttermilk reacts with baking soda for extra fluffiness.
- Pour wet into dry and fold until just combined, stopping when you no longer see dry flour to avoid overmixing.
- Let the batter rest for 5-8 minutes so it thickens slightly and cooks up tender.
- Heat a greased griddle or cast iron skillet over medium heat until hot.
- Pour about 1/4 cup batter per pancake and cook until bubbles form across the whole surface and the edges look set.
- Flip once and cook for 2 minutes more, until both sides are golden and the pancakes spring back lightly.
- Serve warm with butter and real maple syrup.