Pumpkin cheesecake bars land in that sweet spot between a classic cheesecake and an easier pan dessert you can actually slice and serve without a battle. The crust brings a sharp little snap from the gingersnaps, the filling stays creamy, and the pumpkin swirl gives each bar just enough spice without turning the whole pan into one flat note. Chilled properly, the bars cut cleanly and hold their shape, which is half the reason I keep coming back to this style of dessert.
What makes this version work is the way the pumpkin mixture gets folded out of the plain cheesecake base instead of being mixed into the whole batch. That keeps the texture rich and smooth while giving you a distinct swirl and better control over how pumpkin-forward each bite tastes. The gingersnap crust matters too; it stands up to the filling better than a soft graham crust and gives the bars a warmer, deeper finish.
Below, I’ll walk through the one detail that keeps cheesecake bars from cracking, the ingredient choices that matter most, and a few smart ways to adapt these for different diets and occasions.
The pumpkin swirl stayed separate and pretty, and the bars sliced cleanly after chilling overnight. The gingersnap crust was the part everyone kept going back for.
Save these pumpkin cheesecake bars for the dessert that slices cleanly, chills beautifully, and brings a gingersnap crunch to every square.
The Secret to Clean Slices Is a Full Chill, Not a Longer Bake
The biggest mistake with cheesecake bars is chasing the center until it looks firm in the oven. That usually means the edges overbake, the texture turns dry, and the bars crack as they cool. Pull this pan when the center still has a soft wobble and the edges look set; the residual heat finishes the job while it rests. The refrigerator is what gives you those neat, bakery-style slices, not extra minutes in the oven.
The other thing worth knowing is that the pumpkin layer is meant to be marbled, not mixed. Dolloping it over the plain cheesecake mixture gives you distinct pockets of spice and a prettier top. If you swirl too aggressively, the batters blend together and you lose the contrast that makes these bars feel special.
What Each Ingredient Is Doing in These Bars
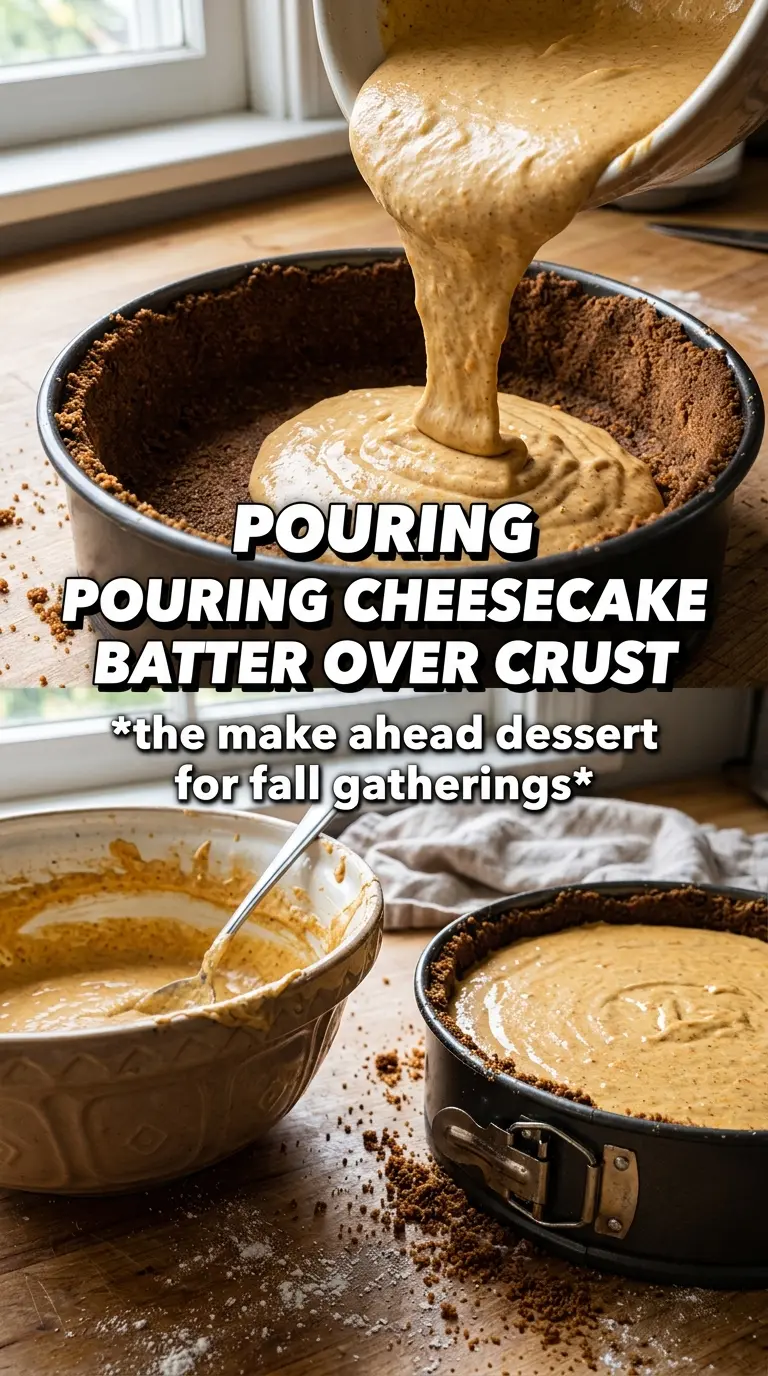
- Gingersnap crumbs — This crust has more backbone and more flavor than graham crackers. The spice in the cookie echoes the pumpkin layer and keeps the bottom from tasting bland under all that creaminess.
- Cream cheese — Use full-fat cream cheese and let it soften fully before beating. Cold cream cheese leaves little lumps that never fully disappear, no matter how long you mix. Softened cream cheese gives you a smooth base without overworking the batter.
- Sour cream — This adds a little tang and loosens the filling just enough for a silkier bite. Plain Greek yogurt can work in a pinch, but sour cream gives the cleaner cheesecake flavor and a smoother finish.
- Pumpkin puree — Use pure pumpkin, not pumpkin pie filling. Pie filling is already sweetened and spiced, which throws off the balance and can make the bars taste muddy instead of distinct.
- Pumpkin pie spice and cinnamon — The pumpkin layer needs both. Pumpkin pie spice gives the rounded warm spice note, while the extra cinnamon sharpens it and keeps the pumpkin swirl from tasting flat.
How to Keep the Cheesecake Layer Smooth and the Swirl Separate
Build the crust first
Mix the gingersnap crumbs, sugar, and melted butter until every crumb looks evenly coated, then press it into the parchment-lined pan in an even layer. Use the bottom of a measuring cup to pack it down firmly, especially in the corners, because a loose crust breaks apart when you slice the bars. Bake it just long enough to smell fragrant and look slightly darker at the edges, about 8 minutes.
Beat the filling until it turns glossy
Start with the cream cheese and sugar and beat until there are no visible lumps before anything else goes in. Once the eggs are added, mix only until the batter looks smooth and cohesive; beating too long adds too much air, which can cause puffing and cracks. The sour cream and vanilla should disappear quickly into the batter without changing its thick, pourable texture.
Swirl without blending
Remove about 1 1/2 cups of the plain cheesecake mixture and stir in the pumpkin, brown sugar, pumpkin pie spice, and cinnamon until just combined. Pour the plain batter over the crust, then dollop the pumpkin mixture over the top in spoonfuls. Drag a knife through the surface in wide curves, not tight circles, so you get marbling instead of a fully mixed filling.
Bake until the center still moves
The bars are done when the outer edge looks set and the middle gives a gentle jiggle when you nudge the pan. If the center sloshes, it needs more time; if it looks completely firm in the oven, it has probably gone too far. Cool the pan on a rack first, then chill it for at least 3 hours so the filling firms up enough to cut cleanly.
Three Ways to Adjust These Bars Without Losing the Good Part
Gluten-Free Crust Swap
Use gluten-free gingersnaps or gluten-free spice cookies in place of the standard crumbs. The flavor stays close, but the texture may be a touch more delicate, so press the crust firmly and let it bake long enough to set before adding the filling.
Dairy-Free Version
Use dairy-free cream cheese and a plant-based butter substitute for the crust. The bars will still set, but the filling will be a little softer and less tangy, so chill them overnight before slicing for the cleanest results.
Extra Pumpkin Flavor
If you want a stronger pumpkin presence, add an extra 1/4 cup pumpkin puree to the pumpkin portion and chill the batter briefly before swirling. That gives you a deeper orange layer, but too much pumpkin can loosen the filling, so don’t push it much further than that.
Storage and Reheating
- Refrigerator: Store covered for up to 5 days. The crust stays crispest in the first 2 days, while the filling firms up even more as it rests.
- Freezer: These freeze well. Cut into bars, wrap each one tightly, and freeze for up to 2 months. Thaw in the refrigerator overnight so condensation doesn’t soften the crust.
- Reheating: No reheating needed. Cheesecake bars are best served cold or just slightly cool, and warming them will soften the texture and blur the swirl.
Questions I Get Asked About This Recipe
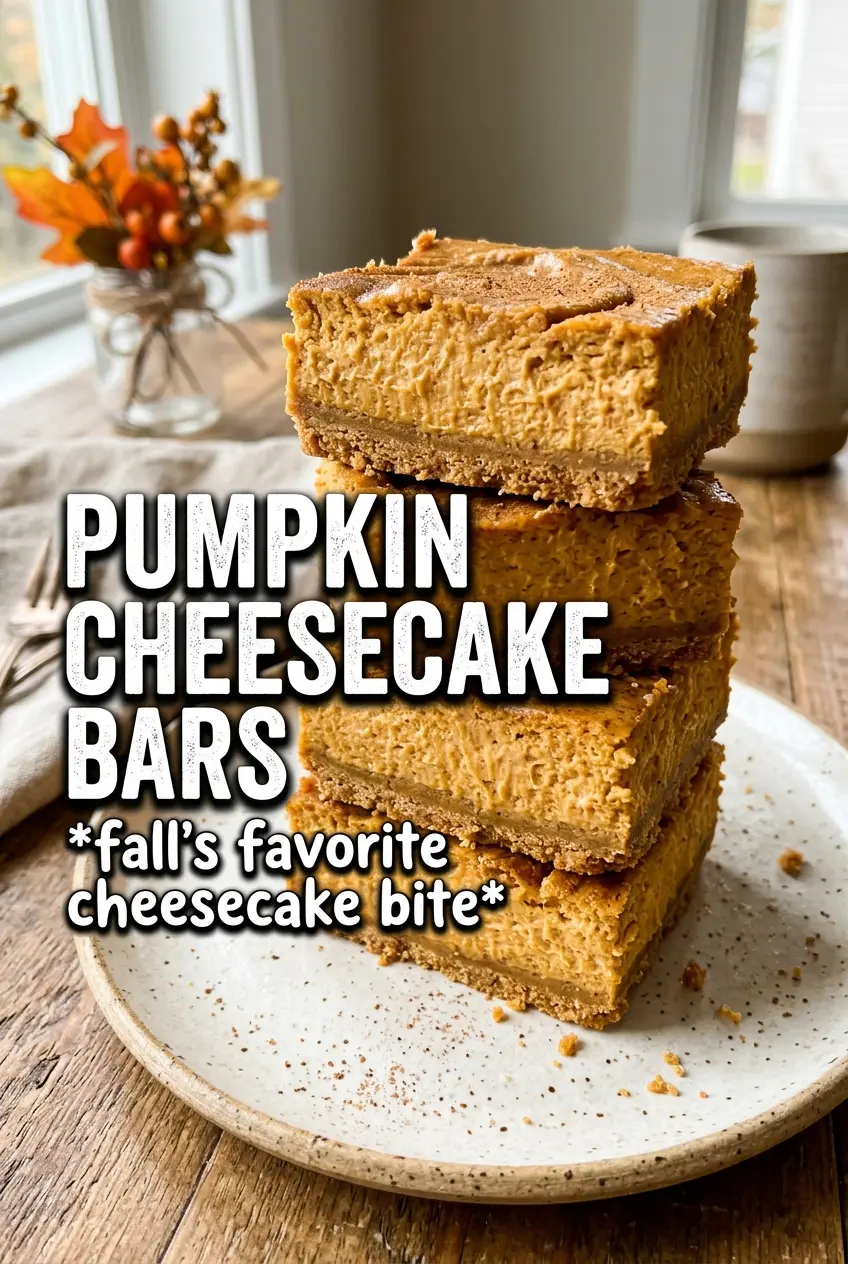
Pumpkin Cheesecake Bars
Ingredients
Equipment
Method
- Preheat the oven to 325F, then line a 9x13 pan with parchment paper so the bars lift out cleanly.
- Press the gingersnap crumbs mixed with sugar and melted butter firmly into the bottom of the pan to form an even crust layer.
- Bake the crust at 325F for 8 minutes, until set and lightly fragrant.
- Beat the softened cream cheese and granulated sugar until smooth, with no visible lumps.
- Add the eggs, sour cream, and vanilla and beat until the batter is creamy and fully combined.
- Remove 1-1/2 cups of the cheesecake mixture and whisk it with the pumpkin puree, brown sugar, pumpkin pie spice, and cinnamon to make the pumpkin swirl mixture.
- Pour the plain cheesecake mixture over the crust, keeping the surface level for even baking.
- Dollop the pumpkin mixture over the cheesecake and swirl with a knife in gentle figure-eights.
- Bake at 325F for 35-38 minutes, until the center is just set with a slight jiggle.
- Cool the pan at room temperature before chilling to prevent condensation on the surface.
- Refrigerate the bars for 3 hours, until fully firm for clean cuts.
- Cut into bars and serve chilled.