Pumpkin oatmeal bars bake up sturdy, chewy, and softly spiced, with crisp edges and a tender center that holds together cleanly when you cut them. They’re the kind of breakfast bar that tastes like a cross between a muffin and a baked oatmeal square, but without the crumbly mess that makes them hard to grab on the way out the door.
The texture works because the oats and flour share the structure instead of letting pumpkin puree do all the heavy lifting. Maple syrup brings a round sweetness that fits the pumpkin spice, while melted coconut oil or butter keeps the bars rich enough to taste satisfying without turning greasy. I also like that the batter goes into the pan thick, which helps the bars bake into neat squares instead of sinking into a soft, pudding-like layer.
Below, I’ll show you the small details that keep these bars from turning gummy, plus the easiest way to finish them with a simple maple drizzle if you want a little extra sweetness on top.
The bars set up perfectly after cooling, and the maple drizzle soaked into the top without making them soggy. I packed them for breakfast all week and they held together great.
Like these pumpkin oatmeal bars? Save them to Pinterest for a chewy breakfast bake with maple drizzle and cozy spice.
The Reason Pumpkin Bars Turn Gummy Instead of Sliceable
The biggest mistake with pumpkin bars is treating the batter like muffin batter and overworking it, or adding too much pumpkin in the name of moisture. Pumpkin puree brings softness, but too much of it pushes the texture toward wet and dense instead of tender. Here, the oats absorb some of that moisture while the flour gives the bars enough backbone to cool into clean squares.
The other thing that matters is the bake point. Pull them when the edges are set and the center is just firm, not dry. If you wait until the whole pan feels fully stiff in the oven, they’ll end up chalky once they cool. These bars finish setting on the counter, which is exactly what you want.
What Each Ingredient Is Actually Doing in These Bars
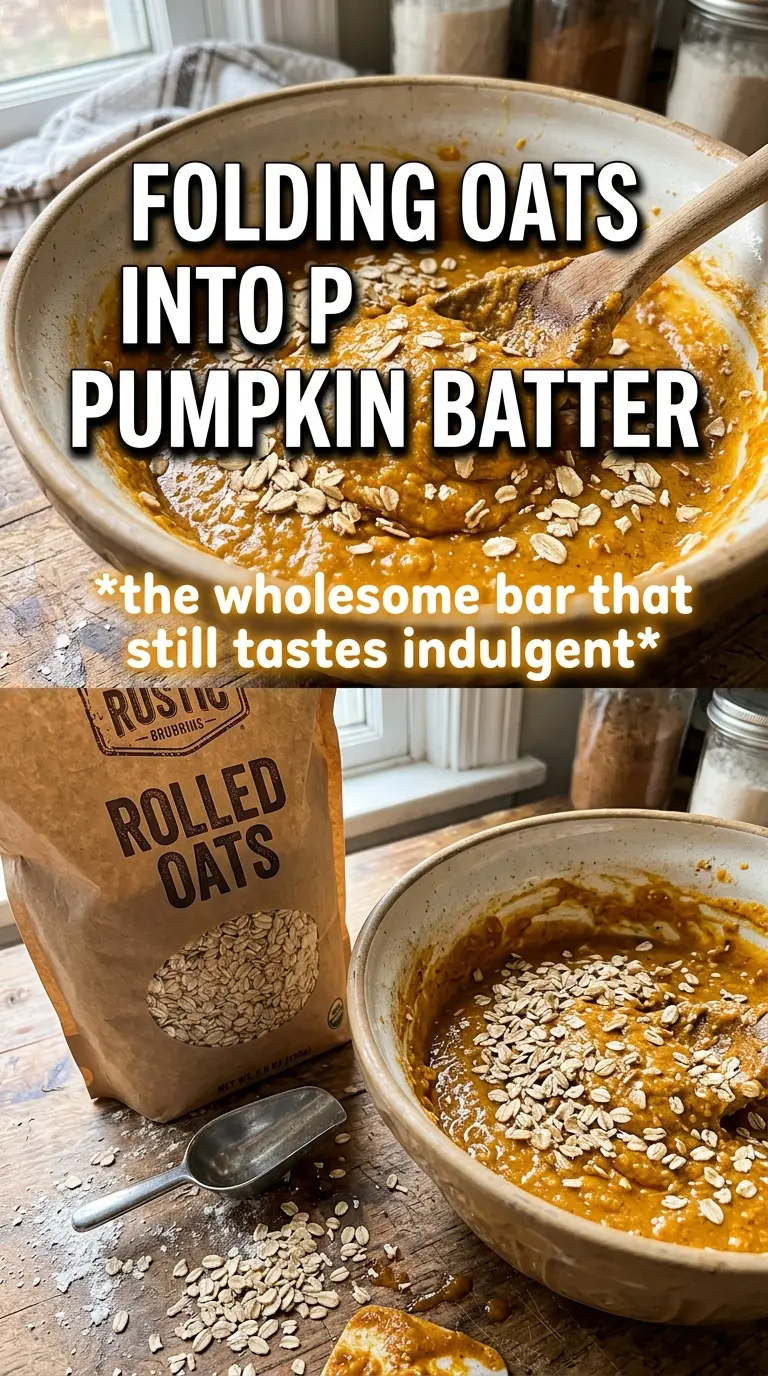
- Rolled oats — These give the bars their chew and hearty texture. Quick oats can work in a pinch, but they make the bars softer and less defined. Old-fashioned oats hold their shape better after baking.
- All-purpose flour — This is what keeps the bars from collapsing into baked oatmeal. You can swap in a 1:1 gluten-free baking blend if needed, but don’t use almond flour alone or the bars will be too fragile to slice neatly.
- Pumpkin puree — Use plain pumpkin puree, not pumpkin pie filling. The filling already has sugar and spices mixed in, which throws off both the flavor and the texture. If your puree looks watery, stir it first or blot it lightly so the bars don’t bake up too soft.
- Maple syrup or honey — Maple gives the cleanest match with the spice, while honey makes the bars a little warmer and more floral. Either one works, but avoid a very dark, strongly flavored honey unless you want that flavor to lead.
- Coconut oil or butter — Butter gives a richer, more familiar breakfast-bar flavor. Coconut oil works well if you want a dairy-free version, but use refined coconut oil if you don’t want the coconut taste to come through.
- Eggs — They hold the batter together and help the bars set. I wouldn’t skip them here; without eggs, the bars get too fragile and lose that clean-cut finish.
Getting the Batter into the Pan Without Overmixing It
Mix the Dry Ingredients First
Stir the oats, flour, baking soda, baking powder, spices, and salt together before the wet ingredients go in. That keeps the leavening and spices evenly distributed, which matters more than it sounds like when every square needs the same texture and flavor. If you see pockets of flour later, the batter was either under-mixed at this stage or folded too gently when the wet ingredients went in.
Whisk the Wet Ingredients Until Smooth
Combine the pumpkin, maple syrup, melted coconut oil or butter, eggs, and vanilla until the mixture looks glossy and even. The melted fat should be warm, not hot, or it can start to cook the eggs and leave you with tiny bits of scrambled egg in the batter. A smooth wet mixture helps the bars bake evenly instead of separating in streaks.
Fold, Don’t Beat
Once the wet ingredients hit the dry, fold just until you don’t see dry flour anymore. The batter should be thick and spoonable, not loose. If you keep stirring after it comes together, the oats can break down and the bars bake up tough instead of pleasantly chewy. Add the chocolate chips or raisins at the very end so they stay distributed instead of sinking.
Bake Until the Center Just Sets
Spread the batter into a greased 9×13 pan and smooth it into the corners so the edges don’t overbake before the middle catches up. Bake until the edges look set and the center feels just firm when you nudge the pan. A toothpick should come out with a few moist crumbs, not wet batter. Let the bars cool all the way before cutting or the middle will crumble and the drizzle will slide off.
How to Adapt These Bars for Your Kitchen
Make Them Dairy-Free
Use coconut oil in the batter and swap the milk in the drizzle for any unsweetened non-dairy milk. The bars stay just as chewy, though butter gives the finished flavor a slightly richer edge.
Skip the Drizzle for a Lower-Sugar Bar
Leave off the glaze and the bars still taste complete, especially if you use maple syrup in the batter and add the optional chocolate chips. You lose a little sweetness on top, but the bars turn into a cleaner breakfast or snack square.
Use Raisins Instead of Chocolate Chips
Raisins make the bars taste more like a classic oatmeal breakfast bake, while chocolate chips push them toward dessert. Both work, but raisins blend into the spice more quietly and won’t melt into pockets the way chips do.
Storage and Reheating
- Refrigerator: Store in an airtight container for up to 5 days. The bars firm up a little in the fridge, which actually helps the texture.
- Freezer: They freeze well. Wrap individual bars tightly and freeze for up to 2 months, then thaw at room temperature or overnight in the fridge.
- Reheating: Warm a bar in the microwave for 10 to 15 seconds if you want the center soft again. Don’t overheat it or the oats will dry out and the drizzle will melt away completely.
Questions I Get Asked About This Recipe
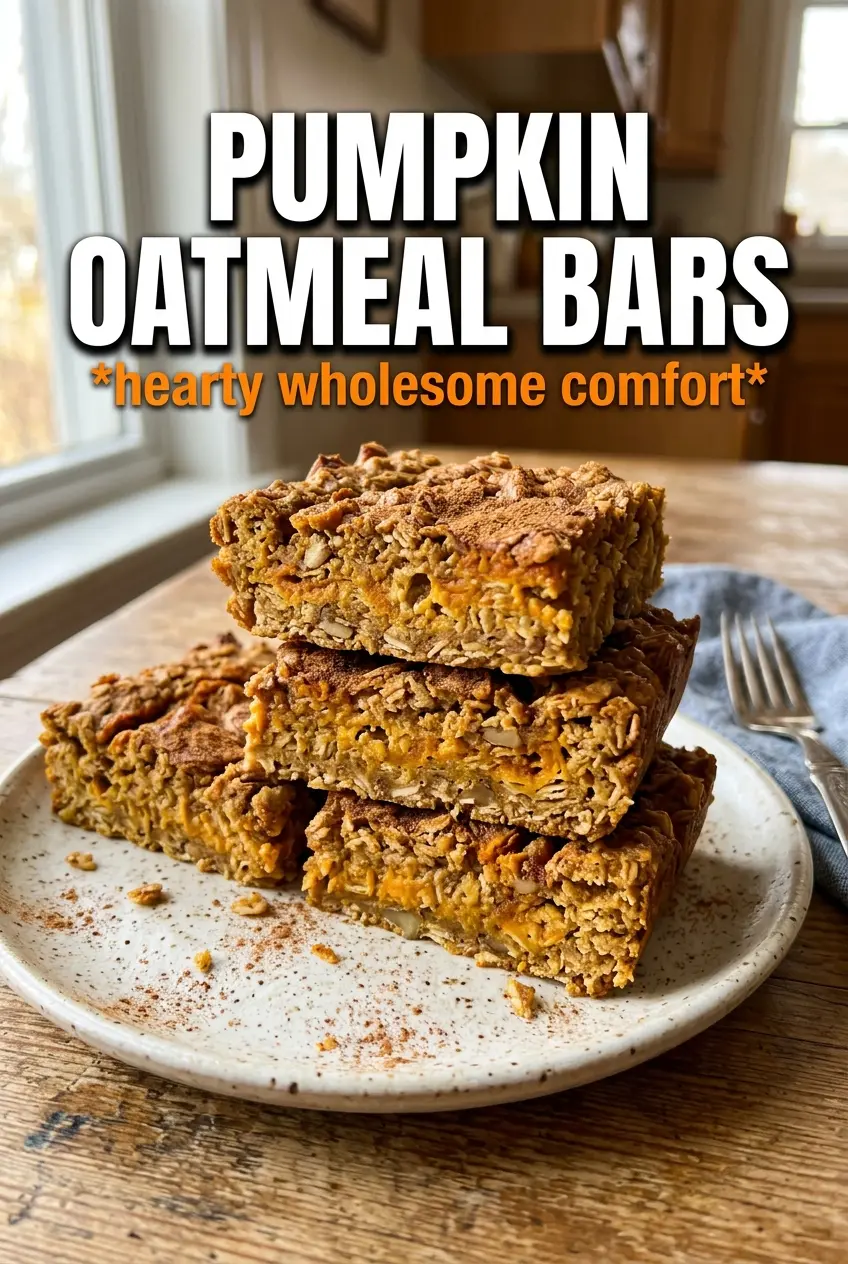
Pumpkin Oatmeal Bars
Ingredients
Equipment
Method
- Preheat the oven to 350°F and grease a 9x13 pan. Make sure the coating reaches the corners so the bars release cleanly.
- Combine the rolled oats, all-purpose flour, baking soda, baking powder, pumpkin pie spice, cinnamon, and salt in a bowl. Mix until the spices are evenly distributed and no lumps remain.
- Whisk the pumpkin puree, maple syrup or honey, melted coconut oil or butter, eggs, and vanilla extract in a separate bowl. Whisk until smooth and glossy, with the eggs fully incorporated.
- Fold the wet mixture into the dry ingredients until just combined. Fold until no dry streaks remain, then fold in chocolate chips or raisins if using (leave visible oat texture).
- Spread the batter evenly in the prepared 9x13 pan. Bake for 25–28 minutes at 350°F until the edges are set and the center is just firm, with light golden color.
- Cool completely before slicing to help the bars set. While cooling, stir the powdered sugar, maple syrup, and milk into a smooth glaze, then drizzle across the top once bars are fully cool.
- Cut into bars after glazing and serve. Let the drizzle firm for a few minutes so it looks clean on the board.