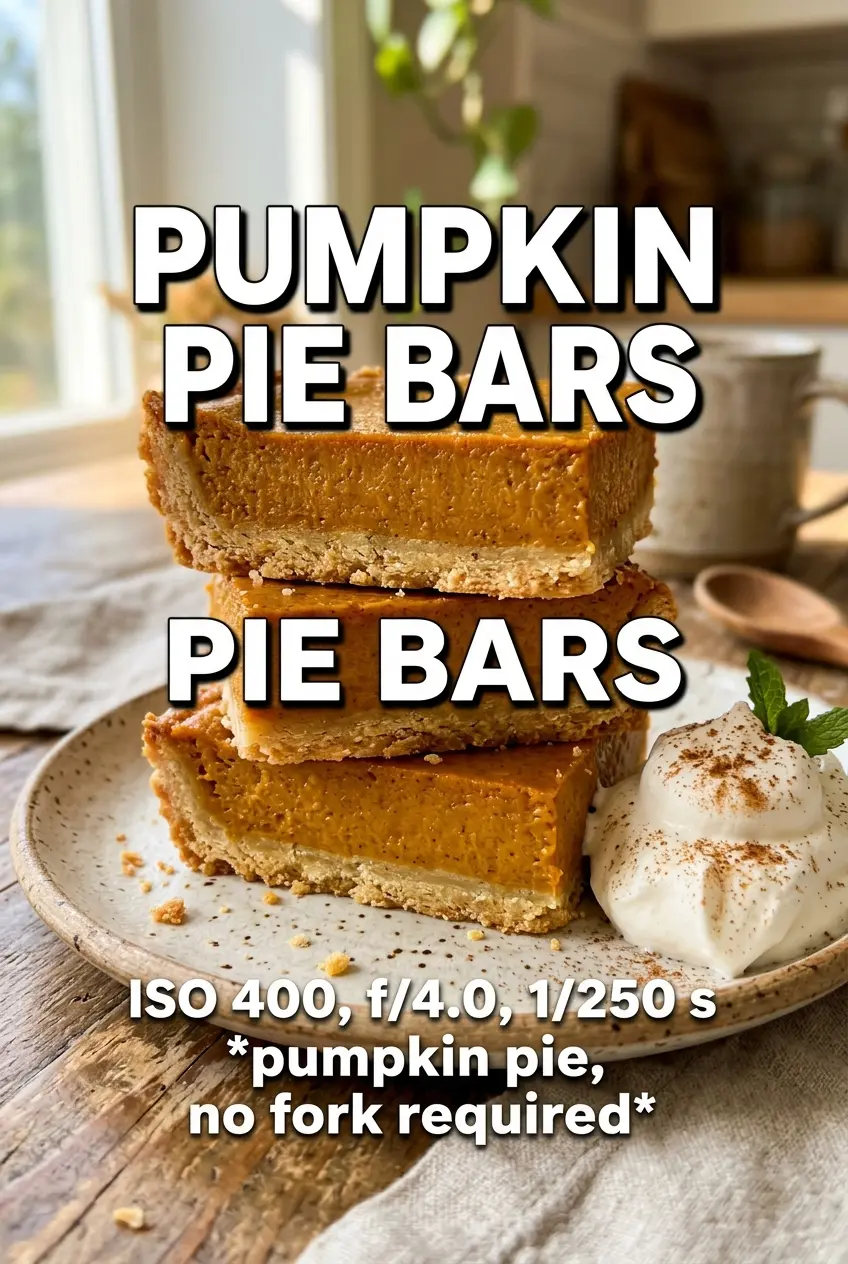
Buttery shortbread crust and silky pumpkin custard make these pumpkin pie bars the kind of dessert that disappears fast at potlucks, holiday tables, and any night you want pie without rolling dough. The crust stays tender but sturdy enough to hold a clean square, and the filling sets into that familiar pumpkin pie texture with just enough wobble in the center to feel creamy, not dry.
What makes this version work is the contrast: cold butter in the crust for a crumbly, rich base, then a smooth spiced filling poured over the crust while it's still warm. That hot-start bake helps the bars set properly before the oven temperature drops, which keeps the custard from overcooking around the edges while the middle finishes gently. The cooling time matters here too. If you cut them too soon, the filling will slide instead of slice.
Below, I've included the one crust trick that keeps the base from getting dense, plus the exact cues I watch for so the bars come out clean and creamy every time.
The crust held together perfectly and the filling set into clean squares after chilling. I added whipped cream and a little cinnamon on top, and the texture was just like pumpkin pie but easier to serve.
Save these pumpkin pie bars for the days when you want that classic spiced filling with a sturdy shortbread crust.
The Crust Has to Be Baked Before the Filling Goes In
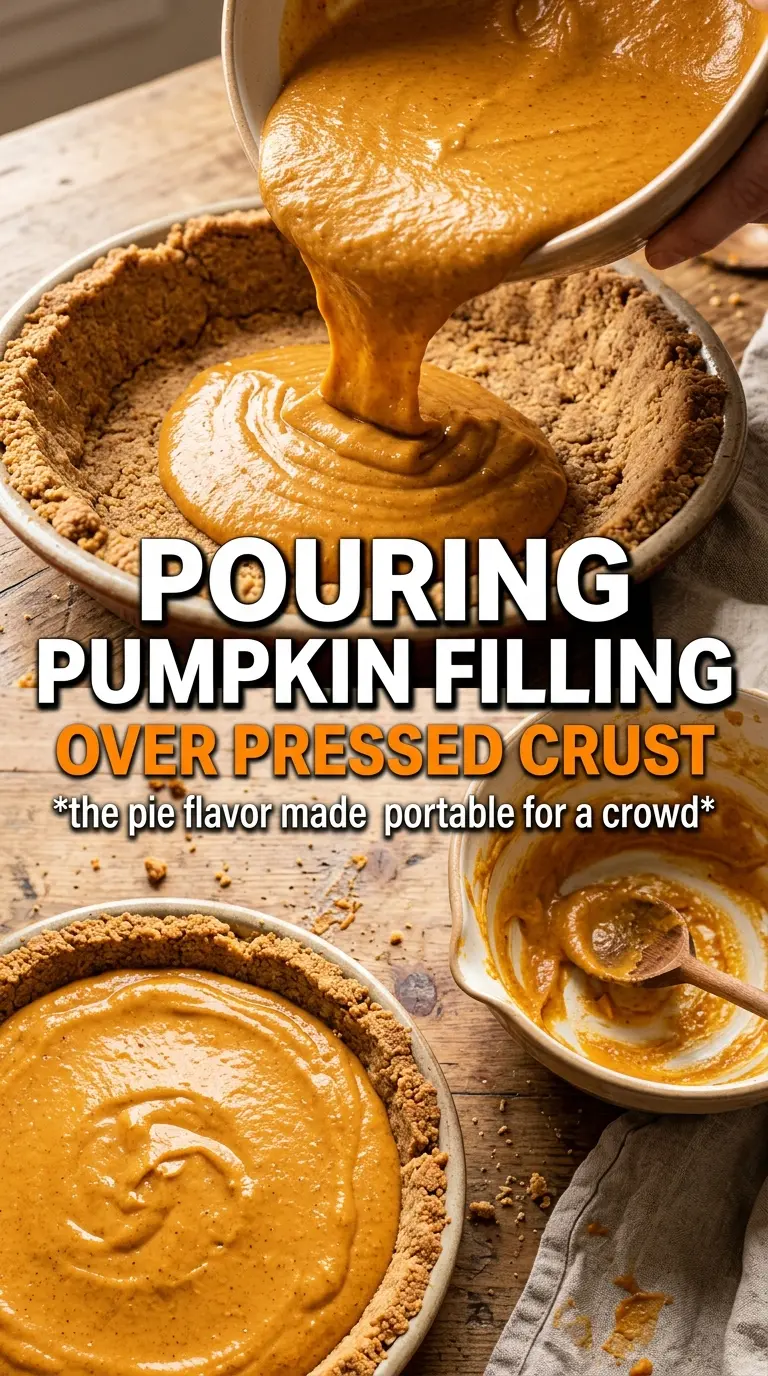
The biggest mistake with bar-style pumpkin pie is treating the crust like a cookie base and the filling like an afterthought. This crust needs a head start in the oven so it can set and pick up a little color before the custard goes on top. If you skip that partial bake, the butter in the crust melts into the filling and you end up with a soft, greasy bottom instead of a clean slice.
Press the crust in firmly and evenly, especially into the corners. Loose packing leads to crumbling when you cut the bars. You want the baked crust to look pale gold at the edges and matte across the center, not deeply browned. It will finish cooking under the filling.
What Each Ingredient Is Actually Doing in These Bars
- All-purpose flour — This gives the crust enough structure to hold a full pan of custard without turning sandy or fragile. A 1:1 gluten-free baking blend can work in a pinch, but the crust may need a few extra minutes to come together after cutting in the butter.
- Powdered sugar — It keeps the shortbread tender and gives the crust a finer, more melt-in-your-mouth texture than granulated sugar would. Don't swap in regular sugar here unless you want a crisper, less delicate base.
- Cold unsalted butter — Cold butter is what creates that shortbread texture. If it gets soft before baking, the crust turns dense and greasy instead of crumbly and rich.
- Pumpkin puree — Use pure pumpkin puree, not pumpkin pie filling. Pie filling already has sugar and spice mixed in, which throws off the balance and can make the bars too sweet and loose.
- Evaporated milk — This is what gives the filling its custardy body without making it heavy. Regular milk won't give you the same creamy set, and cream alone makes the bars richer but can mute the pumpkin flavor.
- Eggs — They set the filling into slices. Beat them just until combined; whipping in too much air can make the top puff and crack as the bars cool.
- Pumpkin pie spice, cinnamon, ginger, and cloves — The mix gives depth, but cinnamon leads the flavor here. If you only have pumpkin pie spice, use it and keep the cinnamon lighter so the filling doesn't get dusty or overbaked-tasting.
- Vanilla — It rounds out the spice and keeps the filling from tasting flat. It's a small ingredient, but you notice when it's missing.
How to Keep the Custard Smooth and the Squares Clean
Mix the Crust Until It Just Holds Together
Start with the flour, powdered sugar, and salt, then cut in the cold butter until the mixture looks like coarse crumbs with a few pea-size bits left. Those bits matter. They melt in the oven and create the short, tender texture that makes the crust worth eating on its own. If you work it until it's fully paste-like, the crust bakes up tough.
Press and Prebake for a Firm Base
Pack the crust into the parchment-lined pan in an even layer and press into the corners with the bottom of a measuring cup or flat glass. Bake it until the top looks set and the edges are just starting to turn pale gold. The crust should look dry, not wet or shiny. That little bit of structure keeps the filling from soaking through.
Whisk the Filling Until It's Completely Smooth
Combine the pumpkin, evaporated milk, eggs, sugar, spices, salt, and vanilla in a large bowl and whisk until there are no streaks of egg or pockets of spice. Scrape the bottom and corners of the bowl. If the filling isn't fully mixed, the bars can bake with uneven spice flavor or a slightly eggy layer near the middle.
Watch the Center, Not the Clock
Pour the filling over the hot crust, bake at the higher heat first, then lower the oven temperature to finish the set. The bars are done when the edges are firm and the center still has a slight wobble, like Jell-O that's almost set. If the middle looks completely still in the oven, it's already overdone and will slice dry after cooling.
Make Them Gluten-Free with a Good Baking Blend
A cup-for-cup gluten-free flour blend can replace the all-purpose flour in the crust. The texture will be a little more delicate, so press it firmly into the pan and chill the finished bars well before cutting. The filling is naturally gluten-free as written.
Use Coconut Milk for a Dairy-Free Version
Swap the evaporated milk for full-fat canned coconut milk and use a dairy-free butter substitute in the crust. The bars will still set, but the flavor shifts slightly toward coconut and the filling tastes a bit richer. If you want the pumpkin to stay front and center, choose an unsweetened coconut milk with a neutral flavor.
Turn Them Into Extra-Spiced Pumpkin Bars
Add another 1/2 teaspoon cinnamon or a pinch more cloves if you like a stronger spice finish. This makes the bars taste a little more like classic holiday pie, but too much clove can take over fast, so increase it in tiny amounts.
How to Cut Neater Squares
Chill the bars for the full 2 hours, then use a sharp knife wiped clean between cuts. A cold filling slices cleanly; a warm one smears and pulls at the crust. For the neatest edges, lift the whole slab out with parchment before slicing.
Storage and Reheating
- Refrigerator: Store covered for up to 4 days. The crust stays tender and the filling firms up a bit more as it chills.
- Freezer: These freeze well. Wrap individual bars tightly and freeze for up to 2 months, then thaw in the refrigerator overnight.
- Reheating: Serve chilled or let the bars sit at room temperature for 15 to 20 minutes. If you warm them, do it gently and only briefly; too much heat loosens the custard and softens the crust.
Questions I Get Asked About This Recipe
Pumpkin Pie Bars
Ingredients
Equipment
Method
- Preheat oven to 425F and line a 9x13 pan with parchment.
- In a mixing bowl, combine all-purpose flour, powdered sugar, and salt.
- Cut cold unsalted butter into the flour mixture until the dough just holds together.
- Press the crust firmly and evenly into the pan, then bake at 425F for 15 minutes until pale golden.
- While the crust bakes, whisk pumpkin puree, evaporated milk, eggs, granulated sugar, pumpkin pie spice, cinnamon, ginger, cloves, salt, and vanilla until smooth.
- Pour the smooth filling over the hot crust.
- Bake at 425F for 15 minutes, then reduce heat to 350F and bake 25-30 more minutes until the filling is set with just a slight wobble in the center.
- Cool completely, then refrigerate for 2 hours.
- Cut into bars and serve with whipped cream.