Pumpkin pie dessert squares land in that sweet spot between classic pie and easy sheet-pan dessert. You get a tender cake-mix crust on the bottom, a smooth pumpkin custard in the middle, and a buttery crumb topping that bakes into crisp little pockets over the top. Cut into neat squares, they hold their shape beautifully, which makes them a lot easier to serve than a traditional pie when the table is busy.
The part that makes this version work is the layering. The crust gets a short bake before the filling goes in, so it stays sturdy instead of turning soggy under the custard. Using evaporated milk gives the filling that familiar pumpkin pie richness without needing a fussy custard base, and the reserved cake mix turns into a fast crumble topping with just enough sugar and butter to brown properly.
Below, I’m walking through the one step that keeps the layers distinct, plus a few swaps and storage notes that make this dessert just as useful for a holiday spread as it is for a plain Tuesday night.
The crust stayed firm under the filling and the crumble browned up just right. I chilled it overnight, and the squares cut cleanly the next day with no mess at all.
Save these pumpkin pie dessert squares for the easiest way to get pie flavor, a crisp crumb topping, and clean-cut squares in one pan.
The Trick That Keeps the Bottom Layer from Turning Soggy
The biggest mistake with pumpkin dessert bars is dumping the filling onto an unbaked crust and hoping the oven sorts it out. It doesn’t. The crust needs that first 10-minute bake so the butter melts into the cake mix and the base sets before the custard goes on top. That short head start is what gives you a sliceable bottom layer instead of a soft, damp one.
Another thing that matters here is timing the topping. If you mix the crumble too early and let it sit, the butter warms up and the topping turns paste-like instead of sandy and crumbly. You want visible bits of butter in the mix so the topping bakes into a rough, golden layer with a little crunch.
- Prebaked crust — This is the difference between bars that cut cleanly and bars that slump. Don’t skip it.
- Warm crust — The filling goes on while the base is still warm, which helps the layers bond without soaking through.
- Cold butter in the crumble — It keeps the topping nubby and crisp. Soft butter makes a dense paste instead of crumbs.
What Each Ingredient Is Actually Doing in These Squares
- Yellow cake mix — This gives you both the crust and part of the topping without making two separate doughs. Any standard boxed yellow cake mix works; just reserve that full cup before you build the crust.
- Butter — Melted butter binds the crust fast and gives the base that tender, almost shortbread-like bite. For the crumble, the butter should be cold so the topping bakes up with texture instead of sinking into the filling.
- Pumpkin puree — Use plain pumpkin puree, not pumpkin pie filling. The puree lets you control the spice and sweetness, which matters because the cake mix and sugar already bring plenty of both.
- Evaporated milk — This is what makes the filling taste like pie filling instead of pumpkin pudding. Regular milk will work in a pinch, but the custard won’t be as rich or as set.
- Pumpkin pie spice, cinnamon, and ginger — The spice blend gives you the classic pumpkin pie backbone, while the extra cinnamon and ginger sharpen the flavor so the filling doesn’t taste flat under the sweet topping.
- Whipped cream — Don’t skip it if you like the bars to eat like pie. The cool cream softens the spice and makes each square feel finished.
Building the Layers So the Filling Sets Cleanly
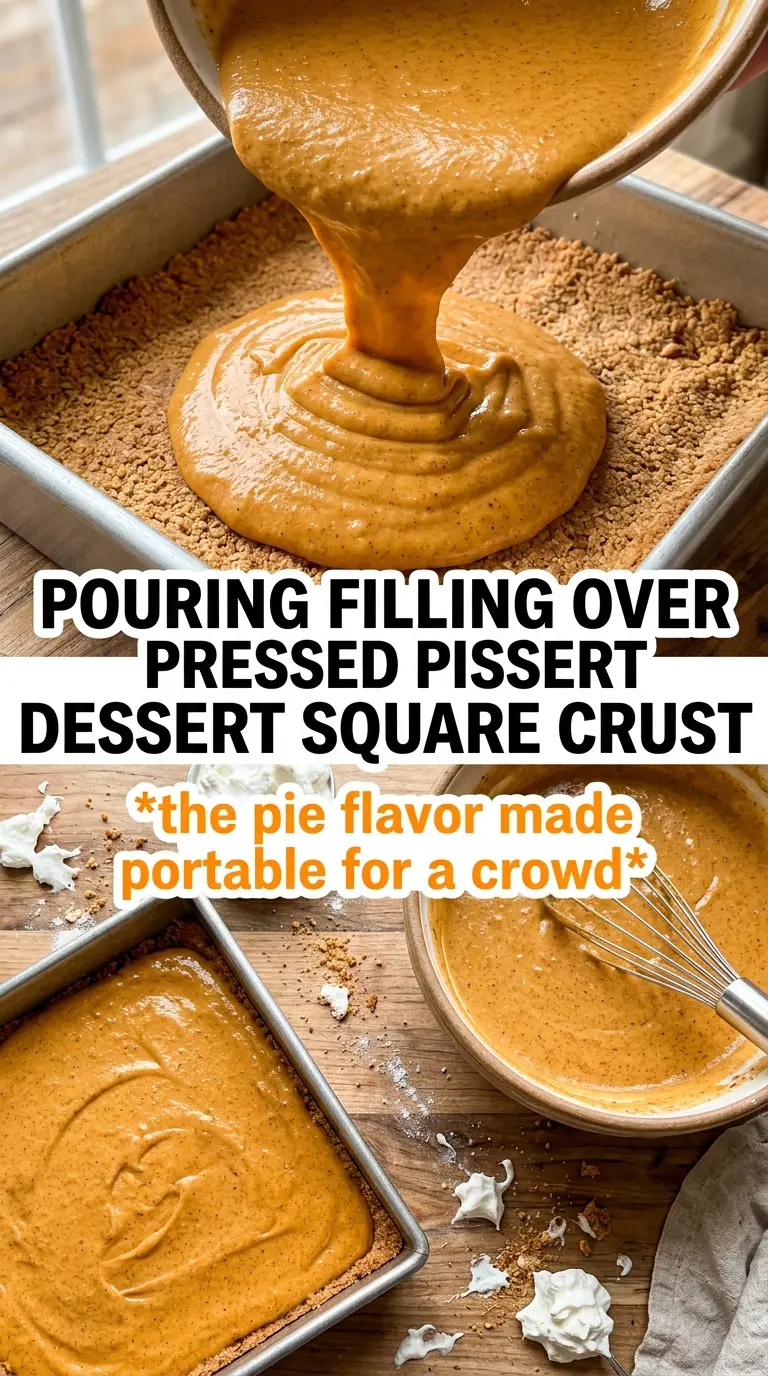
Pressing and Prebaking the Crust
Mix the remaining cake mix, melted butter, and egg until the dough looks thick and a little sticky, then press it evenly into the greased 9×13 pan. A flat-bottom measuring cup helps get the corners packed down so the bars don’t crumble when you lift them out. Bake it just until the top looks set and the surface loses its raw sheen. If you bake it too long, it dries out and the filling can slide instead of settling into the base.
Whisking the Pumpkin Custard
Whisk the pumpkin puree, eggs, sugar, evaporated milk, spices, and salt until the mixture looks smooth and slightly glossy. You’re aiming for a thin custard, not a whipped filling, so stop as soon as everything is combined. If you beat too much air into it, the surface can puff and crack more than you want. Pour it over the warm crust in one even layer and don’t drag the crust around with the bowl.
Making the Crumble and Baking Until Set
Use your fingers or a pastry cutter to work the reserved cake mix, sugar, cold butter, and cinnamon together until the mixture looks sandy with uneven crumbs. Scatter it over the filling instead of packing it down. Bake until the topping is golden and the center of the pan has only a slight jiggle when nudged. If the middle still looks loose and sloshes, give it more time; underbaked custard won’t set cleanly after it cools.
Cooling Before You Slice
This is the part most people rush, and it’s the part that decides whether you get squares or a soft mess. Let the pan cool completely before cutting so the custard firms up fully and the crumb topping stays intact. For the cleanest edges, chill the bars for an hour after they reach room temperature. Wipe the knife between cuts if you want neat bakery-style squares.
How to Adapt These Pumpkin Pie Dessert Squares Without Losing the Good Part
Dairy-Free Version
Use a dairy-free butter substitute in both the crust and crumble, and swap in canned coconut milk for the evaporated milk if you need to avoid dairy. The filling will taste a little richer and more coconut-forward, but it still sets well if you keep the bake time the same and cool it fully before slicing.
Gluten-Free Swap
A gluten-free yellow cake mix works here, but check that it measures close to the standard box size so the crust and topping ratios stay balanced. The texture is usually a touch more delicate, so let the bars cool completely before moving them from the pan.
Extra-Spiced Filling
If you like a bolder pumpkin pie flavor, add an extra 1/4 teaspoon cinnamon and a pinch of cloves or nutmeg to the filling. That pushes the squares closer to classic pie territory without changing the texture.
Storage and Reheating
- Refrigerator: Store covered for up to 4 days. The filling firms up in the fridge, which makes the squares even easier to cut.
- Freezer: These freeze well. Wrap individual squares tightly and freeze for up to 2 months, then thaw in the refrigerator overnight.
- Reheating: They’re best served cold or at cool room temperature, but if you want them slightly warm, use short bursts in the microwave. Heat too long and the custard turns soft and the crumb topping loses its texture.
Answers to the Questions Worth Asking
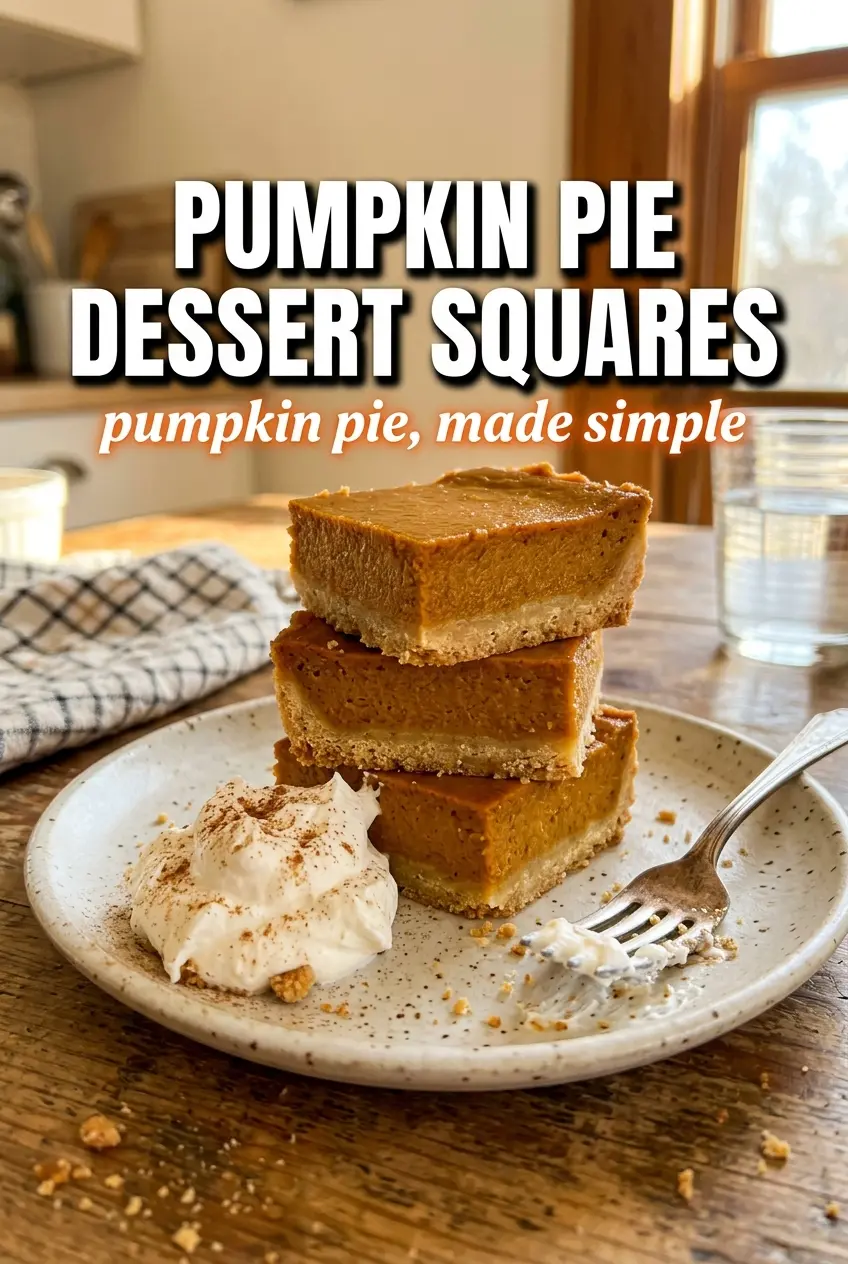
Pumpkin Pie Dessert Squares
Ingredients
Equipment
Method
- Preheat oven to 350F and grease a 9x13 pan so the crust releases easily.
- Combine the cake mix (reserving 1 cup for topping), melted butter, and egg, then press the mixture evenly into the pan for a flat base.
- Bake the crust for 10 minutes until it looks slightly set and just starting to turn light golden.
- Whisk pumpkin puree, eggs, granulated sugar, evaporated milk, pumpkin pie spice, cinnamon, ginger, and salt until smooth and uniform.
- Pour the pumpkin custard over the warm crust and spread as needed so it covers the base.
- Combine reserved cake mix, sugar, cold butter, and cinnamon until crumbly, with no large dry pockets.
- Scatter the crumble evenly over the filling so the top is well covered.
- Bake for 40-45 minutes at 350F until the topping is golden and the center looks set with a slight jiggle.
- Cool completely, then cut into squares for clean edges.
- Serve with whipped cream for a creamy finish and add cinnamon if desired.