These pumpkin snickerdoodle blondies bake up thick, chewy, and just a little crackly on top, with that cinnamon-sugar finish everyone reaches for first. The edges set into a tender caramelized rim while the center stays soft and fudgy enough to feel like a bar cookie, not a cake square. You get pumpkin spice warmth without losing the classic snickerdoodle bite.
The trick is keeping the pumpkin low and the butter browned. Too much pumpkin turns blondies bready and wet; a small amount, blotted dry, gives the bars color and flavor without muddying the texture. Browning the butter adds the toasted, almost toffee-like note that makes the cinnamon and brown sugar taste deeper than they would in a standard blondie.
Below, I’m walking through the one texture issue that trips people up most and the small ingredient choices that keep these bars chewy instead of cakey. If you’ve ever cut into blondies that baked up puffier than expected, this version will make sense fast.
The cinnamon sugar top baked into this crackly crust, and the bars stayed chewy in the middle even the next day. Blotting the pumpkin first made a huge difference.
Save these Pumpkin Snickerdoodle Blondies for the chewy, cinnamon-sugar bars with a browned butter edge.
The Pumpkin Amount That Keeps Blondies Chewy Instead of Cakey
The biggest mistake with pumpkin bars is treating pumpkin puree like it behaves the same way in cake batter. It doesn’t. Pumpkin brings water, and if you use too much, the bars bake up soft but spongy, with a texture that reads more like breakfast bread than dessert. This recipe keeps the pumpkin at a modest amount and asks you to blot it dry first, which is the difference between a dense, chewy blondie and a gummy one.
Browning the butter helps here, too. Melted butter alone would give you rich bars, but browned butter adds structure and a toasted note that stands up to the pumpkin and spice. The brown sugar also matters more than white sugar would, because it holds moisture and gives the bars that caramel edge without making them tough.
- Blotted pumpkin puree — A paper towel press takes out excess moisture without stripping the pumpkin flavor. Canned pumpkin is fine; just don’t skip the blotting.
- Browned butter — This is where the depth comes from. Stop when the butter turns amber and smells nutty, then cool it slightly so it doesn’t scramble the eggs.
- Cream of tartar — It brings that classic snickerdoodle tang. If you leave it out, the bars still work, but they taste flatter and more like standard pumpkin blondies.
What Each Ingredient Is Actually Doing in These Bars
- All-purpose flour — Gives the blondies their structure without pushing them into cake territory. Measure it lightly so you don’t pack in extra flour and dry out the bars.
- Brown sugar — This is the main sweetness and moisture source. Packed light brown sugar keeps the bars soft and gives that deep molasses note that works so well with pumpkin.
- Eggs — They bind everything and help the bars set into clean squares. Add them after the pumpkin is mixed in so the batter stays smooth.
- Vanilla and spices — Cinnamon, nutmeg, and vanilla do more than flavor the batter; they lift the browned butter and make the pumpkin taste warmer and rounder. Use fresh spices if yours have been sitting around for years.
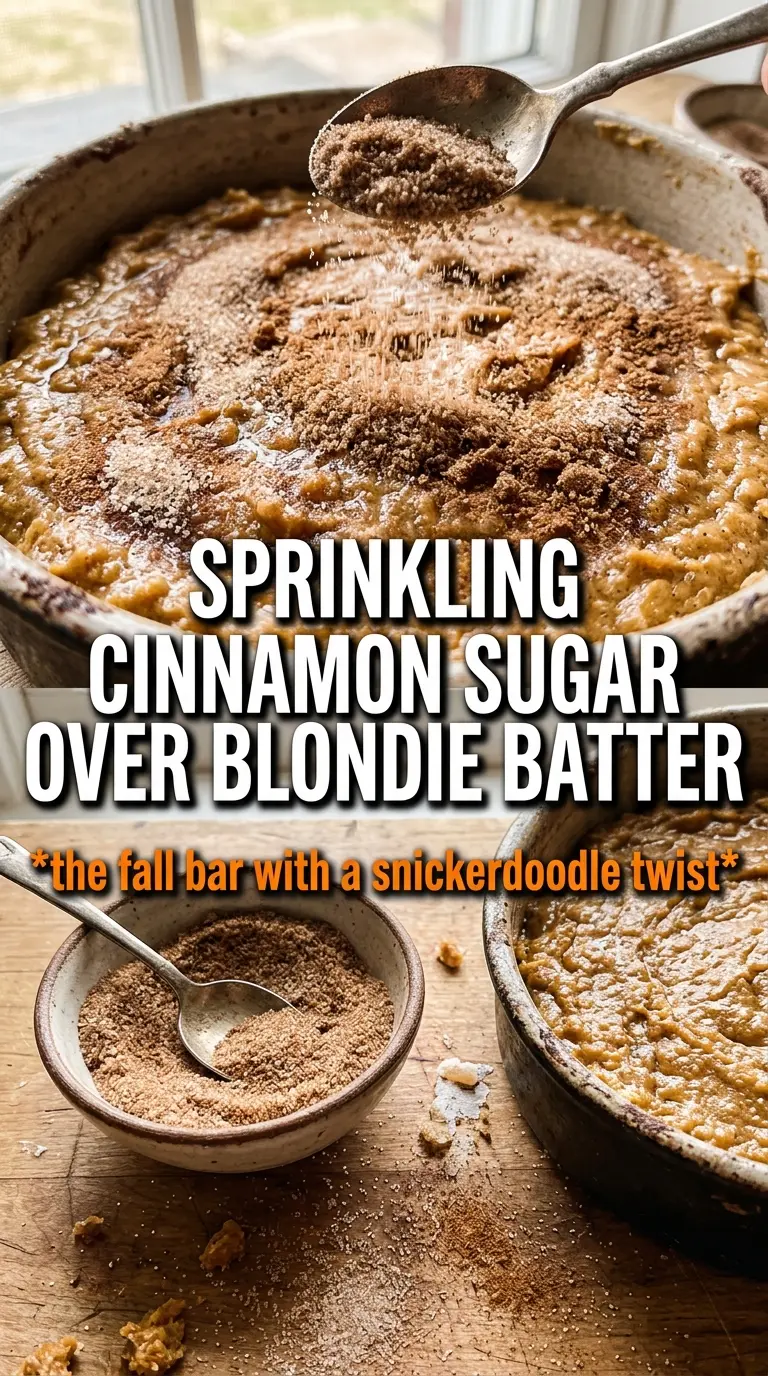
- Cinnamon sugar topping — This gives you the snickerdoodle finish and a delicate crust. Sprinkle it generously so the top bakes into a thin, crackly layer instead of disappearing into the batter.
Building the Batter So the Center Stays Dense and Chewy
Start with the browned butter
Cook the butter until the milk solids turn golden and smell like toasted nuts, then let it cool for about 10 minutes. If it’s piping hot, it can make the batter greasy and thin. You want warm, not scorching. The butter should still be liquid when you mix it with the sugar, but not so hot that it melts everything into one loose puddle.
Mix just until the flour disappears
Whisk the dry ingredients together first so the cinnamon and baking powder distribute evenly, then fold them into the wet mixture with a light hand. Overmixing is what turns blondies cakey and tough. Stop as soon as you no longer see streaks of flour, then spread the batter into the pan in an even layer. A thicker, even spread gives you bars that bake at the same rate from corner to center.
Watch the bake, not the clock alone
The bars are done when the edges look set and the center still has a slight softness, and a toothpick comes out with a few moist crumbs. If the toothpick is clean, you’ve probably gone a little too far and the bars will firm up more as they cool. Let them cool completely before cutting. Warm blondies cut badly and can seem underbaked even when they’re finished.
Make Them Sweeter and More Cookie-Like
Use the full cinnamon sugar topping and bake the bars on the longer end of the range for a firmer edge. You’ll get a little more crackle on top and a texture that leans closer to a soft snickerdoodle cookie bar.
Gluten-Free Version
Swap in a 1:1 gluten-free baking blend that includes xanthan gum. The bars will still hold together, though they’ll be a touch more delicate at the edges, so let them cool fully before lifting them from the pan.
Dairy-Free Version
Use a dairy-free butter substitute that browns if possible, but know the flavor won’t be as nutty as real browned butter. If your substitute doesn’t brown, use it melted and add an extra pinch of cinnamon to keep the bars tasting full.
Add-Ins That Fit the Texture
A handful of finely chopped toasted pecans or white chocolate chips works well here, but don’t overdo it. Too many add-ins can interrupt the clean, chewy slice and make the center feel crowded.
Storage and Reheating
- Refrigerator: Store in an airtight container for up to 5 days. The bars firm up in the fridge, but the texture stays pleasantly chewy.
- Freezer: These freeze well. Wrap individual bars tightly and freeze for up to 2 months, then thaw at room temperature.
- Reheating: Warm a bar for 10 to 15 seconds in the microwave if you want the center soft again. Don’t overheat it or the edges will turn dry and the cinnamon sugar top will lose its bite.
Answers to the Questions Worth Asking
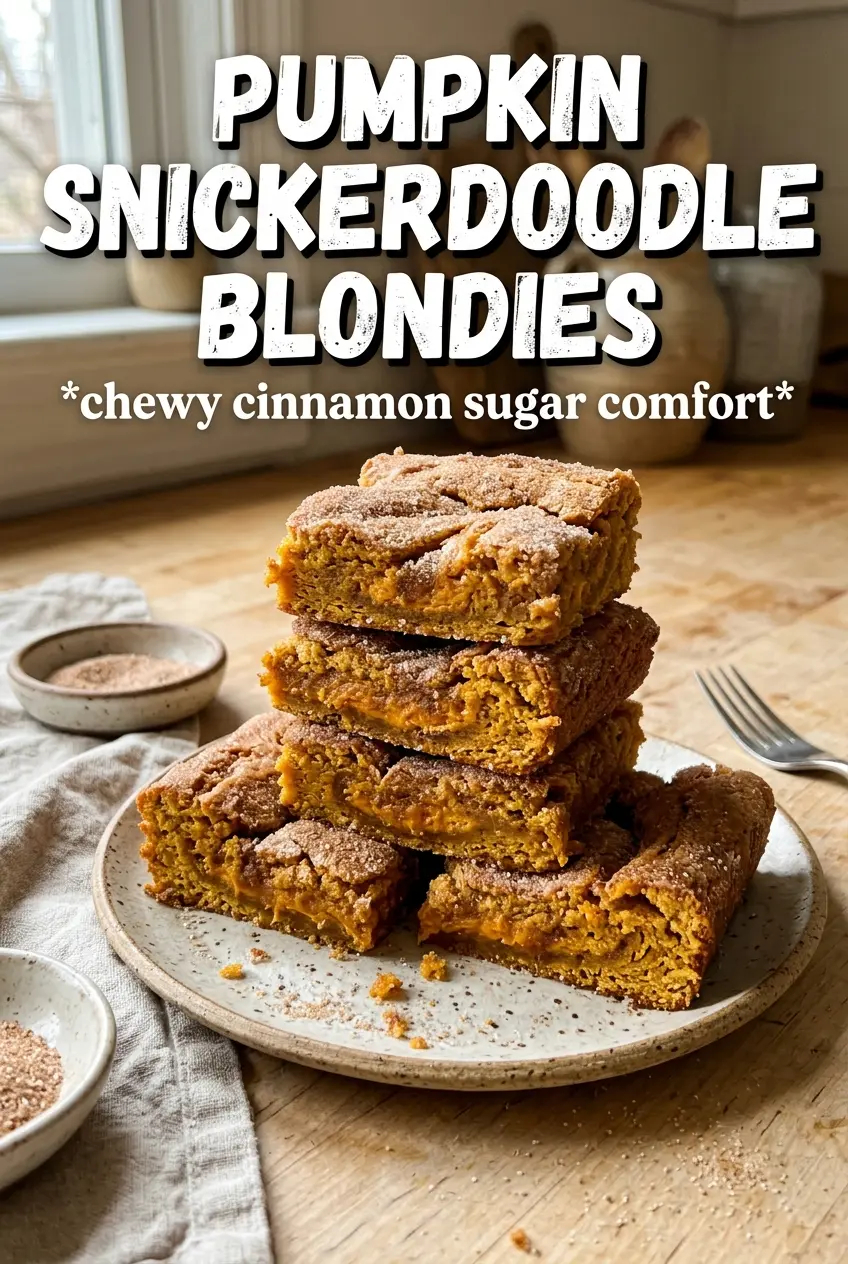
Pumpkin Snickerdoodle Blondies
Ingredients
Equipment
Method
- Brown the butter in a cast iron skillet over medium heat until golden and nutty, then cool for 10 minutes so it doesn’t scramble the eggs.
- Preheat the oven to 350°F and grease a 9x13 pan to prevent sticking.
- Whisk together all-purpose flour, baking powder, cinnamon, cream of tartar, nutmeg, and salt until evenly combined.
- Whisk the browned butter and brown sugar until smooth, then mix in the blotted pumpkin puree, eggs, and vanilla extract until fully combined.
- Fold the flour mixture into the wet ingredients and spread the thick batter evenly in the prepared pan.
- Mix the cinnamon sugar with granulated sugar and cinnamon, then sprinkle generously over the top so it forms a fragrant crust.
- Bake at 350°F for 25–30 minutes until a toothpick comes out with just a few moist crumbs.
- Cool the blondies completely before cutting to keep the snickerdoodle texture chewy and the slices clean.