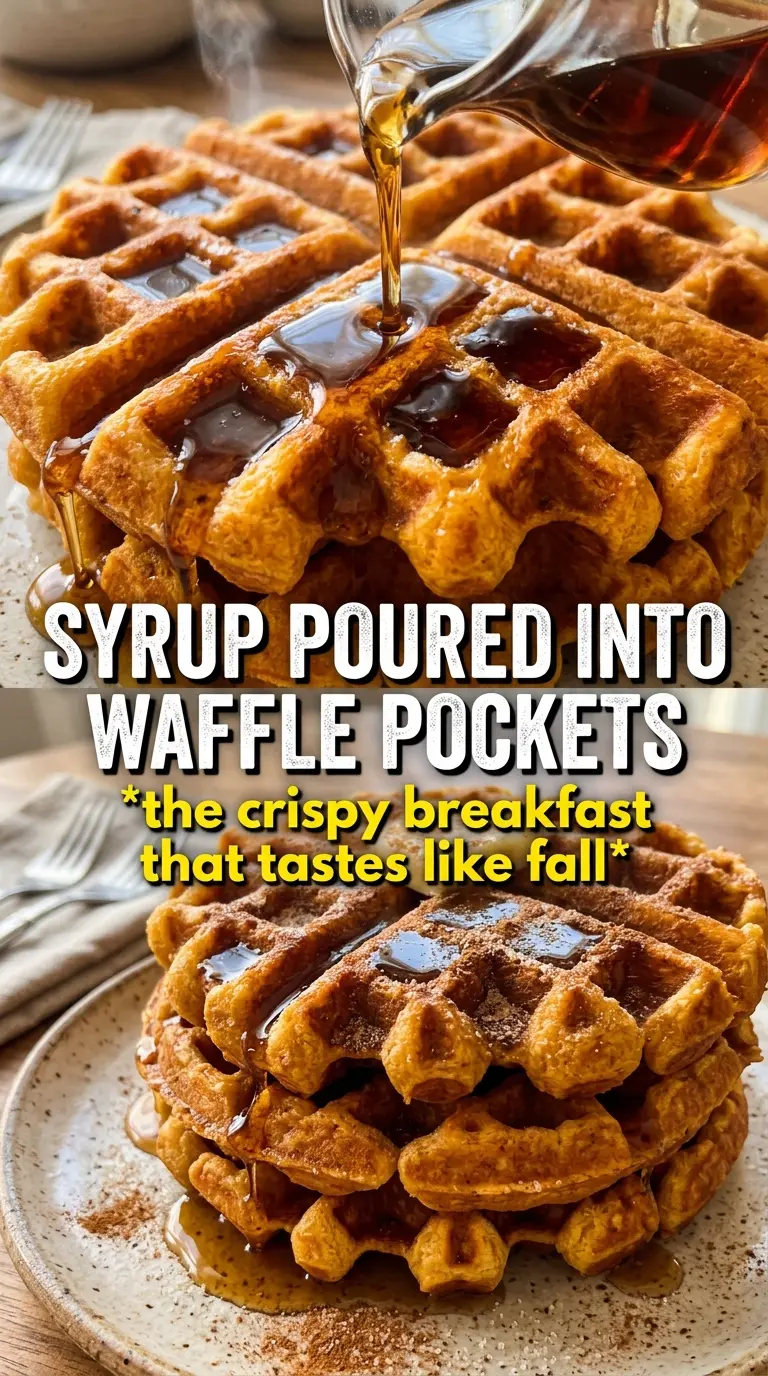
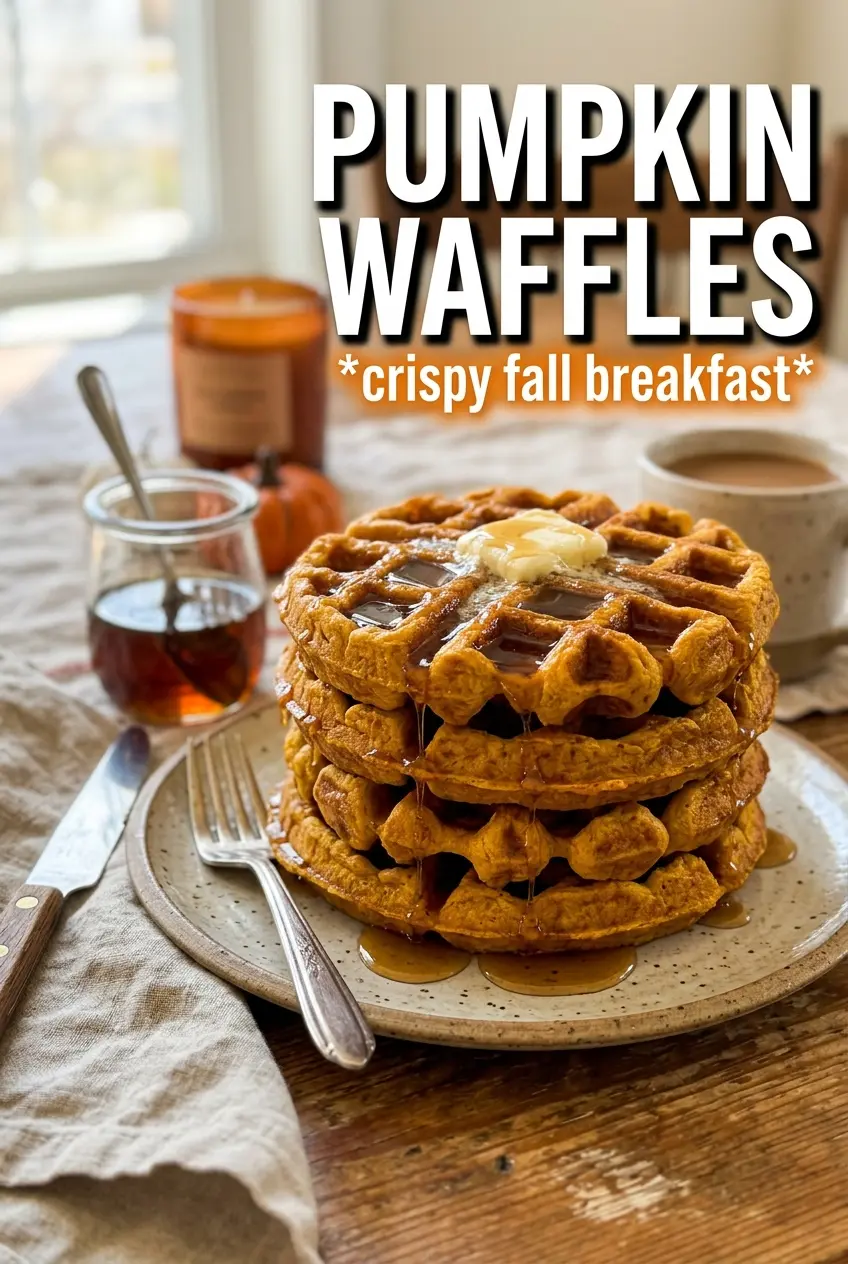
Golden pumpkin waffles with crisp edges and soft, fluffy centers are the kind of breakfast that disappear fast. The pumpkin brings a gentle earthiness and a rich color, while cinnamon, pumpkin pie spice, and brown sugar build the warm, spiced flavor that makes each bite feel finished without needing much else. When they’re cooked right, the outside releases cleanly from the iron and the inside stays tender instead of heavy.
What sets these waffles apart is the way the batter is handled. Pumpkin puree adds moisture, so the leavening has to do more work than in a plain waffle batter, and separating the eggs gives you a lighter lift. Folding in beaten egg whites at the end keeps the waffles airy, while the buttermilk helps them brown well and adds a little tang that keeps the pumpkin from tasting flat.
Below, I’ve included the part that usually makes the biggest difference: how to avoid dense waffles, how to get the iron hot enough for a crisp finish, and what to change if you need to make them dairy-free.
The waffles came out crisp on the outside and light in the middle, and the pumpkin flavor was there without tasting heavy. Folding in the egg whites made a noticeable difference.
Save these pumpkin waffles for a crisp, fluffy breakfast with cinnamon, maple syrup, and whipped cream.
The Trick to Keeping Pumpkin Waffles Crisp Instead of Heavy
Pumpkin waffle batter can turn thick and stubborn fast, and that’s where a lot of recipes go wrong. Pumpkin puree adds body and moisture at the same time, which sounds helpful until the waffles steam themselves into a soft, gummy center. The fix is twofold: don’t overmix the batter, and give the egg whites enough structure to lift the whole thing in the iron.
The other thing that matters is heat. If the waffle iron isn’t fully preheated, the batter sets slowly and loses its chance to form those crisp edges before the interior steams. You want a batter that pours thickly but still spreads, and you want the finished waffles to release with a deep golden crust, not a pale one that clings to the plates.
- Egg whites — These are the difference between a nice pumpkin waffle and one that feels dense. Beat them to stiff peaks, then fold them in gently so you keep the air you worked to create.
- Buttermilk — This helps the baking soda do its job and gives the waffles a cleaner, more balanced flavor. Regular milk works in a pinch, but the waffles won’t brown quite the same way.
- Pumpkin puree — Use plain pumpkin puree, not pumpkin pie filling. Pie filling is already sweetened and spiced, which throws off the balance and can make the waffles taste muddy.
What Each Ingredient Is Actually Doing in the Batter
- All-purpose flour — This gives the waffles enough structure to hold the pumpkin and the lifted egg whites. A lower-protein flour will make them softer, but it can also make them fragile, so all-purpose is the sweet spot here.
- Brown sugar and granulated sugar — The brown sugar adds depth and a little moisture, while the white sugar helps with browning and crisp edges. You need both for the best texture.
- Baking powder and baking soda — The baking powder gives lift all on its own, and the baking soda reacts with the buttermilk for extra rise and better browning. If your waffles stay flat, stale leavening is usually the reason.
- Pumpkin pie spice and cinnamon — Pumpkin needs enough spice to stand up to the batter. If yours is old and weak, the waffles will taste bland even if the texture is right.
- Melted butter — This adds richness and helps the waffles crisp in the iron. Let it cool slightly before mixing it in so it doesn’t scramble the yolks.
- Vanilla — Vanilla rounds out the spice and makes the pumpkin taste fuller. It’s subtle, but you notice when it’s missing.
How to Fold, Pour, and Cook These Waffles Without Losing the Lift
Mix the Dry and Wet Bowls Separately
Whisk the flour, sugars, leavening, spice, cinnamon, and salt in one bowl, then whisk the pumpkin puree, buttermilk, egg yolks, melted butter, and vanilla in another. Keeping them separate helps you see the texture of each mixture before they come together. If the wet mixture looks lumpy from the pumpkin, that’s normal. Don’t chase smoothness here.
Beat the Whites to Stiff Peaks
The egg whites should hold a peak that stands upright when you lift the whisk. Soft peaks won’t give you the same lift, and overbeaten whites turn dry and grainy, which makes them harder to fold in. Stop as soon as they look glossy and firm. That’s the sweet spot.
Fold Just Until the Flour Disappears
Stir the wet into the dry until you no longer see dry pockets, then gently fold in the whipped egg whites. A few streaks of white are better than deflating the batter by stirring too long. If the batter seems thick, leave it alone; pumpkin waffles need body to cook up tender instead of thin and rubbery.
Cook Until the Steam Slows Down
Grease the iron lightly, pour in the batter, and close the lid without pressing it down. The waffles are ready when the steam coming from the iron drops off and the outside is deep golden with crisp edges, usually after 4 to 5 minutes. If they’re pale, give them another minute. Pulling them too early leaves the center soft and underdone.
Dairy-Free Pumpkin Waffles
Use an unsweetened dairy-free milk with a teaspoon of vinegar in place of the buttermilk, and swap the butter for melted coconut oil or vegan butter. You’ll lose a little of the classic tang, but the waffles still come out crisp and warmly spiced.
Gluten-Free Version
Use a 1:1 gluten-free baking blend that includes xanthan gum. The batter may need a minute or two of resting time to hydrate, and the waffles usually cook best when you let them go a shade darker than you would with wheat flour.
Extra-Spiced Waffles
Add another 1/2 teaspoon of cinnamon or a pinch of ground ginger if you want the spice to come forward more sharply. That gives the waffles a stronger bakery-style flavor, but don’t add much more pumpkin pie spice or the cloves can take over.
Storage and Reheating
- Refrigerator: Store cooked waffles in an airtight container for up to 3 days. They soften a bit in the fridge, but they crisp back up well.
- Freezer: Freeze in a single layer, then stack with parchment between layers. They keep for about 2 months and reheat better than they store in the fridge.
- Reheating: Toast them straight from frozen in a toaster or 350°F oven until hot and crisp. The biggest mistake is microwaving them, which makes the outside rubbery and the center damp.
Questions I Get Asked About This Recipe
Pumpkin Waffles
Ingredients
Equipment
Method
- Preheat a waffle iron to medium-high, letting it heat until ready to cook.
- Whisk all-purpose flour, granulated sugar, brown sugar, baking powder, baking soda, pumpkin pie spice, cinnamon, and salt in one bowl until evenly combined.
- Whisk pumpkin puree, buttermilk, egg yolks, melted butter, and vanilla extract together until smooth.
- In a separate bowl, beat egg whites until stiff peaks form.
- Fold the wet mixture into the dry mixture until just combined, keeping the batter slightly lumpy.
- Gently fold the whipped egg whites into the batter to keep it airy.
- Grease the waffle iron, then pour in batter and cook until golden and crispy, about 4-5 minutes.
- Serve the waffles immediately with maple syrup and whipped cream.