Slow roasted chicken thighs come out with deeply golden skin, a drape of rendered fat, and meat that slides off the bone without a fight. The low oven gives the thighs time to turn tender all the way through before the final blast of heat tightens the skin and turns it crisp. It’s the kind of chicken that tastes like you spent the whole afternoon tending it, even though most of the time is hands-off.
The key is patience at 300°F. That lower temperature gives the fat under the skin time to render instead of tightening up too early, which is what leaves chicken skin rubbery in a hotter oven. Rubbing the seasoning under the skin matters too, because the spice blend doesn’t just sit on the surface; it seasons the meat as it cooks and keeps every bite savory and fragrant.
Below, I’ve included the part that matters most: how to get the skin crisp at the end without drying out the meat, plus a few swaps and storage notes that help this recipe work on a busy weeknight or for leftovers the next day.
The skin came out crackly on the edges and the meat was still unbelievably juicy after the long roast. I squeezed the garlic over the chicken like you suggested and it made the whole pan taste richer.
Save these slow roasted chicken thighs for the night you want fall-off-the-bone chicken with crisp skin and roasted garlic pan sauce.
The Reason the Skin Gets Crisp Without Drying Out the Meat
The mistake most people make with chicken thighs is rushing the oven. High heat from the start browns the outside before the fat under the skin has time to melt away, and that’s how you end up with skin that tastes cooked but still feels a little rubbery. The low roast fixes that by letting the thighs slowly baste themselves in their own fat.
The final 425°F blast is the finishing move, not the cooking method. By the time you raise the temperature, the chicken is already tender and the skin is close to golden, so the hot oven only has to dry and crisp the surface. If you skip the first long roast, the skin will brown before the meat is ready.
- Patting the thighs dry matters because surface moisture steams the skin. Dry skin starts crisping much faster.
- Bone-in, skin-on thighs are the right cut here. Boneless thighs cook faster but don’t give you the same rendered skin or rich texture.
- The garlic head roasts softly under the chicken and turns sweet enough to squeeze over the meat. That mellow garlic is part of the sauce here, even without a pan sauce.
- The final rest lets the juices settle back into the meat, so they don’t run out the second you cut in.
What Each Seasoning Is Actually Doing in the Pan

- Olive oil helps the seasonings cling and encourages the skin to brown evenly. You don’t need a lot, just enough to coat the surface.
- Garlic powder, onion powder, smoked paprika, and dried thyme build a dry rub that tastes round and savory without needing a marinade. Fresh garlic would burn on the skin at this heat, which is why powder works better here.
- Salt pulls the chicken’s flavor forward and helps the skin dry as it roasts. Cutting it much lower will leave the thighs tasting flat.
- Lemon and fresh thyme at serving wake everything up at the end. The chicken is rich enough to want something bright right before it hits the plate.
The Part of the Roast That Actually Matters
Drying and Seasoning the Chicken
Pat the thighs completely dry with paper towels before anything else. If the skin still feels damp, the rub won’t cling well and the oven will have to burn off moisture before it can begin crisping. Rub the oil and seasoning over every side, then lift the skin gently and season under it too, because that’s where the meat needs the most help. Arrange the thighs skin-side up in a baking dish with a little space between them so the steam can escape instead of trapping underneath.
Roasting Low and Slow
Start at 300°F and let the chicken cook for 1 1/2 to 2 hours. The skin should slowly turn deep golden and the fat should pool in the pan; that’s a sign the rendering is happening the way it should. If the thighs look pale after an hour, the oven is probably running cool, so trust the texture more than the clock. The meat is ready for the finish when it’s tender enough that a fork can slide in easily and the thickest part is no longer tight.
Finishing at High Heat
Raise the oven to 425°F for the last 15 minutes and keep the chicken in the same pan. This is where the skin takes on that crisp, bronzed finish, so don’t wander off and let it go too far. If the skin starts to darken too fast before the thighs are tender, the oven was running hot earlier and you’ll need to pull them sooner next time. Let them rest 10 minutes before serving, then squeeze the roasted garlic over the top and finish with thyme and lemon.
How to Adjust These Thighs Without Losing the Good Part
Make it dairy-free without changing a thing
This recipe is already dairy-free, which is part of why it works so well for a lot of households. The rich finish comes from rendered chicken fat and roasted garlic instead of butter or cream, so you don’t lose anything by keeping it as written.
Swap the spice blend for a sharper herb profile
If you want a less smoky, more classic roasted chicken flavor, drop the smoked paprika and add an extra 1/2 teaspoon thyme plus a pinch of rosemary. You’ll lose that warm paprika color, but the chicken will taste a little more like a Sunday roast.
Use skinless thighs when the skin isn’t the point
Skinless thighs will still be tender, but you’ll lose the rendered fat that carries most of the richness here. Reduce the final high-heat time by a few minutes and watch closely, since they can dry out faster without the skin protecting them.
Storage and Reheating
- Refrigerator: Store in an airtight container for up to 4 days. The skin softens in the fridge, but the meat stays juicy.
- Freezer: Freeze the cooled thighs for up to 2 months. Wrap tightly and thaw overnight in the refrigerator before reheating.
- Reheating: Reheat on a sheet pan at 350°F until hot, then hit the thighs under the broiler for a minute or two to bring back some crispness. Microwaving will make the skin rubbery, so use it only if you don’t care about the texture.
Answers to the Questions Worth Asking
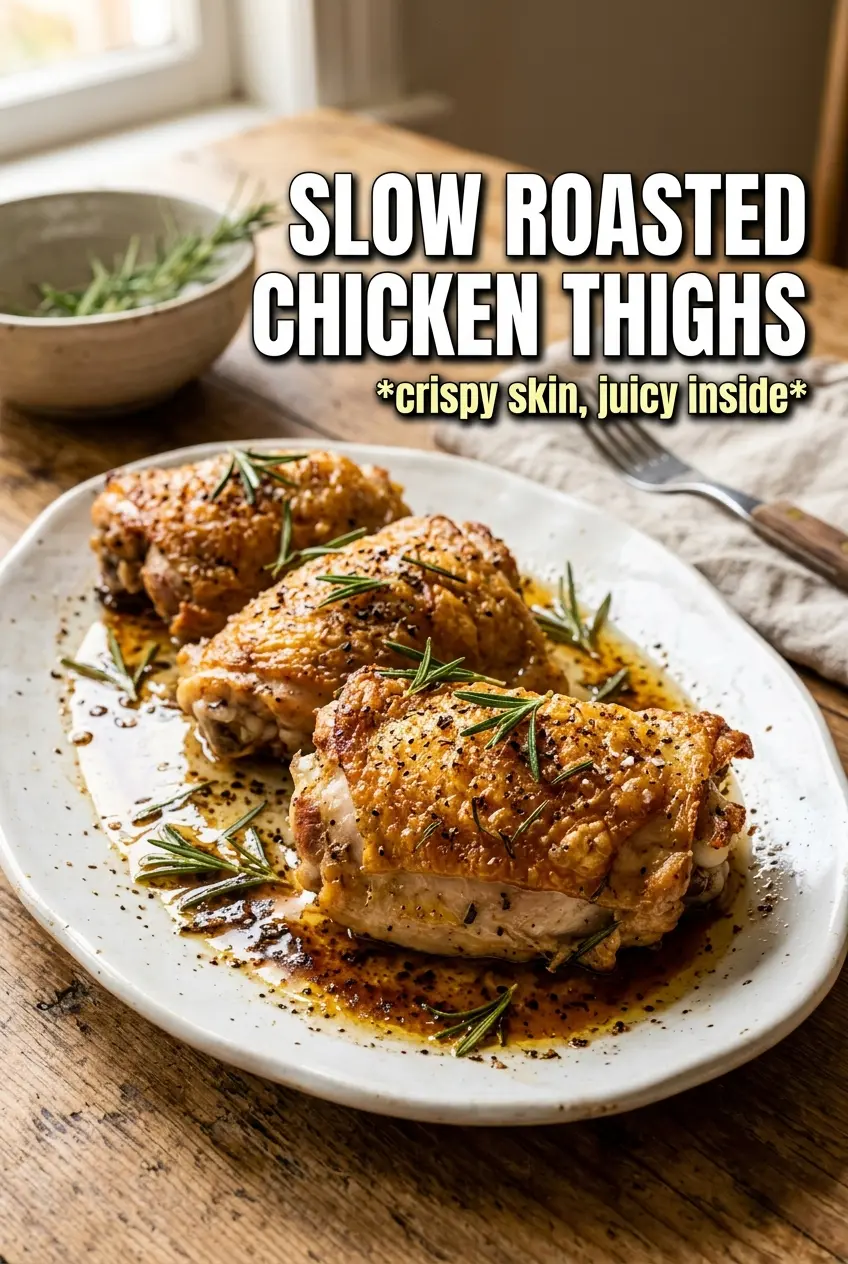
Slow Roasted Chicken Thighs
Ingredients
Equipment
Method
- Preheat oven to 300°F, then pat the chicken thighs completely dry.
- Rub the chicken with olive oil and all seasonings, including under the skin.
- Halve the garlic head crosswise.
- Place chicken thighs skin-side up in a baking dish, and set garlic halves cut-side down around the chicken.
- Roast at 300°F for 1.5–2 hours until the skin is deeply golden, the fat is fully rendered, and the meat is falling-off-the-bone tender.
- Increase oven to 425°F and roast for 15 minutes more to crisp the skin completely.
- Rest the chicken for 10 minutes to let juices settle.
- Squeeze roasted garlic over the chicken and serve with fresh thyme and lemon.