These sourdough pumpkin pancakes come off the griddle with crisp edges, a tender middle, and just enough tang to keep the pumpkin and maple from tasting flat. They stack up fluffy without turning cakey, and the sourdough starter gives the batter a deeper, more rounded flavor than standard pumpkin pancakes ever manage.
The trick is timing the baking soda for the very end. Once it hits the batter, it starts working fast, so the pancakes need to go straight to a hot skillet while the bubbles are still lively. Pumpkin puree adds moisture and body, but it can also make pancakes heavy if the batter sits too long or the pan runs too cool. Medium heat and a light hand with the batter keep the centers soft instead of gummy.
Below, I’ve included the small details that matter most: how to tell when the batter is ready, what to do if your starter is thick or runny, and a few easy variations that still keep the pancakes light and flavorful.
The batter puffed up right after I added the baking soda, and the pancakes came out light with crisp edges instead of dense. The pumpkin and sourdough flavor was spot on with maple syrup.
Like these sourdough pumpkin pancakes? Save them to Pinterest for a fluffy breakfast with tangy flavor and crisp, golden edges.
The Mistake That Makes Pumpkin Pancakes Heavy Instead of Fluffy
Most pumpkin pancakes go wrong for one of two reasons: the batter gets overmixed, or the leavening gets added too early. Sourdough starter already brings structure and a little natural tang, but it still needs a gentle hand once the flour goes in. Stir just until the dry streaks disappear. A few small lumps are better than a batter that turns thick and elastic.
The second part matters just as much. Baking soda reacts right away with the acidity in the starter, and that reaction gives you the lift that keeps these pancakes from baking up dense. If the batter sits around after the soda goes in, the bubbles fade before they ever hit the pan. Cook them while the batter still looks active and slightly foamy on top.
What Each Ingredient Is Actually Doing in These Pancakes
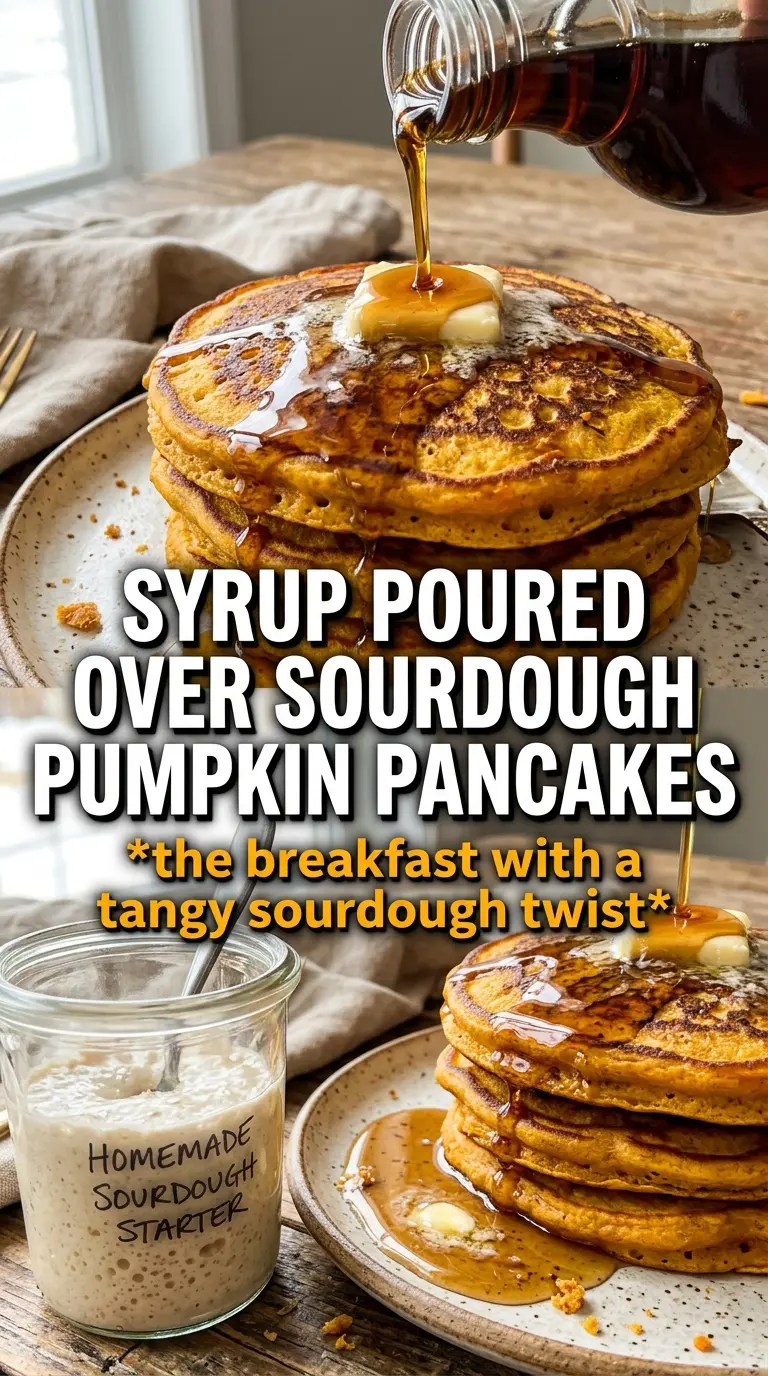
- Sourdough starter — This is the base of the batter and the source of that gentle tang. Active starter gives a little more lift, but discard works well too because the baking soda handles the rise here. If your starter is very thick, loosen the batter with a splash more milk; if it’s thin, the pancakes may spread a little more but they’ll still cook up fine.
- Pumpkin puree — Use pure pumpkin puree, not pumpkin pie filling. The puree adds moisture, color, and that soft earthy sweetness, but too much of it would make the pancakes heavy, which is why the flour and eggs matter so much here.
- Baking soda — This is the fast lift. It belongs at the very end because it needs the acidity in the starter and the heat of the pan to do its job. If you mix it in early, you lose that puff before the pancakes even start cooking.
- Maple syrup and spices — The syrup gives a subtle sweetness in the batter, while pumpkin pie spice and cinnamon keep the pumpkin flavor warm instead of flat. Real maple syrup matters here because the batter is not heavily sweetened; the flavor needs to come through.
- Butter and eggs — Butter adds richness and helps the pancakes brown, while eggs hold the batter together so the centers set properly. If you skip either one, the texture becomes less tender and the pancakes can feel thin or rubbery.
Building the Batter So It Stays Light on the Griddle
Mix the base without beating it smooth
Whisk the starter, flour, pumpkin puree, milk, eggs, melted butter, maple syrup, spices, and vanilla until the batter comes together. It should look thick but pourable, like soft cake batter. Don’t chase every lump; overmixing develops too much gluten and makes pancakes chewy instead of tender.
Add the baking soda at the last second
Stir in the baking soda and salt right before the batter hits the skillet. You’ll see the mixture lighten and start to bubble almost immediately. That’s your cue to move fast, because the lift starts now, not after the pancakes are on the plate.
Cook until the edges set and the tops turn matte
Use a lightly greased skillet or griddle over medium heat and portion about 1/4 cup of batter for each pancake. Cook until bubbles form across the surface and the edges look set, about 2 to 3 minutes. If the bottom is browning too fast before the top loosens up, the heat is too high and the middle will stay wet.
Flip once and finish gently
Flip the pancakes and cook for another 2 minutes, just until the second side is golden and the center springs back when you touch it lightly. A good pancake should feel set but still soft. If you press and it leaves a wet dent, give it a little more time before stacking.
Three Ways to Make These Pancakes Fit What You Need
Use discard for a milder sourdough flavor
Discard makes these pancakes a little gentler and less tangy, which is great if you want the pumpkin and maple to lead. Active starter gives a slightly loftier result, but the recipe works either way because the baking soda provides the main lift.
Make them dairy-free
Swap the milk for an unsweetened non-dairy milk and use a neutral oil instead of butter. You’ll lose a little richness, but the pancakes still brown well and keep the same soft texture.
Make them gluten-free with a 1:1 baking blend
A good cup-for-cup gluten-free flour blend can stand in for the all-purpose flour. The batter may thicken a bit more as it rests, so add a splash of milk if needed. The texture will be slightly softer and less springy, but still good enough for stacking and syrup.
Add mix-ins without weighing them down
Mini chocolate chips, chopped pecans, or toasted walnuts work best in small amounts. Fold them in after the batter is mixed so they don’t crush the air you just built, and keep the amount modest or the pancakes won’t cook through evenly.
Storage and Reheating
- Refrigerator: Store cooked pancakes in an airtight container for up to 3 days. They soften a little as they sit, but the flavor stays good.
- Freezer: These freeze well. Layer them with parchment, seal in a freezer bag, and freeze for up to 2 months.
- Reheating: Reheat in a toaster, oven, or dry skillet until warmed through. The big mistake is using the microwave for too long, which makes the centers rubbery and kills the crisp edges.
Answers to the Questions Worth Asking
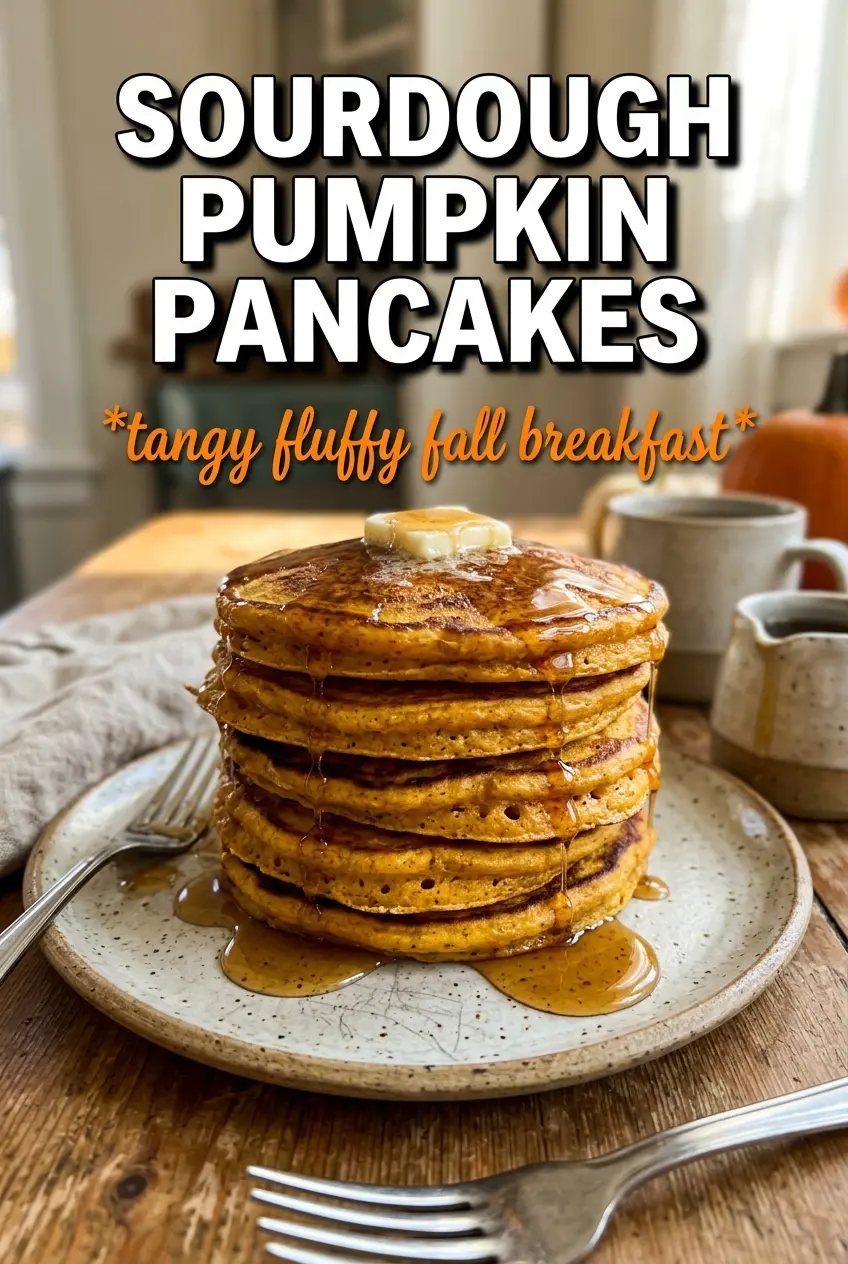
Sourdough Pumpkin Pancakes
Ingredients
Equipment
Method
- Whisk the sourdough starter, flour, pumpkin puree, milk, eggs, melted butter, maple syrup, pumpkin pie spice, cinnamon, and vanilla extract together until smooth.
- Right before cooking, stir in the baking soda and salt until the batter looks bubbly and lighter.
- Heat a lightly greased skillet or griddle over medium heat until hot.
- Pour about 1/4 cup batter per pancake and cook for 2-3 minutes, until bubbles form on top and the edges look set.
- Flip the pancakes and cook for 2 minutes more, until golden and cooked through in the center.
- Serve hot with salted butter and real maple syrup.