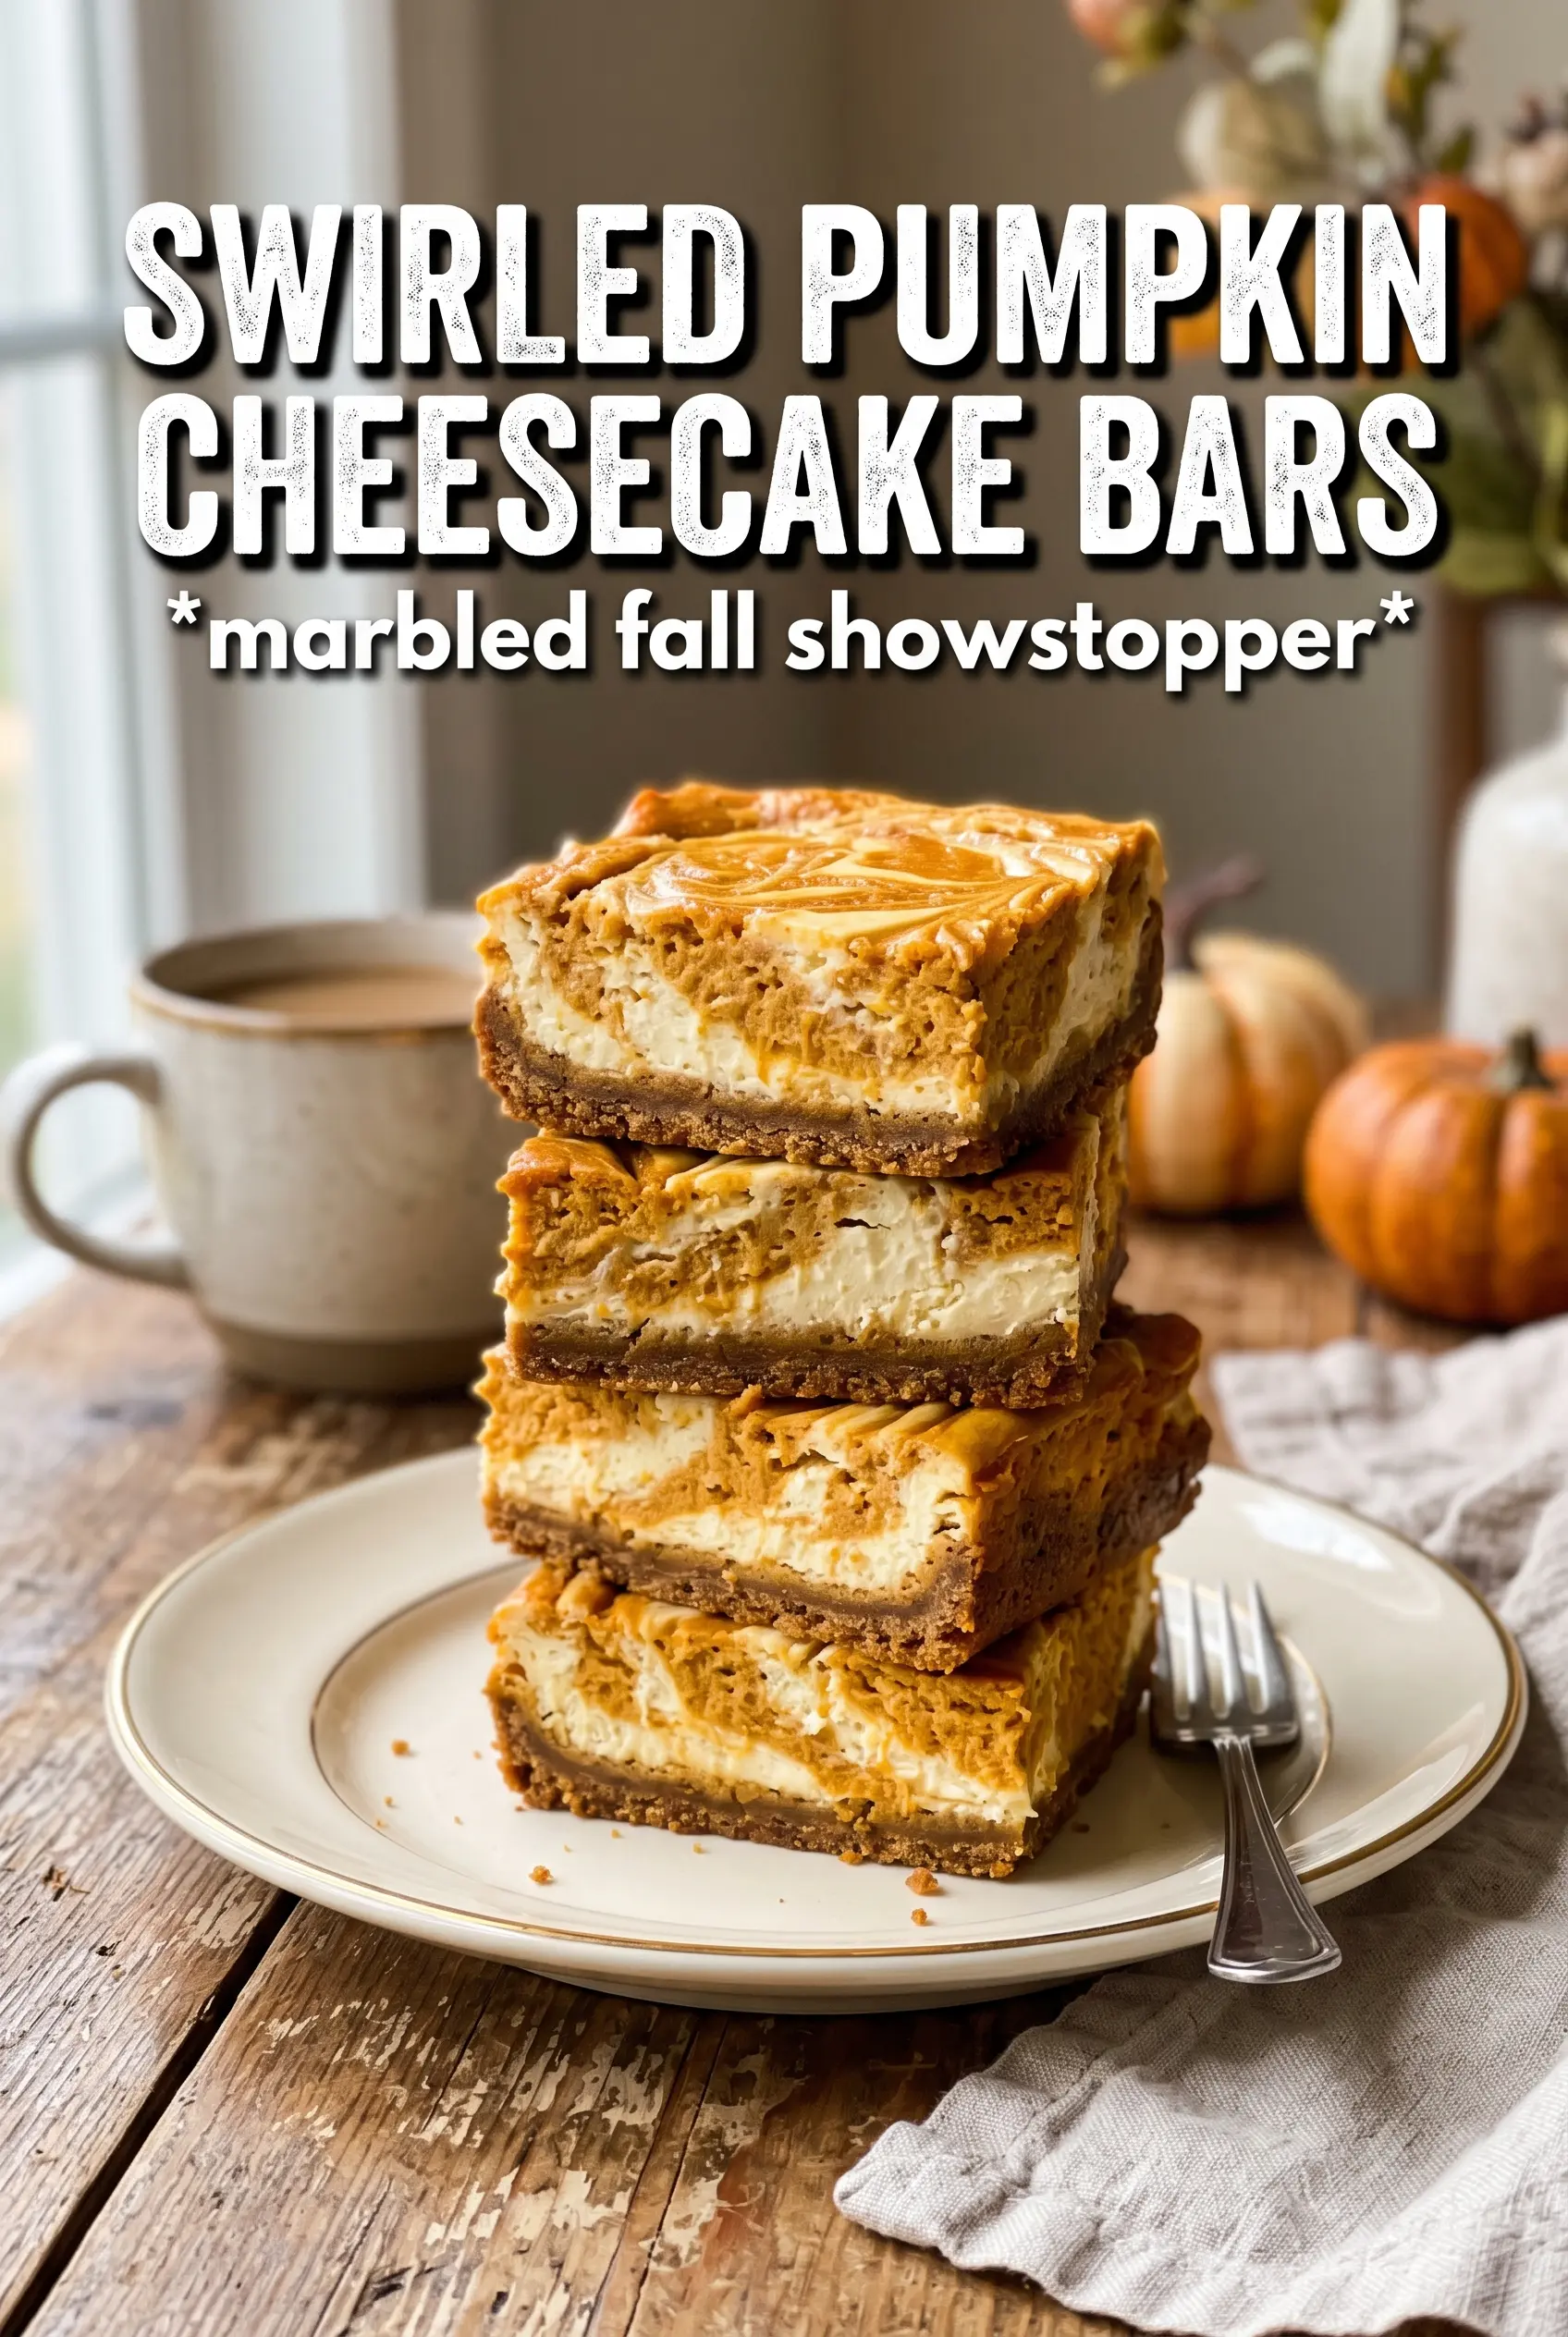
Swirled pumpkin cheesecake bars give you everything people want in a fall dessert without the fuss of a full cheesecake. The crust stays firm enough to lift into neat bars, the center bakes up creamy and tangy, and the pumpkin swirl brings just enough spice to keep each bite interesting. That marbled top looks bakery-level, but the method is plain home-kitchen simple.
The trick is keeping both cheesecake layers smooth and not overworking them once the eggs go in. Cream cheese that’s properly softened blends without lumps, and the short bake on the crust helps it stay crisp under the filling instead of turning soft and sandy. I also like a gingersnap crust here when I want a deeper, warmer flavor, but graham crackers work just fine if that’s what you have.
Below, I’ll walk through the one part that matters most: how to swirl the top without blending the layers into one muddy color. I’ve also included the swaps I’d actually use when I want a different crust, a cleaner vanilla note, or a slightly stronger pumpkin spice finish.
The swirl baked up clean and the bars held their shape after chilling overnight. I used gingersnaps for the crust and the whole pan tasted like pumpkin cheesecake with a little extra snap at the edges.
Love the creamy pumpkin swirl and gingersnap crust? Save these pumpkin cheesecake bars for your next dessert tray or holiday bake.
The Swirl Layer Needs to Stay Separate Until the Oven
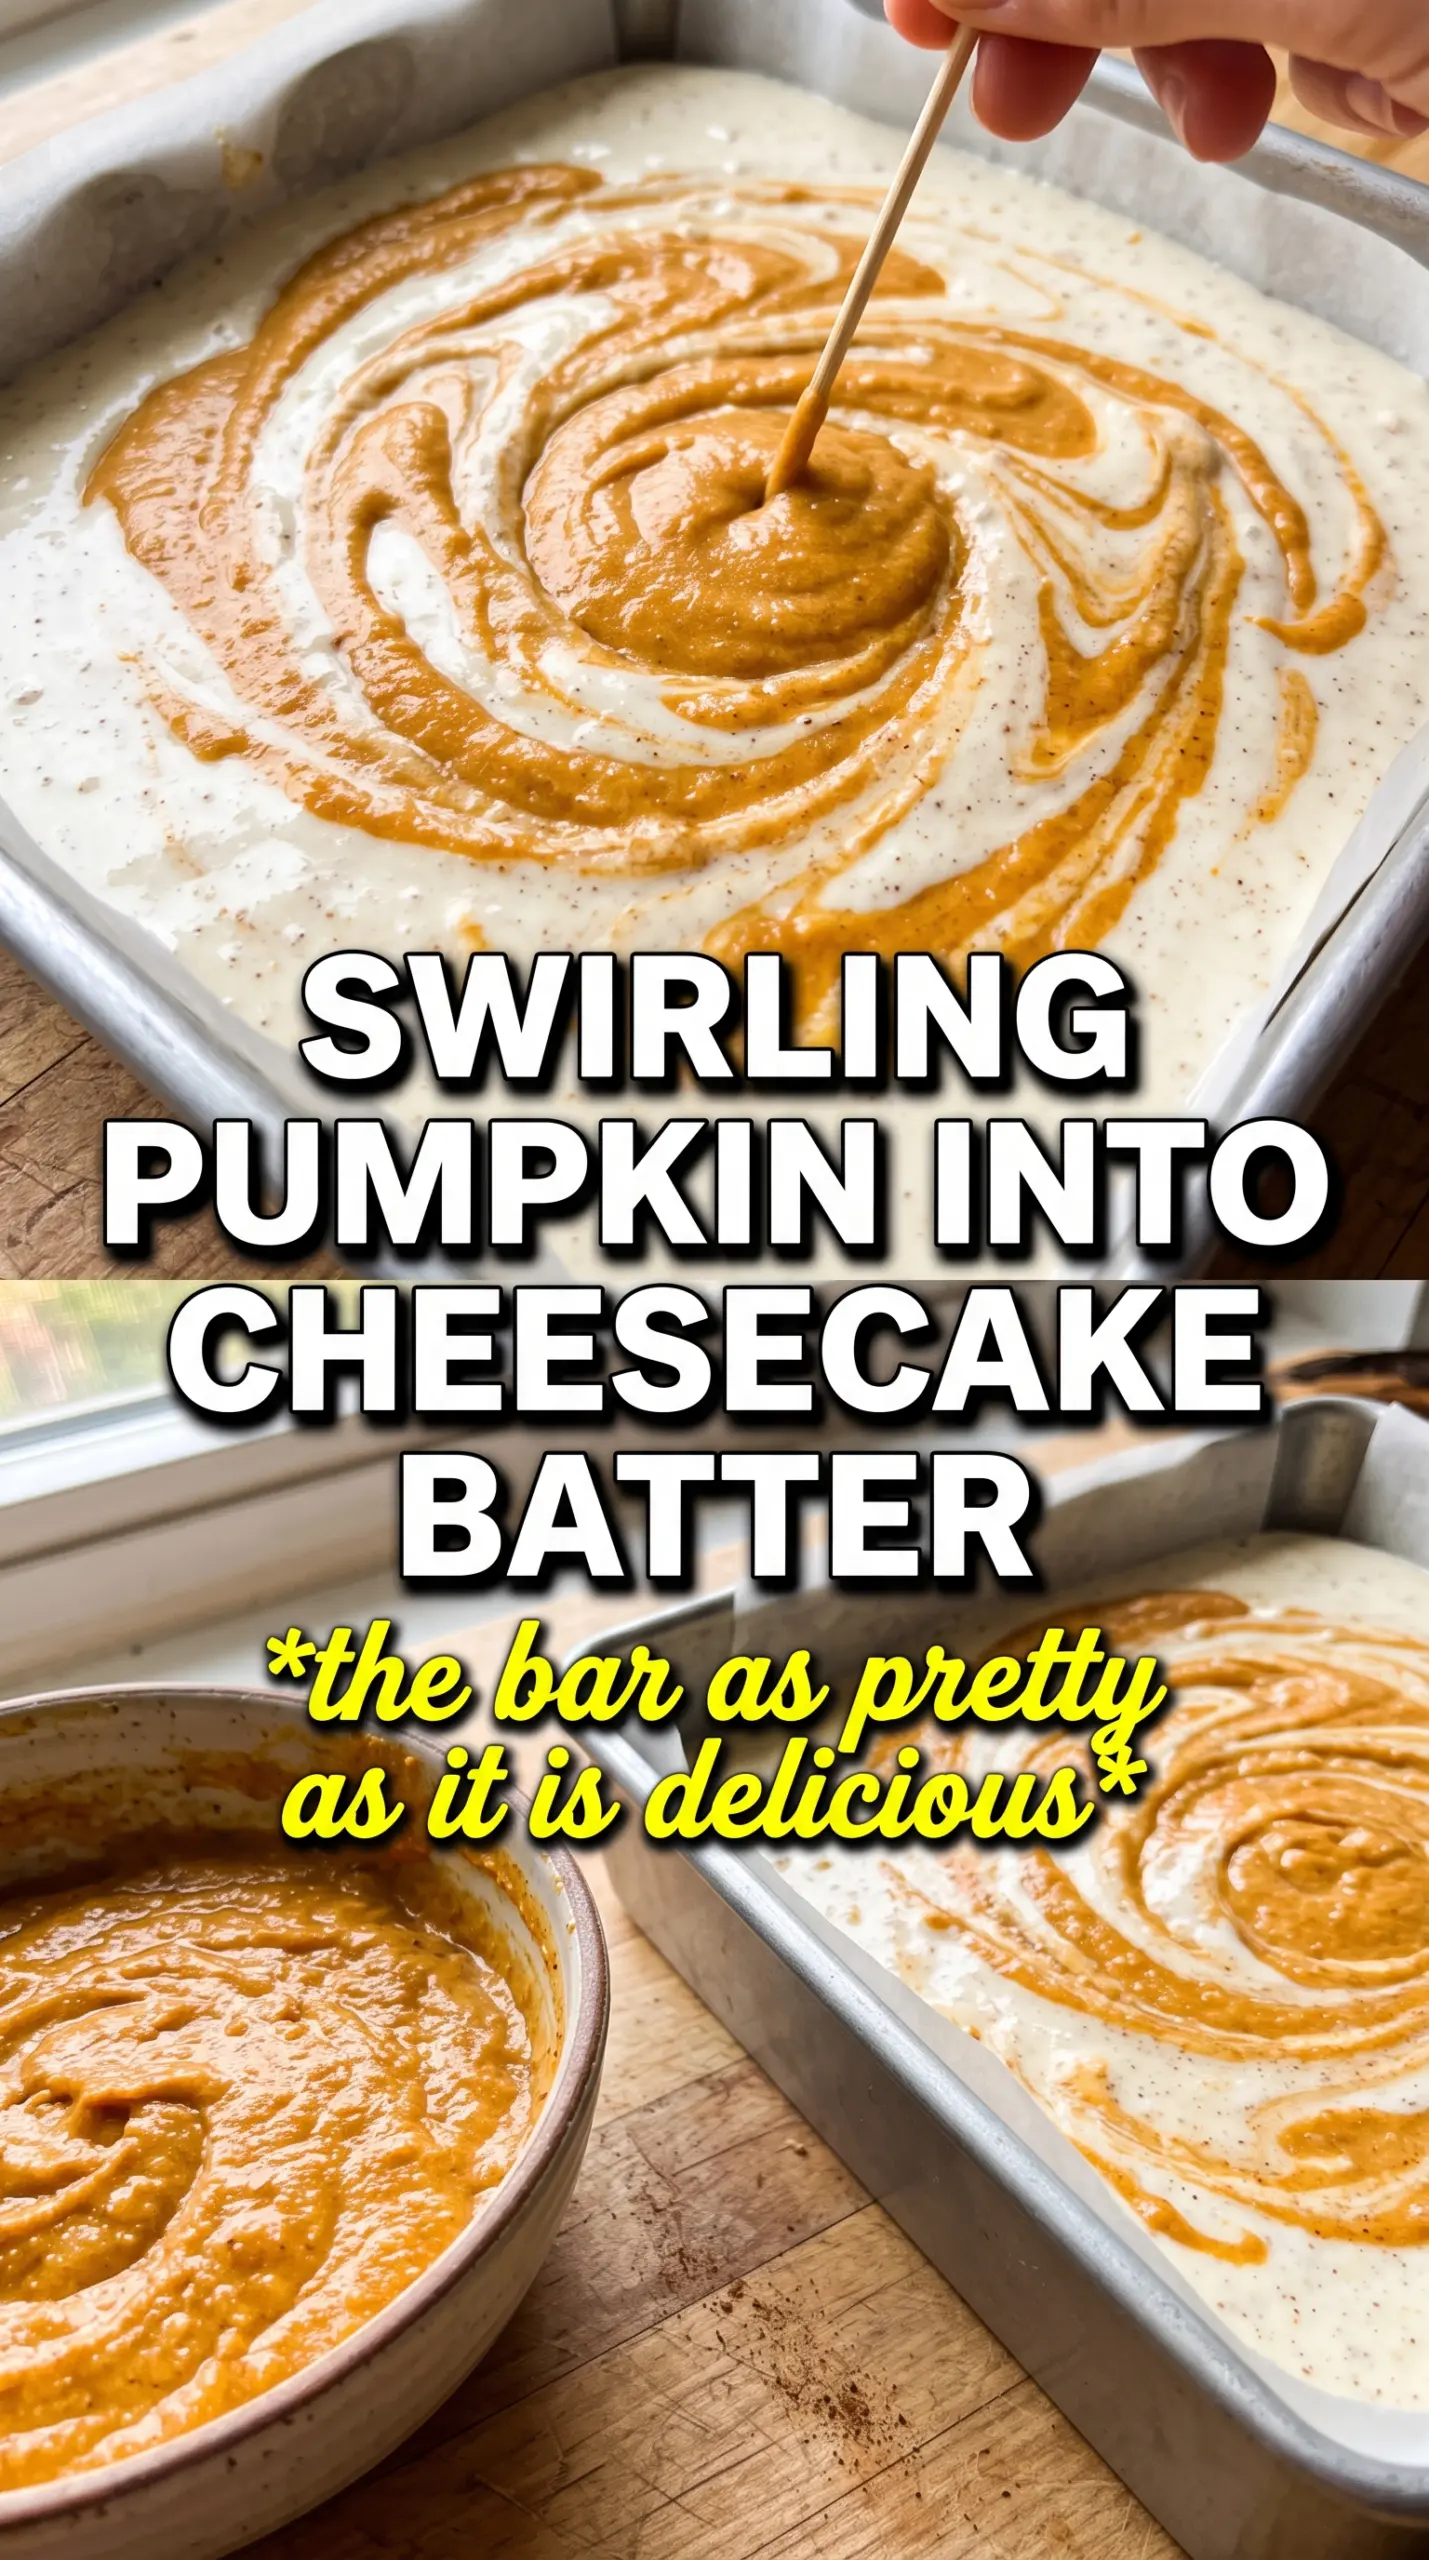
The biggest mistake with cheesecake bars is stirring the pumpkin mixture into the vanilla layer too much before baking. That looks harmless in the bowl, but in the oven it gives you a dull, uniform filling instead of those sharp ribbons that make the bars worth cutting cleanly. Dollop the pumpkin mixture in distinct spoonfuls over the vanilla base, then drag a knife through just enough to marble the top.
Stop while you can still see both colors. If the pan starts looking tan all over, you’ve gone too far and the swirl effect is gone. A few bold passes across the surface is all you need; the heat will do the rest and the layers will settle into a neat, creamy finish as they bake.
What Each Ingredient Is Actually Doing in These Bars
- Gingersnap or graham cracker crumbs — Graham gives you the classic buttery base, while gingersnaps add a sharper spice that plays beautifully with the pumpkin layer. If you want the bars to taste deeper and more autumnal, use gingersnaps. If you want the filling to stay front and center, graham crumbs are the safer pick.
- Cream cheese — This is the backbone of both layers, so softness matters. Cold cream cheese leaves little lumps that never fully smooth out, even after baking, so let it sit at room temperature until it blends easily with a spatula or mixer. Full-fat cream cheese gives the best texture here; reduced-fat versions can bake up looser and less creamy.
- Sour cream — A small amount keeps the vanilla layer tangy and soft without making it runny. You can swap in plain full-fat Greek yogurt in a pinch, but the filling will taste a little sharper and may bake a touch less silky.
- Pumpkin puree — Use pure pumpkin, not pumpkin pie filling. Pie filling is already sweetened and spiced, which throws off the balance and can make the swirl too soft. If your puree looks watery, spoon it into a fine mesh strainer for a few minutes before mixing so the bars don’t bake up loose.
- Pumpkin pie spice and cinnamon — The blend gives the pumpkin layer warmth, while the extra cinnamon sharpens the flavor so it doesn’t taste flat. If your spice blend is old, the pumpkin layer will taste muted. Fresh spice makes a bigger difference here than people expect.
Getting the Bake Set Before the Center Overbakes
Build the Crust First
Mix the crumbs, sugar, and melted butter until every bit looks evenly damp, then press it firmly into a lined 9×13 pan. Pressing with the bottom of a measuring cup helps create an even layer that doesn’t crumble when you cut the bars. Bake it for the full 8 minutes so the crust sets before the filling goes on; if you skip that, the bottom can turn soft under the cheesecake.
Mix the Two Fillings Smoothly
Beat each cheesecake layer until just smooth and no lumps remain. Once the eggs go in, stop as soon as the mixture looks cohesive, because overbeating adds air that puffs in the oven and can lead to cracks or a souffle-like texture you don’t want in bars. The batter should look thick, glossy, and pourable, not foamy.
Swirl and Bake Until Barely Set
Spread the vanilla filling over the crust, then drop the pumpkin mixture on top in spoonfuls. Use a knife to make broad S-shaped swirls across the surface, then bake until the edges look set and the center still has a slight wobble when you nudge the pan. If the middle looks fully firm in the oven, it’s already gone too far; the residual heat will finish the job as it cools.
Cool Before You Cut
Let the pan cool completely at room temperature, then chill it for at least 3 hours before slicing. Cheesecake bars need that cold rest to set cleanly, and cutting them early gives you messy edges and a soft middle that slumps on the plate. Use a sharp knife wiped clean between cuts for the neatest squares.
Three Ways to Make These Bars Fit What You Have
Gingersnap Crust for a Spicier Finish
Swap the graham crumbs for gingersnap crumbs in a 1:1 swap. The crust gets darker, a little firmer, and much more aromatic, which makes the pumpkin swirl taste deeper and less sweet.
Dairy-Free Version That Still Slices Cleanly
Use dairy-free cream cheese blocks and a plant-based butter for the crust. The texture will be a little softer and less tangy than the original, but chilling overnight helps the bars set well enough to cut into neat squares.
Less Sweet, More Pumpkin
Cut the sugar in the vanilla layer by 2 tablespoons and keep the pumpkin layer as written. This keeps the bars balanced if you like cheesecake that leans tangy instead of dessert-sweet, and it lets the spice come through more clearly.
Storage and Reheating
- Refrigerator: Store covered for up to 5 days. The crust stays sturdy, but the cheesecake layer is best within the first 2 to 3 days.
- Freezer: These freeze well. Slice first, wrap each bar tightly, and freeze in a single layer before moving them to a container. Thaw in the refrigerator overnight for the cleanest texture.
- Reheating: These are meant to be served chilled, not reheated. If they’ve been frozen, let them thaw completely in the fridge so the filling stays creamy instead of turning grainy.
Answers to the Questions Worth Asking
Swirled Pumpkin Cheesecake Bars
Ingredients
Equipment
Method
- Preheat the oven to 325°F, then line a 9x13 pan. Press the crumbs crust mixture into the pan and bake for 8 minutes until set and lightly fragrant, visible at the edges.
- Beat the vanilla cheesecake layer until smooth and glossy, then set it aside. Beat the pumpkin swirl layer until smooth and lump-free, then set it aside.
- Pour the vanilla cheesecake over the baked crust and spread it to the corners. Dollop the pumpkin mixture in large spoonfuls over the vanilla layer, creating clear mounds on top.
- Use a knife to swirl dramatically through the layers, dragging through the surface to form bold streaks. Stop when distinct caramel-and-cream patterns appear rather than blending fully.
- Bake at 325°F for 32–35 minutes until the center is just set and the edges look slightly puffed. Look for a gentle jiggle in the middle when you tap the pan.
- Cool the bars at room temperature until fully cooled. Refrigerate for 3 hours to firm up, then cut into bars with clean edges.