Seared chicken breasts, soft onions, buttery mushrooms, and a blanket of melted Monterey Jack make this Texas Roadhouse smothered chicken copycat earn its place in the weeknight rotation. The chicken stays juicy because it gets a quick hard sear first, then finishes under the broiler just long enough to melt the cheese without drying out the meat. What you end up with is a skillet dinner that tastes like it took far more effort than it did.
The key is building each layer in the same pan. Those browned bits left behind after searing the chicken give the onions, mushrooms, and broth a deeper savory base, and the broth loosens everything into a glossy sauce instead of letting the vegetables sit dry under the cheese. Pounding the chicken thin matters too; it helps the breasts cook evenly so the broiler only has to finish the dish instead of rescuing it.
Below, I’ll walk through the one part that keeps the cheese from turning greasy, plus a few smart swaps if you need to work with what’s already in your fridge.
The chicken stayed juicy, the mushrooms browned instead of turning watery, and the cheese melted into the onions exactly like the restaurant version. My husband went back for seconds before I even sat down.
Save this Texas Roadhouse smothered chicken copycat for the nights when you want seared chicken, caramelized onions, and melted jack cheese in one skillet.
The Reason the Chicken Stays Juicy Instead of Drying Out Under the Broiler
The biggest mistake with smothered chicken is treating the broiler like the main cooking method. It isn’t. The broiler should only melt the cheese and finish the top; the chicken needs to be cooked through in the skillet first so it doesn’t spend too long under intense heat. That thin, even pound on the breasts is what keeps the timing predictable.
Another thing that matters here is removing the chicken before you cook the onions and mushrooms. If you leave it in the pan, the vegetables steam in the chicken juices and never get the deep, browned edges that make the whole dish taste richer. A hot pan, a short sear, and a separate finishing step give you layers instead of one muddy skillet full of soft textures.
What Each Ingredient Is Actually Doing in This Skillet
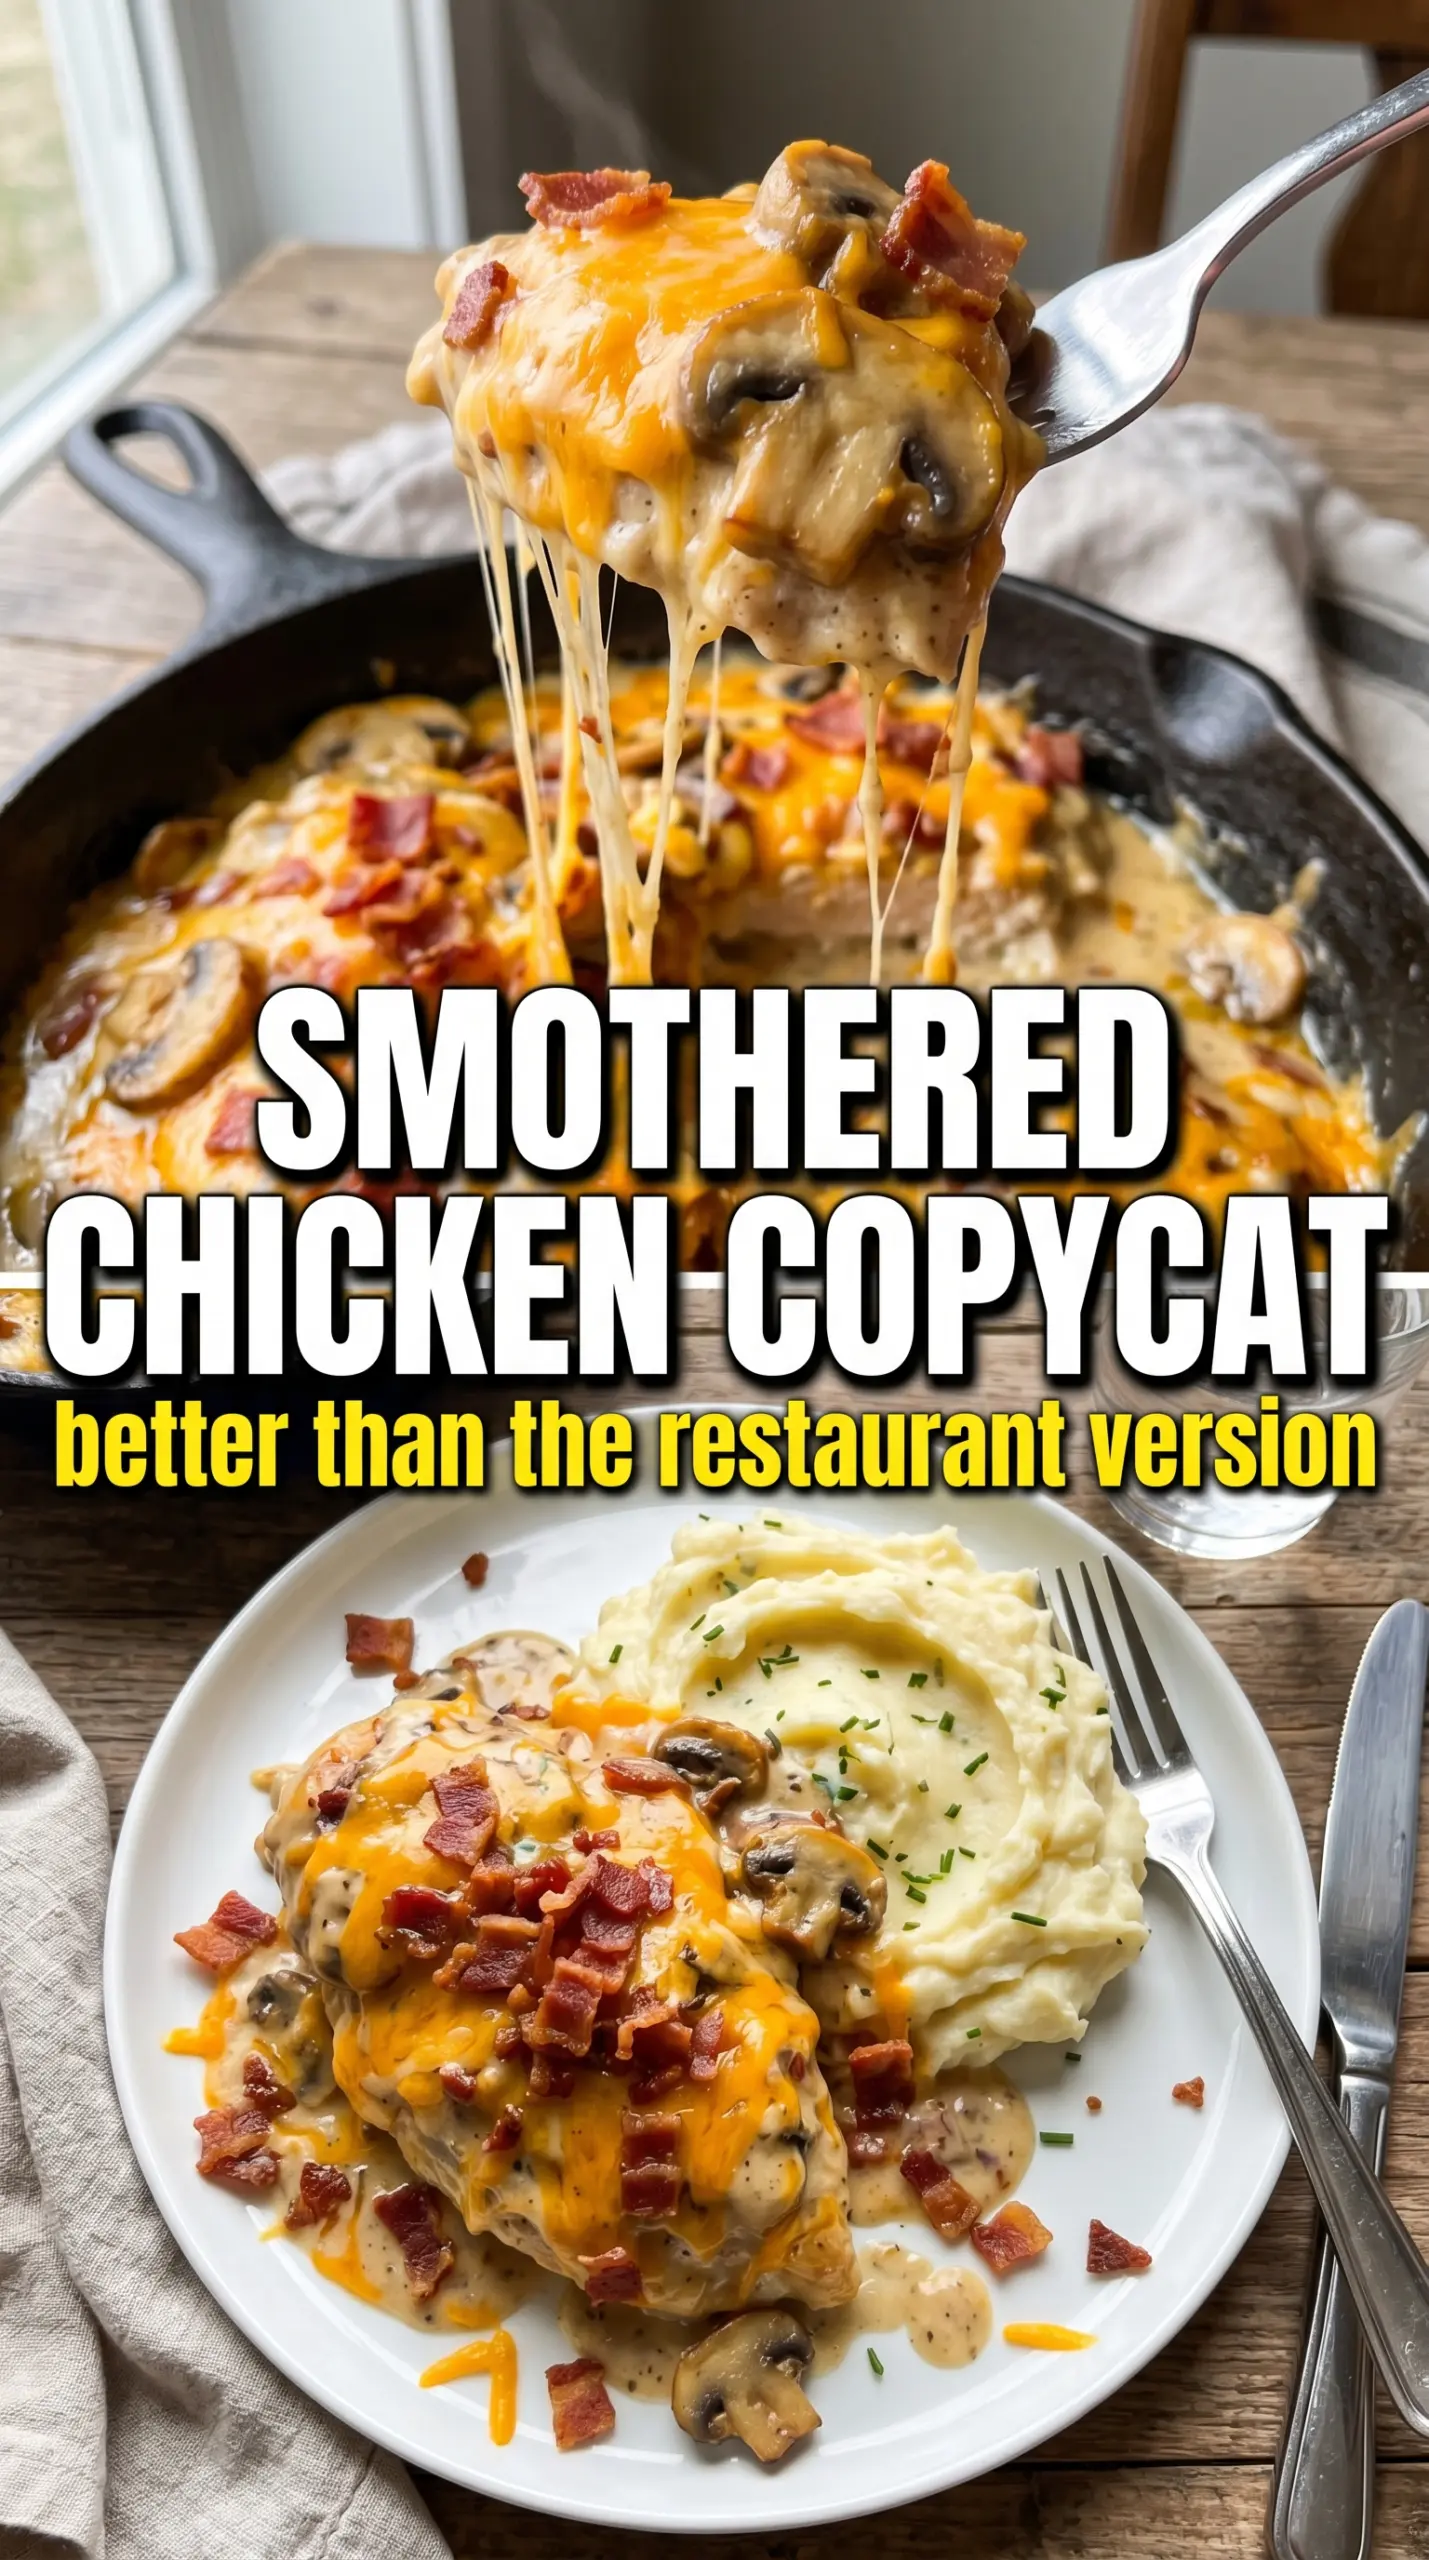
- Chicken breasts — Pounding them thin does more than shorten the cook time. It gives you even thickness, which means the centers finish when the outside is already golden instead of overcooking while you wait for the middle to catch up.
- Mushrooms — These need space and heat. If your skillet is crowded, they’ll release water and turn pale, so let them sit long enough to brown before stirring too often.
- Onion — A sliced onion brings sweetness and body once it softens. Yellow onion is the best fit here, but white onion works if that’s what you have; just cook until the edges start to caramelize, not just until they go translucent.
- Monterey Jack cheese — It melts smoothly and gives you that restaurant-style blanket without becoming stringy or oily. Pre-shredded cheese works in a pinch, but freshly shredded melts cleaner because it doesn’t have the anti-caking coating.
- Chicken broth — This is the deglazing liquid that pulls all the browned flavor off the pan. Water will technically work, but it leaves the sauce flatter and less savory.
- Butter and olive oil — The oil helps the chicken sear without scorching, and the butter carries flavor when you cook the vegetables. Using both gives you better browning than either one alone.
Building the Skillet in the Right Order
Season and Sear the Chicken First
Season the chicken on both sides, then lay it into a hot skillet and leave it alone long enough to build a golden crust. If you move it too soon, it sticks and tears instead of releasing cleanly. You’re looking for deep color and an internal temperature that’s close to done but not fully there yet, since it will finish under the broiler later.
Cook the Mushrooms and Onions Until They Brown
After you remove the chicken, add the butter and let the onions and mushrooms cook in the same pan. The first few minutes will look a little crowded and glossy, then the moisture will cook off and the vegetables will start to brown. That browning is the whole point; if the heat is too low, they soften without developing the savory edge that makes this dish taste restaurant-style.
Deglaze, Rebuild, and Melt the Cheese
Pour in the broth and scrape the bottom of the skillet until the browned bits dissolve into the sauce. Set the chicken back on top of the vegetables, then pile the cheese over each breast so it melts into the onions instead of sliding off the sides. Broil just until the cheese bubbles and picks up a few toasted spots; if you leave it too long, the chicken dries out before the cheese gets any better.
How to Adapt This for Different Kitchens and Different Needs
Make It Gluten-Free Without Changing the Dish
This recipe is naturally gluten-free as written as long as your chicken broth is certified gluten-free. The technique and texture stay exactly the same, so this is an easy one to serve without any special adjustments.
Swap the Cheese for a Sharper Finish
If you want a stronger bite, use a mild white cheddar or a cheddar-jack blend. Cheddar browns a little more and tastes sharper, while straight Monterey Jack stays creamier and closer to the restaurant version.
Use Chicken Thighs for a More Forgiving Cut
Boneless skinless thighs work well if you want a little more richness and a wider window before the meat dries out. They’ll take a few minutes longer than pounded breasts, but they stay tender even if the broiler runs a touch hot.
Storage and Reheating
- Refrigerator: Store leftovers in an airtight container for up to 3 days. The cheese will firm up a bit, but the flavor holds up well.
- Freezer: You can freeze it, but the mushrooms and cheese lose some texture after thawing. Freeze in a tightly sealed container for up to 2 months if needed.
- Reheating: Reheat covered in a 325°F oven until hot, or warm gently in a skillet with a splash of broth. The common mistake is blasting it in the microwave until the chicken turns rubbery and the cheese splits.
Answers to the Questions Worth Asking

Texas Roadhouse Smothered Chicken Copycat
Ingredients
Equipment
Method
- Season the boneless skinless chicken breasts with garlic powder, onion powder, salt, and black pepper. Make sure both sides are evenly coated for consistent flavor.
- Heat the olive oil in an oven-safe cast iron skillet over medium-high heat and sear the chicken for 5–6 minutes per side until golden. Transfer the chicken to a plate to rest while you cook the mushrooms and onions.
- Melt the butter in the same skillet, then add the sliced onions and sliced mushrooms. Cook over medium heat for 8–10 minutes until caramelized, stirring occasionally so the vegetables brown.
- Pour in the chicken broth and stir to deglaze, scraping up the browned bits from the bottom of the skillet. Let the liquid bubble briefly to form a glossy base.
- Nestle the seared chicken back into the skillet on top of the mushroom-onion mixture. Arrange it so the toppings stay pooled under the chicken.
- Pile the shredded Monterey jack cheese generously on top of each chicken breast. Add enough to fully cover the surface so it melts and turns bubbly.
- Place the skillet under the broiler for 3–4 minutes until the cheese is melted and bubbly. Watch the top closely so it browns lightly without burning.
- Garnish with fresh parsley right after broiling. Serve immediately while the pan juices are hot and the cheese is set but still melty.