Vegan pumpkin waffles bake up with crisp edges, a soft center, and that warm pumpkin-spice aroma that fills the kitchen before the first waffle is even done. The batter has enough body to give you those deep waffle pockets, but it still stays tender inside instead of turning dry or bready. When they come off the iron, they’re golden, lightly sweet, and sturdy enough to hold a spoonful of coconut whipped cream without collapsing.
The trick here is balance. Pumpkin puree adds moisture and color, but it can make waffles heavy if the batter is too loose, so the flax eggs and the right amount of leavening do the lifting. Melted coconut oil helps the outside crisp, while oat milk keeps the flavor neutral and the texture light. Don’t rush the waffle iron either; a properly preheated iron is what gives you those clean, crisp ridges instead of pale, soft squares.
Below, I’ll walk through the part that matters most: how to keep the waffles crisp, not gummy, and what to change if you need to swap the milk or make them ahead.
The waffles came out crisp on the outside and fluffy in the middle, and the pumpkin spice flavor was spot on without tasting heavy. I used oat milk and they held together perfectly with the flax eggs.
Save these vegan pumpkin waffles for a crisp, fluffy breakfast with real pumpkin spice flavor and a coconut whipped cream finish.
The Crisp Edge Comes From More Than the Waffle Iron
Pumpkin waffles can go soggy fast if the batter is too wet or the iron isn’t hot enough. Pumpkin puree brings a lot of moisture with it, so this batter needs enough flour and leavening to hold structure while still cooking through before the exterior dries out. If your waffles have a soft, almost steamed texture, the usual culprit is an iron that wasn’t fully preheated or batter that was overmixed into a gluey batter.
The other thing that matters is resting the flax eggs for the full five minutes. That gel-like texture gives the batter a little more binding power, which helps the waffles lift and hold together without eggs. Once the dry and wet ingredients meet, stop as soon as the flour disappears. A few streaks are better than a batter beaten into toughness.
What Each Ingredient Is Doing in These Vegan Pumpkin Waffles
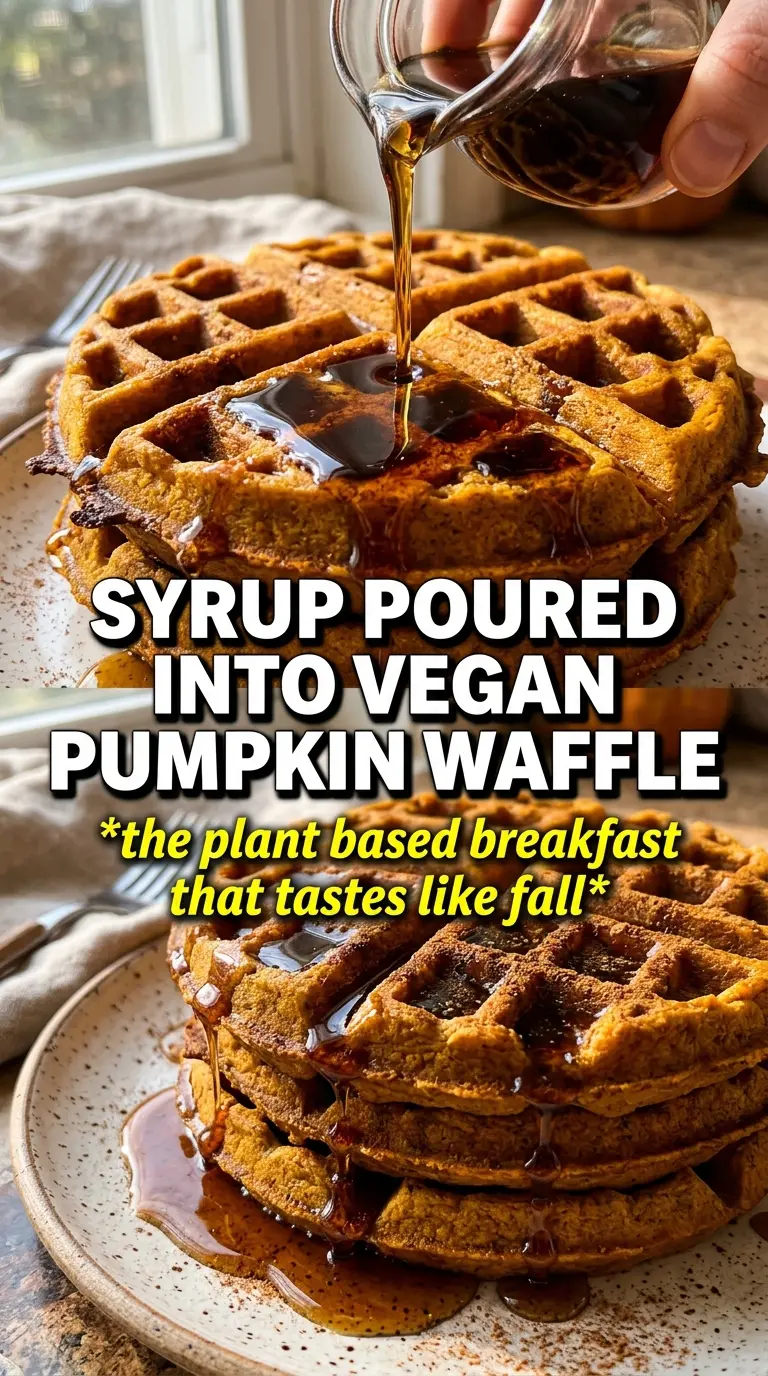
- Pumpkin puree — This gives the waffles their color, flavor, and moisture. Use plain pumpkin puree, not pumpkin pie filling, which is already sweetened and spiced and throws off the balance.
- Flaxseed and water — These act as the binder in place of eggs. The mixture needs the full rest so it thickens properly; if it still looks watery, wait a couple more minutes before adding it to the batter.
- Coconut oil — Melted coconut oil helps the waffles brown and crisp on the outside. A neutral oil works in a pinch, but you’ll lose a little of that rich edge and subtle flavor.
- Oat milk or almond milk — Either one works, but oat milk gives a little more body. If you use almond milk, the waffles may bake up just a touch lighter and less rich.
- Pumpkin pie spice and cinnamon — Pumpkin pie spice gives the familiar autumn note, while the extra cinnamon keeps the flavor warm without tasting flat.
- Baking powder and baking soda — This is the lift. The pumpkin batter needs both so it rises properly and doesn’t bake up dense.
Getting the Batter in and Out of the Iron Cleanly
Mix the flax eggs first
Stir the ground flaxseed and water together, then let it sit until it turns thick and slightly gel-like. That rest changes the texture enough to help bind the batter, which matters because there’s no egg structure here. If you skip the wait, the waffles can spread too much and come out fragile.
Whisk the dry ingredients separately
Combine the flour, sugar, baking powder, baking soda, spices, and salt before adding anything wet. This keeps the leavening evenly distributed, so the waffles rise in a more even pattern instead of puffing in odd spots. If you see clumps of baking powder or spice, keep whisking.
Fold, don’t beat
Add the wet mixture to the dry and fold just until the flour disappears. The batter should look thick but pourable, not runny like pancake batter. If it seems too stiff, add a small splash of milk; if it’s loose enough to pour like cream, you’ve gone too far and the waffles will lose their crisp edges.
Cook until the steam slows down
Pour the batter into a preheated, greased waffle iron and cook until the waffles are deep golden and crisp. The steam should taper off before you lift the lid, and the waffle should release without tugging. If it clings, it needs another minute or two; opening too early is the easiest way to tear the center.
Make Them Ahead and Re-Crisp Later
Cook the waffles, let them cool on a rack, then store them in a single layer before stacking. If you pile them while they’re still warm, the trapped steam softens the edges. Reheat them in a toaster or a 375°F oven so the outside crisps back up instead of turning limp in the microwave.
Dairy-Free Topping Swaps
Coconut whipped cream fits this recipe naturally, but any dairy-free whipped topping works. A nut-based cream will taste a little richer, while a store-bought oat topping keeps the whole breakfast lighter. The waffles themselves stay unchanged, so this swap is all about the finish.
Gluten-Free Version
Use a good 1:1 gluten-free flour blend with xanthan gum already included. The texture will be a little more delicate, so let the waffles cook a touch longer before opening the iron. If the batter looks too thick after sitting, add a splash more milk rather than trying to spread it thinner with the iron.
Swap the Sweetener
Maple syrup gives the cleanest flavor here, but agave works if that’s what you have. Honey isn’t vegan, so skip it for this version. If you use a sweeter syrup, cut the sugar in the batter slightly so the waffles don’t drift into dessert territory.
Storage and Reheating
- Refrigerator: Store cooked waffles in an airtight container for up to 3 days. They soften a little in the fridge, which is normal.
- Freezer: These freeze well. Cool completely, separate with parchment, and freeze in a zip-top bag for up to 2 months.
- Reheating: Toast straight from the fridge or freezer until the edges are crisp again. The microwave will steam them and wipe out the texture you worked for.
Answers to the Questions Worth Asking
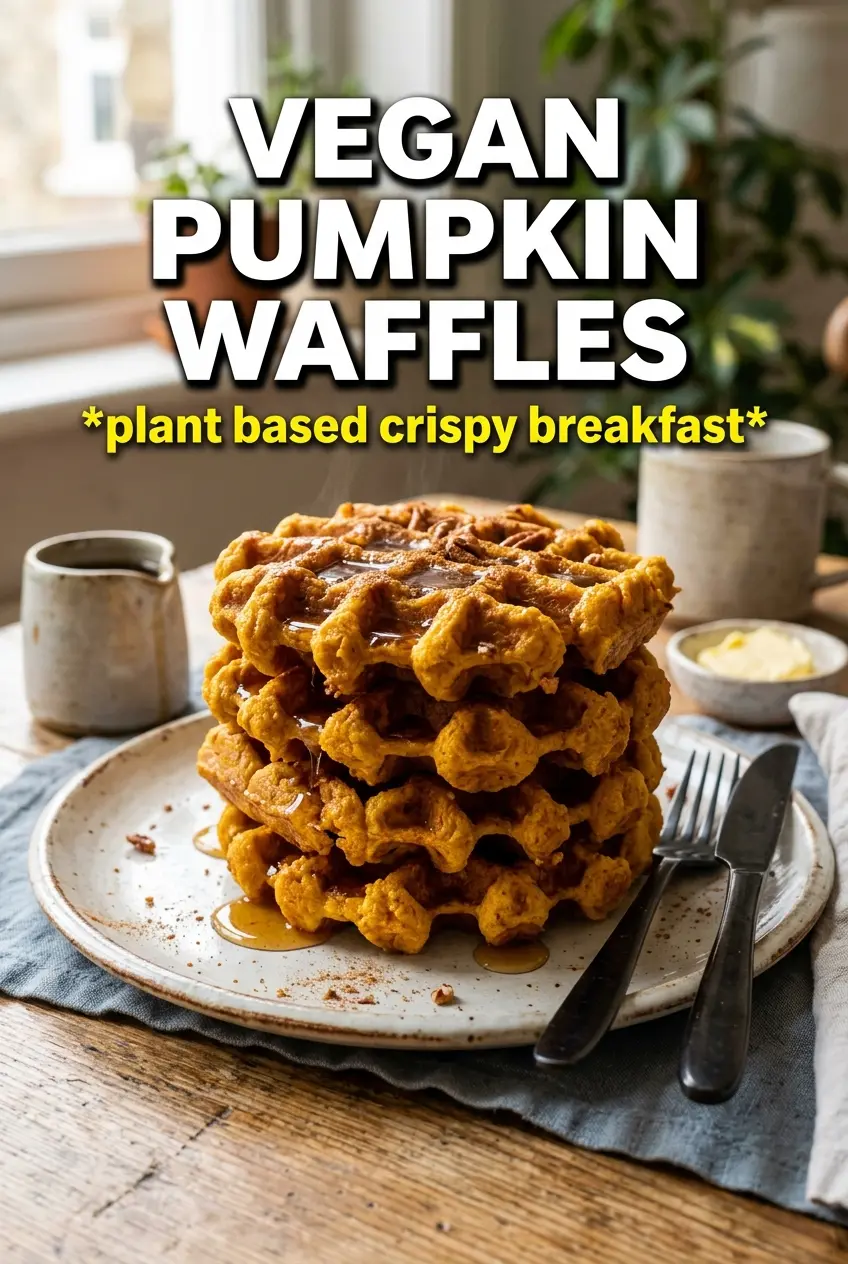
Vegan Pumpkin Waffles
Ingredients
Equipment
Method
- Mix ground flaxseed and water in a bowl, then let it rest 5 minutes until gel-like.
- Preheat a waffle iron to medium-high and grease it with melted coconut oil.
- Whisk together all-purpose flour, sugar, baking powder, baking soda, pumpkin pie spice, cinnamon, and salt.
- Whisk pumpkin puree, oat milk or almond milk, flax eggs, melted coconut oil, maple syrup, and vanilla extract until smooth.
- Pour the wet mixture into the dry ingredients and fold just until combined, leaving no dry streaks.
- Pour batter into the waffle iron and cook 4-5 minutes until crisp and golden.
- Serve the waffles topped with coconut whipped cream and maple syrup.